Finger Mehndi Design: 40+ Ideas for When the Event Is Tomorrow
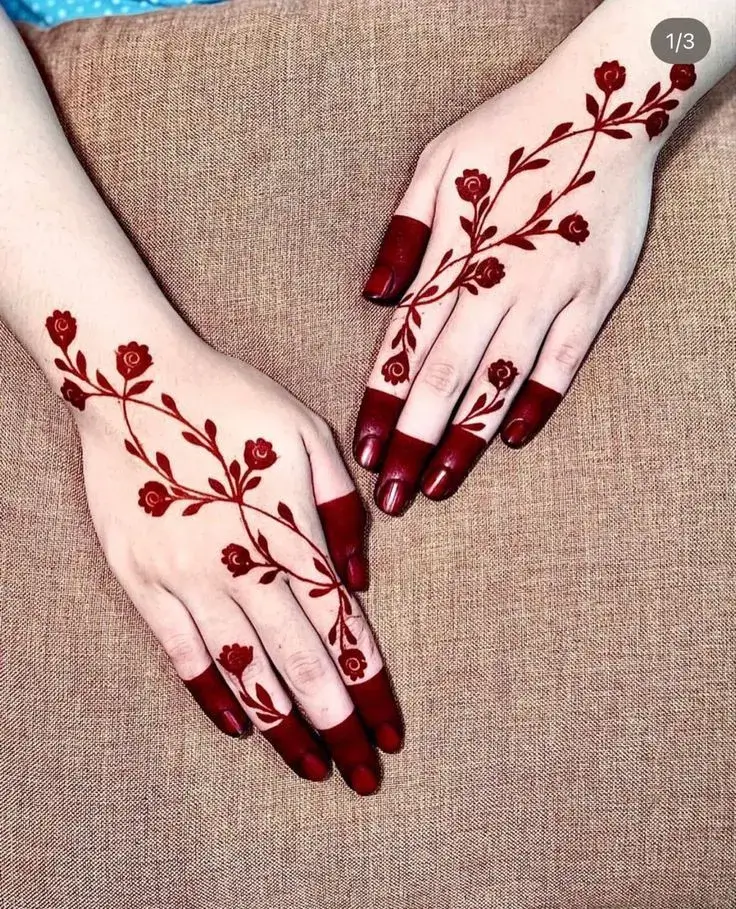
Fingers are the smallest canvas on the hand, so a few clean lines look better than a crowded design. A finger mehndi design skips the palm and covers only the fingers. Most easy ones take 5 to 10 minutes. This guide gives you 40 ideas, each with its level, time, and best occasion. Front means the palm side and back means the nail side. You also get three patterns to draw, aftercare for a deeper stain, and a check for unsafe black henna.
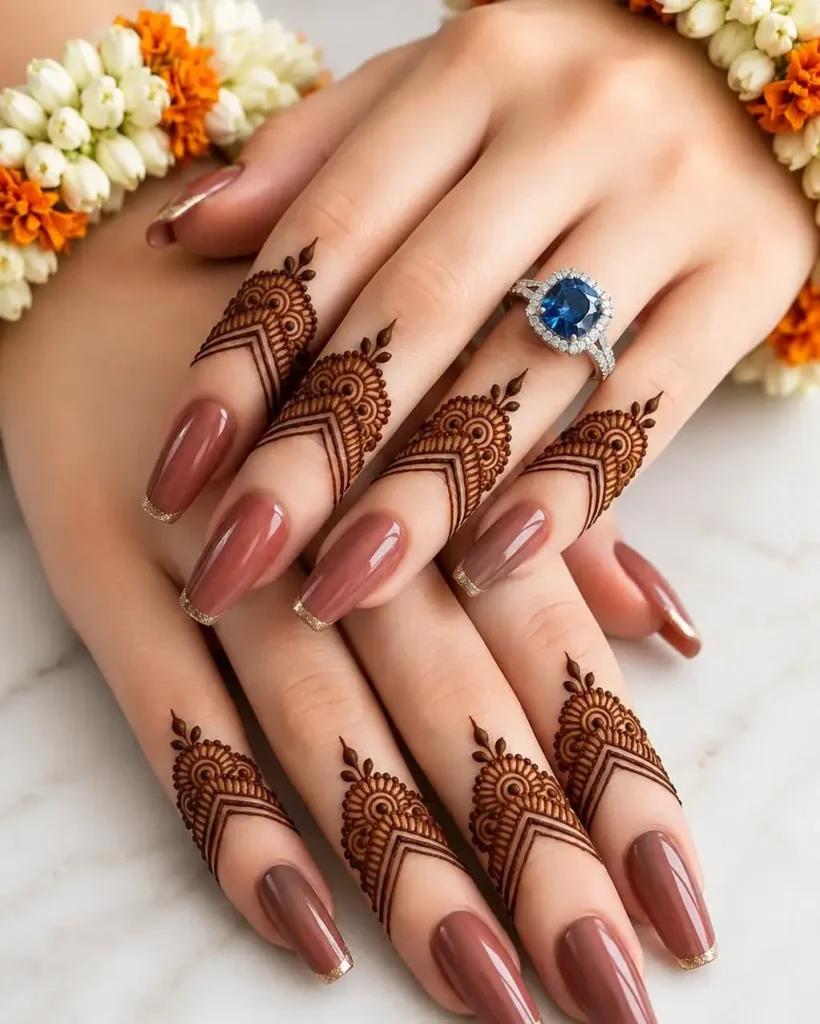
Quick Picks by Occasion and Time
Pick by the time you have. Times are typical ranges for the fingers only, and your artist’s pace can change them.
| Occasion | Best style | Fingers | Typical time | Start with |
| Everyday or office | Single band, leaf trail, dots | 1 to 2 | 5 to 10 minutes | Simple front designs |
| Eid, Teej or Karwa Chauth | Light Arabic vine, mini mandala, crescent | 3 to 5 | 15 to 30 minutes | Arabic or traditional designs |
| Party or engagement | Jewellery style, negative space | 1 to 3 | 20 to 35 minutes | Jewellery or stylish designs |
| Bridesmaid | Matching set, lighter than the bride | 5 | 20 to 35 minutes | Bridal and bridesmaid designs |
| Bride | Full set with jaali or filled fingers | 10 | 45 to 90 minutes | Bridal and bridesmaid designs |
Most Importantly: This guide ensures your safety by helping you identify and avoid harmful “black henna.” The U.S. Food and Drug Administration (FDA) strongly warns against black henna temporary tattoos because they illegally contain p-phenylenediamine (PPD). As documented in PubMed (National Institutes of Health), PPD is a potent chemical sensitizer that can trigger severe allergic contact dermatitis, painful blistering, and lifelong chemical sensitivities or permanent scarring.
Editor’s Note: Simplemehandidesigns.com shares beautiful mehndi inspiration for weddings, festivals, celebrations, and everyday occasions. We feature designs sourced from real mehndi artists and provide credit or a source link whenever available. We do not use AI-generated mehndi images or rely on anonymous, unverifiable sources. Our team reviews the artist or original source before featuring a design. Some links may be affiliate links, at no extra cost to you.
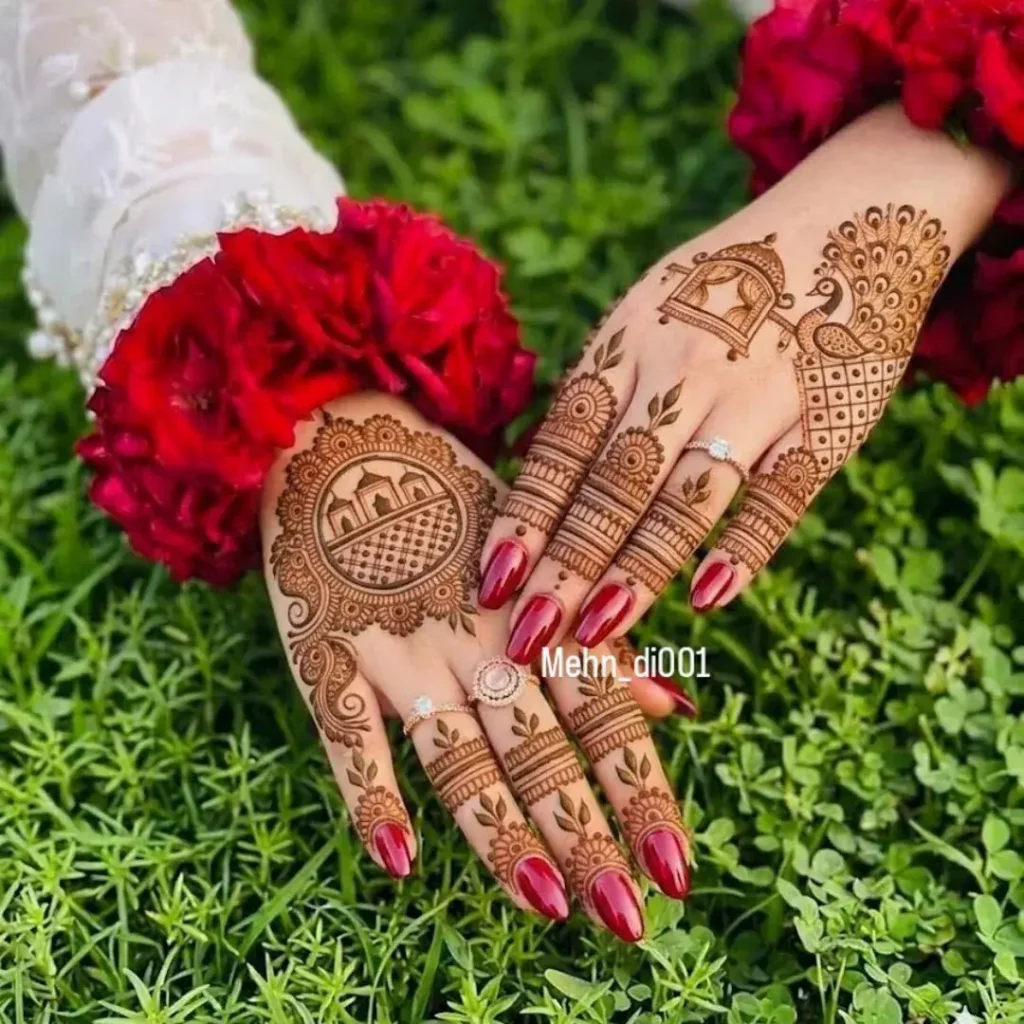
Front or Back of the Fingers: What Is the Difference?
Palm skin is thicker, so it holds more colour and turns a deep reddish-brown. The back of the finger is thinner and stains lighter, usually amber to chestnut. Let that difference shape your design.
| Side | Colour | Works best |
| Front (palm side) | Deeper reddish-brown | Fine lines, tiny florals, mini mandalas |
| Back (nail side) | Lighter amber to chestnut | Bold bands, jaali, jewellery styles |
On either side, keep thick motifs on the flat part of each finger. Use only thin lines across knuckle creases, because heavy paste there cracks and flakes off early. Palm paste also rubs off more easily, so keep that hand still and open while it sets.
Simple Front Finger Mehndi Designs (Palm Side)
These seven are the easiest place to begin. They use thin lines and small motifs, and none needs shading. Start with the three-line band if you have never held a cone.
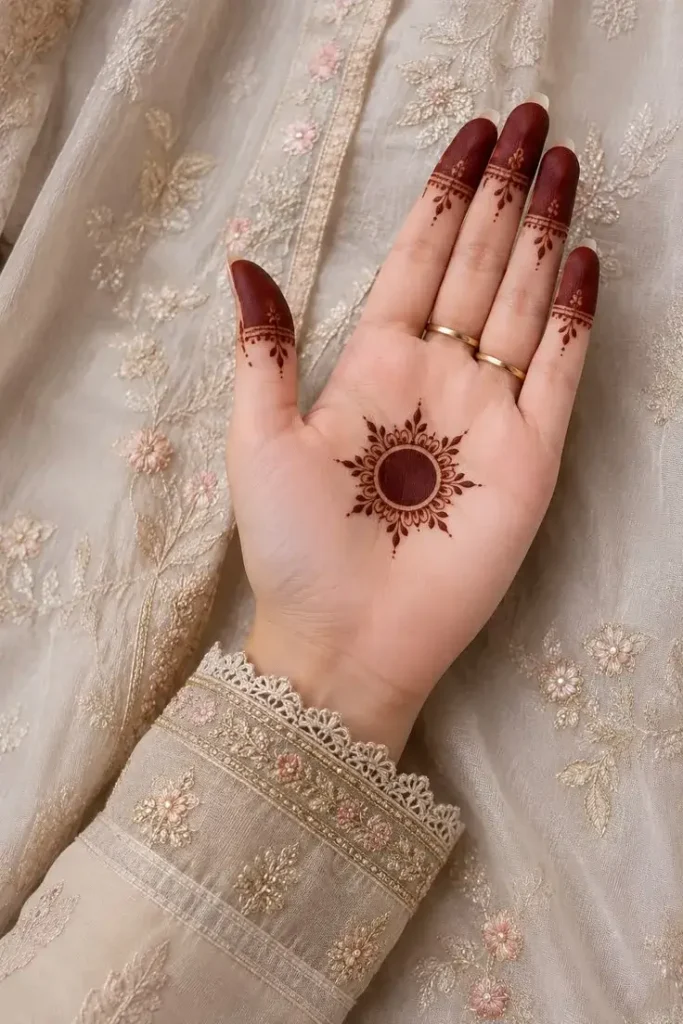
1. Single Leaf Trail on Each Finger
One slim stem runs from the base to the tip, with small leaves on alternate sides. Draw the stem first, then add the leaves in matching sizes.
Beginner | 5 minutes | Everyday wear
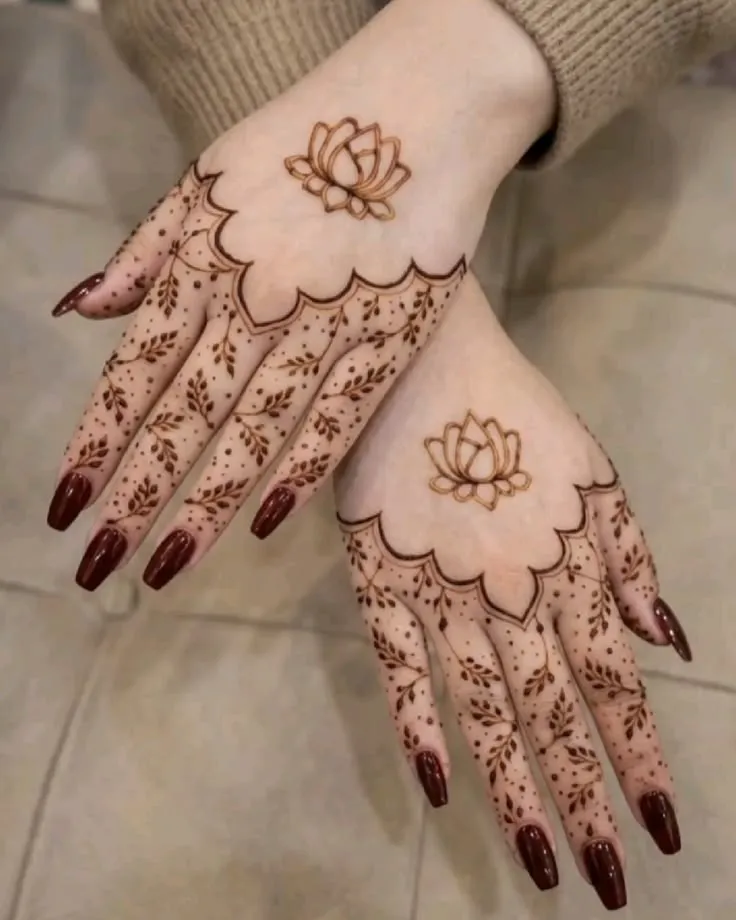
2. Dots and a Single Line on the Fingertips
A short line runs down the fingertip and ends in a dot, with tiny dots on both sides. Press and lift the cone quickly for round dots.
Beginner | 5 minutes | Office wear
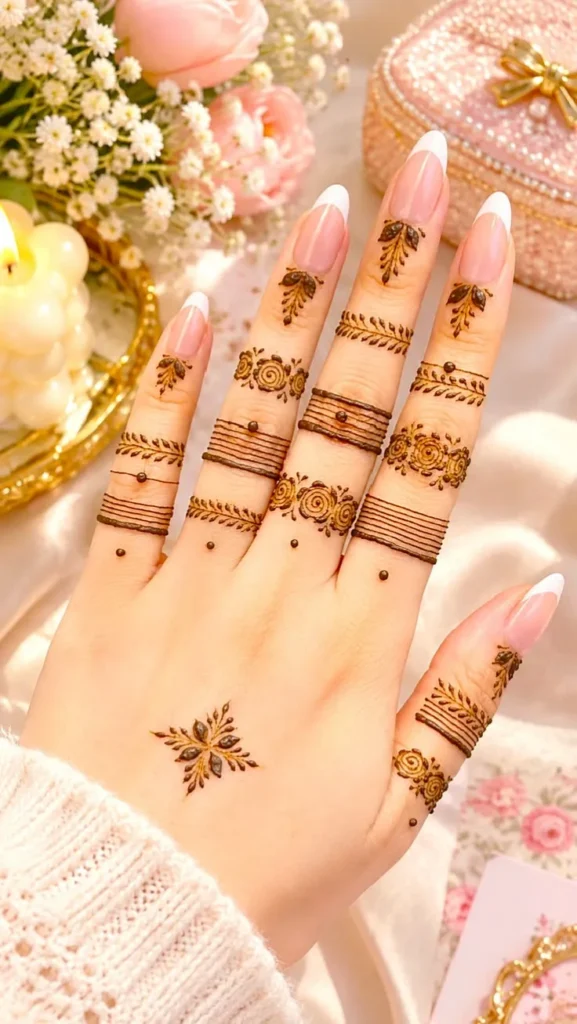
3. Three-Line Band
Three thin parallel lines wrap across the finger in a neat stripe. Rest the side of your drawing hand on the table to keep the lines straight.
Beginner | 5 minutes | Eid mornings
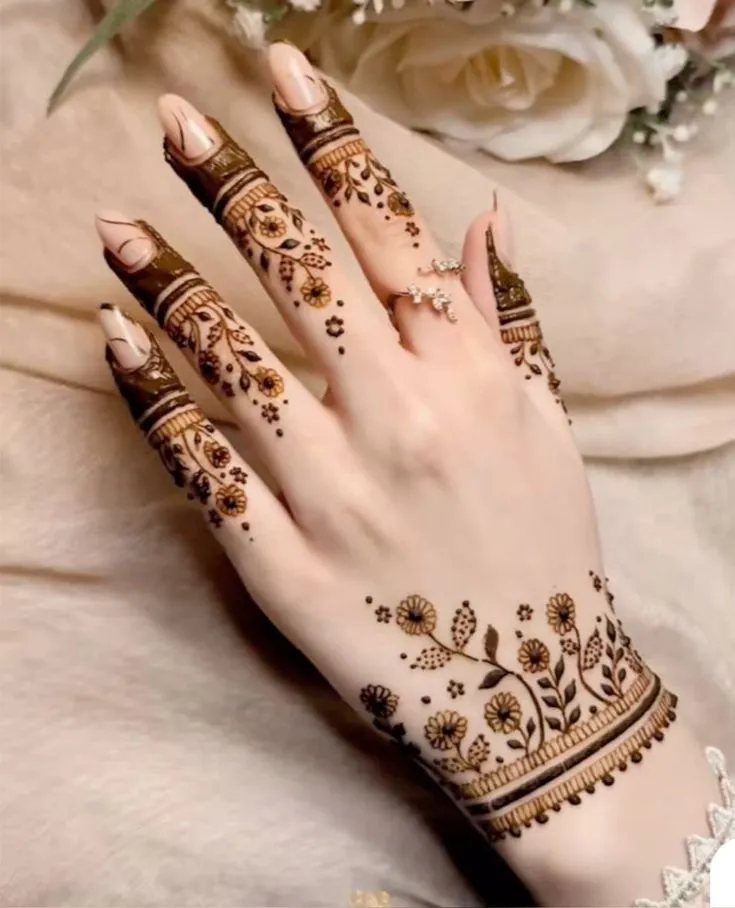
4. Tiny Flower with a Short Vine
One five-petal flower sits near the fingertip, joined to a short curl of vine. Draw each petal as a small teardrop, then add a centre dot.
Beginner | 10 minutes | Festivals
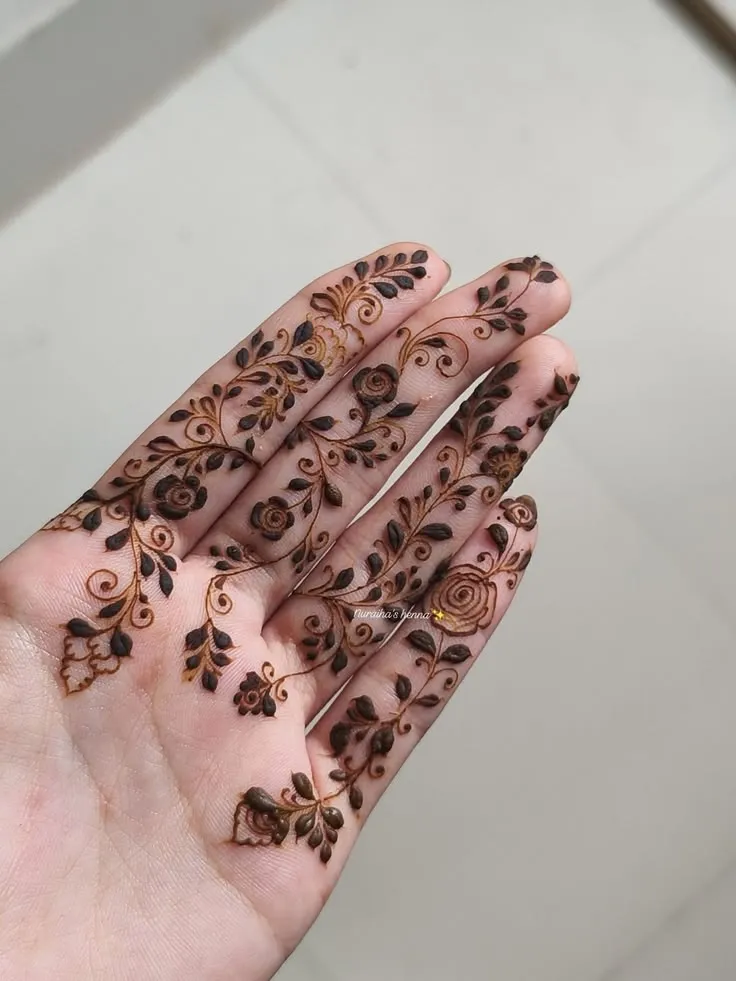
5. Mini Mandala in the Middle of the Finger
A small circle with a centre dot sits mid-finger, ringed by petals and a scalloped edge. Place the dot first, then draw the petals around it like a clock face.
Intermediate | 10 to 15 minutes | Teej and Karwa Chauth
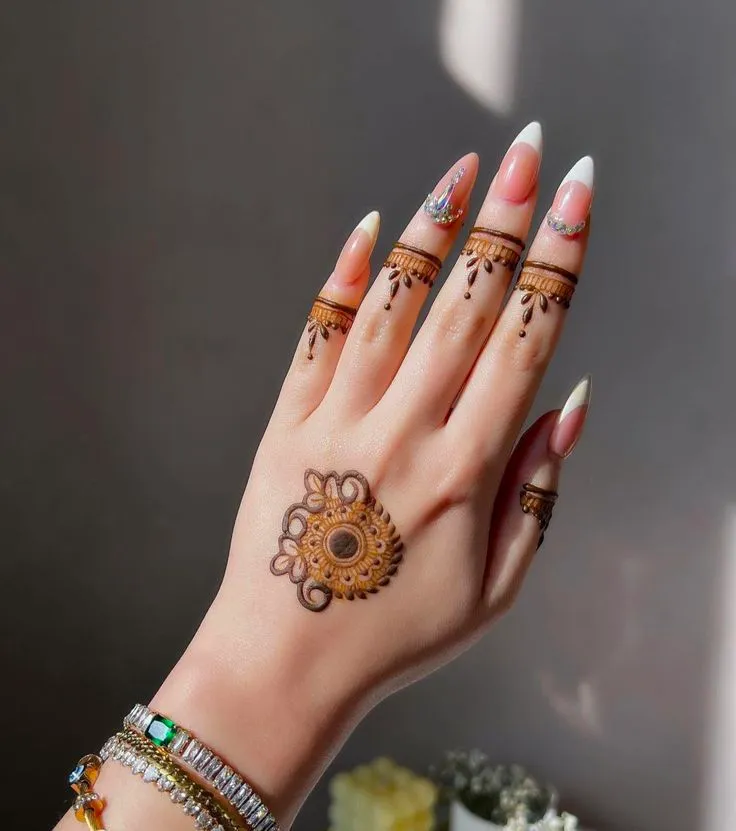
6. Half-Finger Jaali
Jaali is a net of crossing lines. Here it covers the lower half of the finger and leaves the tip bare. Draw every line in one direction first, then cross them.
Intermediate | 15 minutes | Parties, pairs well with a palm design
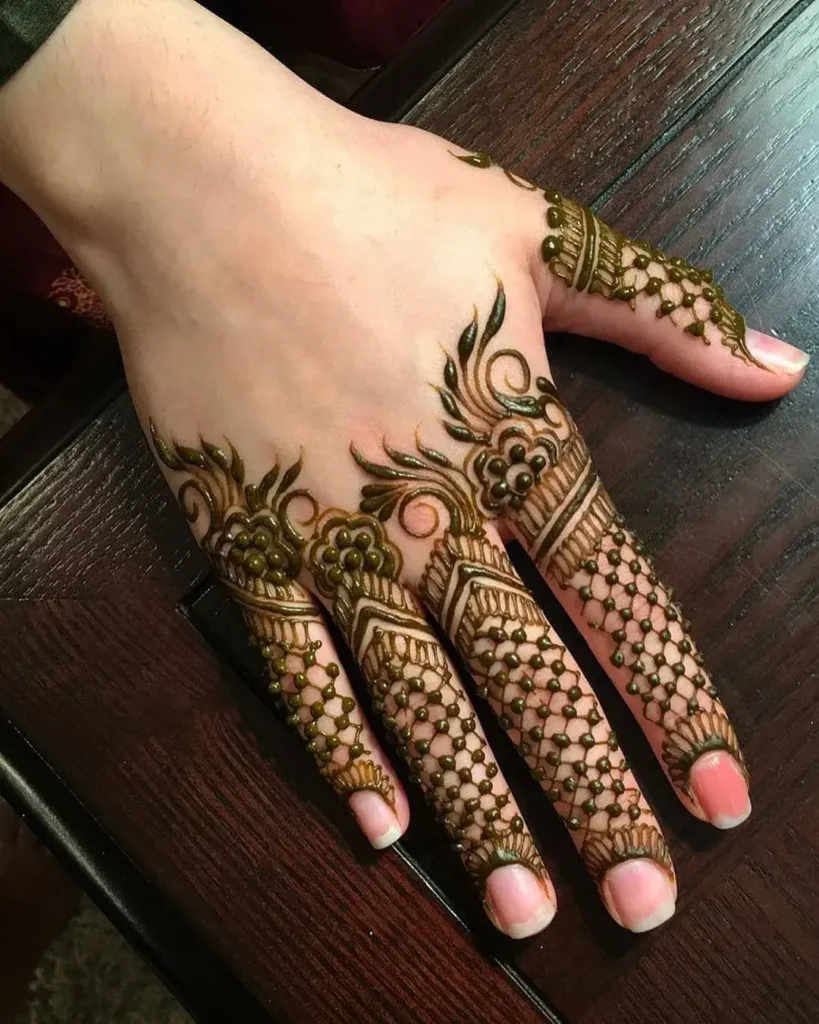
7. Scalloped Band at the Base
A row of small half-circles curves around the base of the finger like a ring. Start in the centre and work outward so the arcs stay even.
Beginner | 5 to 10 minutes | Ring wearers
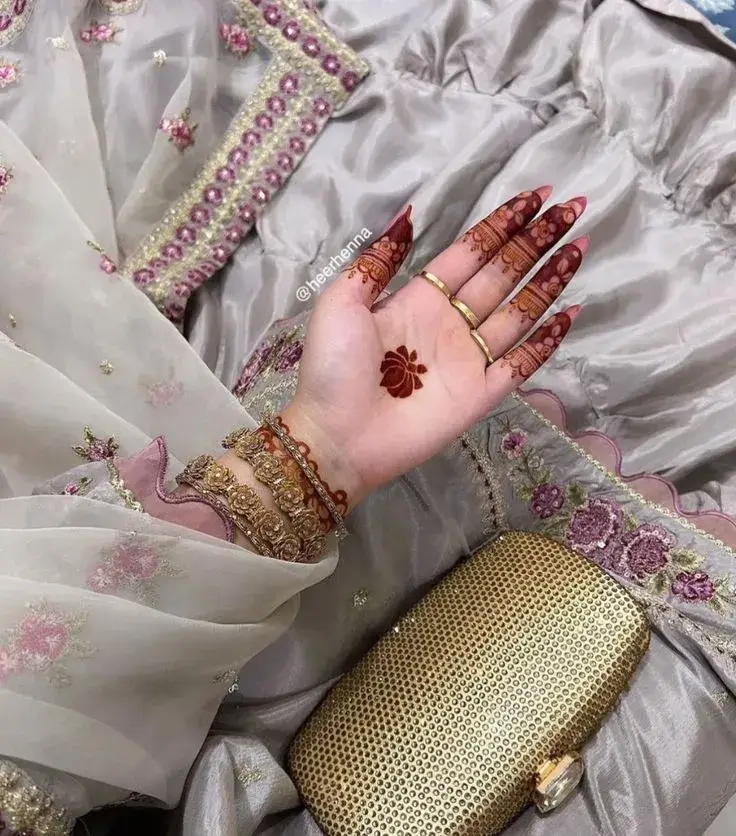
Simple Back Finger Mehndi Designs (Nail Side)
These six sit on the nail side, where rings and nail polish frame the design. Most repeat a single motif, which keeps them quick and even. Check out more back hand mehndi designs.
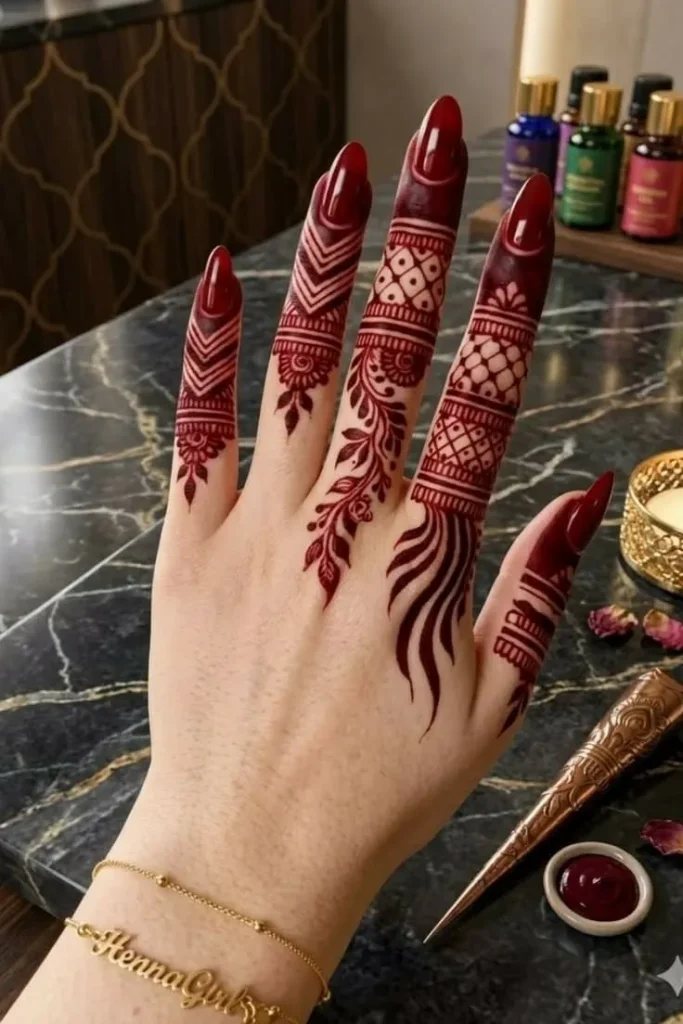
8. Stacked Ring Bands Below the Knuckle
Three thin bands sit just below the knuckle, stacked like rings. Keep the cone pressure steady so all three lines match in width.
Beginner | 5 to 10 minutes | Everyday wear
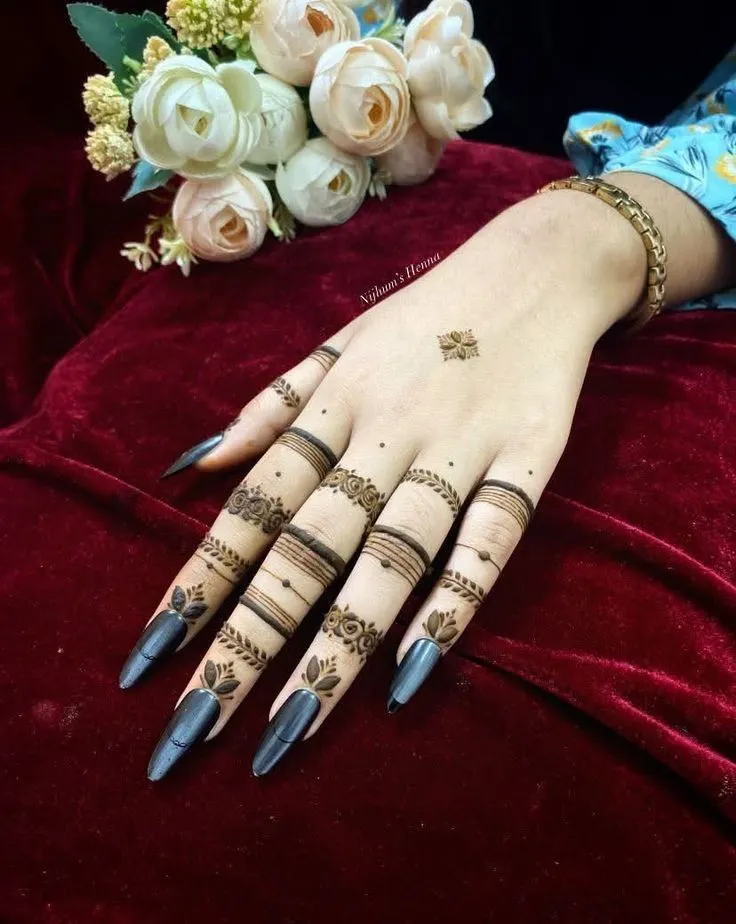
9. One Vine Curling Along the Finger
A single vine winds up the finger in a gentle S-curve, with a few small leaves. Let the curve follow the finger instead of cutting across it.
Beginner | 10 minutes | Festive outfits
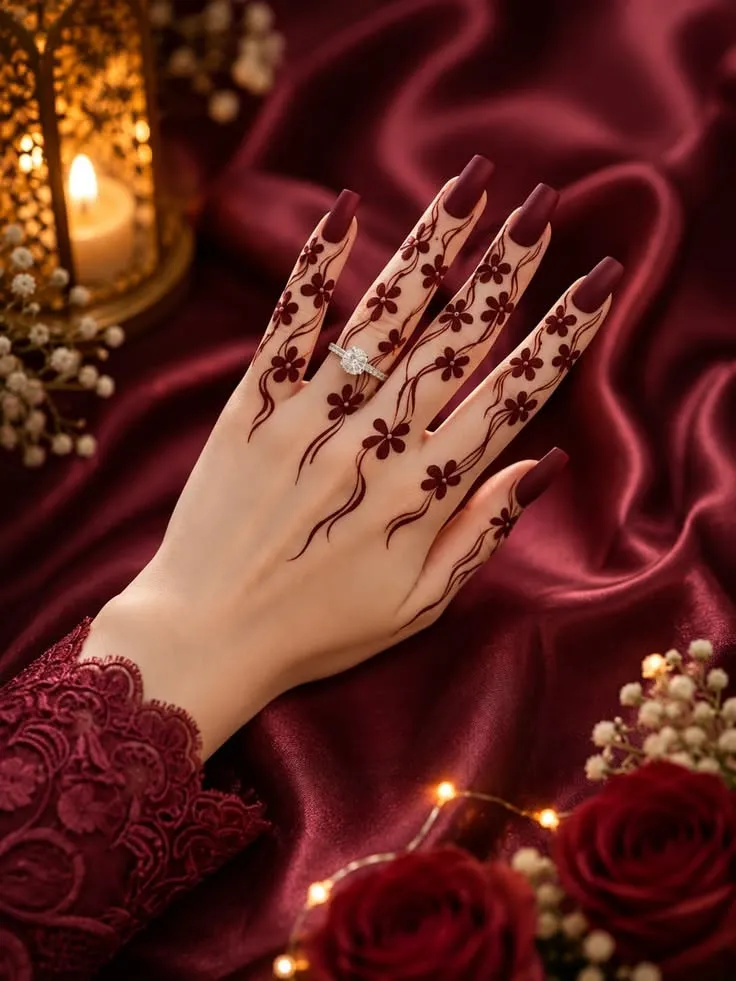
10. Fingertip Flowers with Bare Nails
A small flower sits just below each nail, leaving the nail clear. Stop each flower short of the nail edge so the paste stays off your polish.
Intermediate | 15 minutes | Nail polish wearers
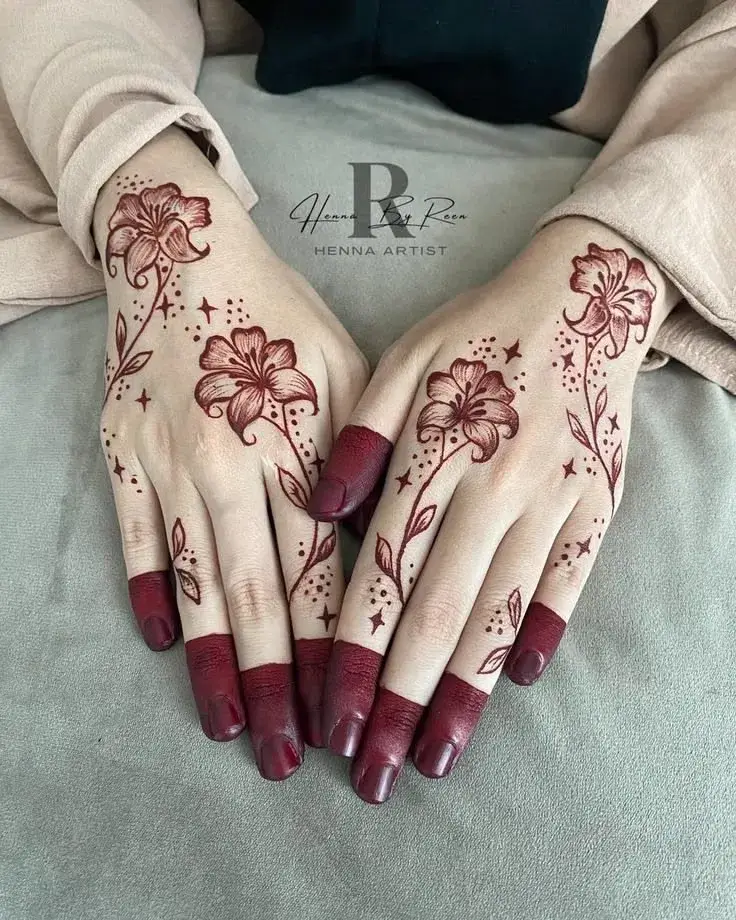
11. Dotted Chevron Strip
A row of small V shapes runs down the centre of the finger, with a dot inside each V. Keep every V at the same angle.
Beginner | 10 minutes | Modern outfits
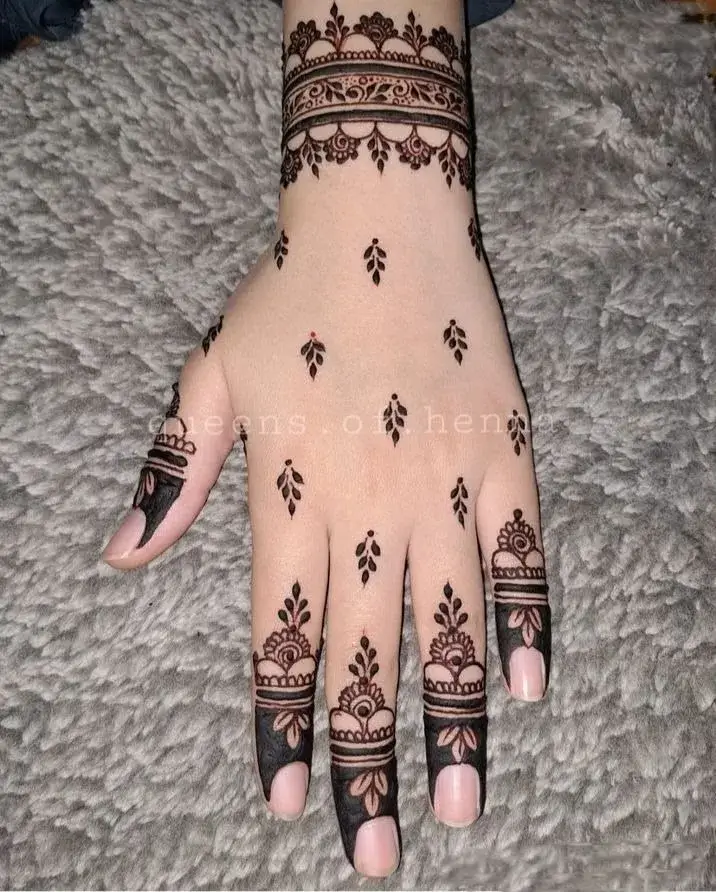
12. Leaf and Pearl Chain
Small leaves alternate with tiny round dots, like a pearl chain, down the length of the finger. Draw the leaves first and add the dots between them.
Intermediate | 15 minutes | Parties
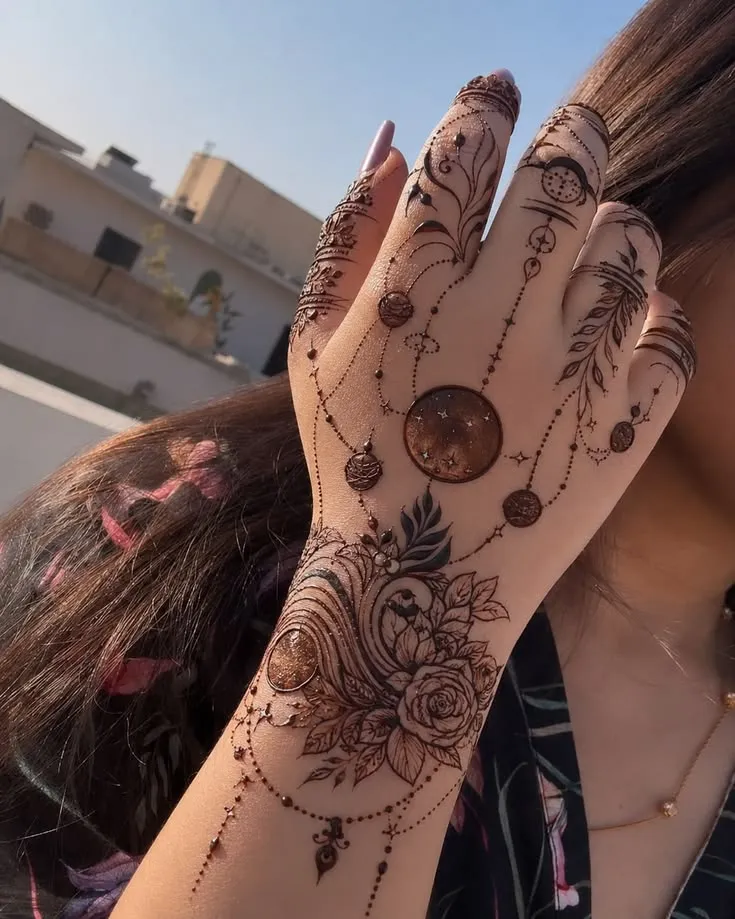
13. Single Flower Above the Knuckle
One medium flower with a centre dot sits on the flat skin above the knuckle. Draw four petals first, then fill the gaps between them.
Intermediate | 10 minutes | Minimal looks
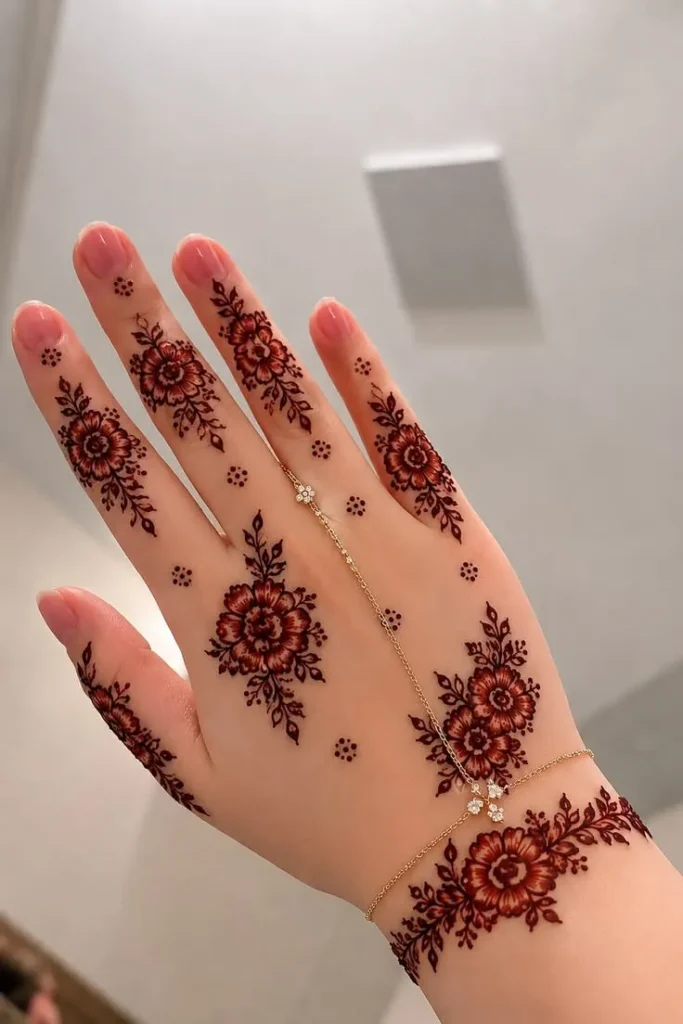
One Finger and Two Finger Mehndi Designs
One accented finger takes minutes and still looks planned. The index points, the ring finger frames a ring, and the thumb stands apart, so each suits a different idea.
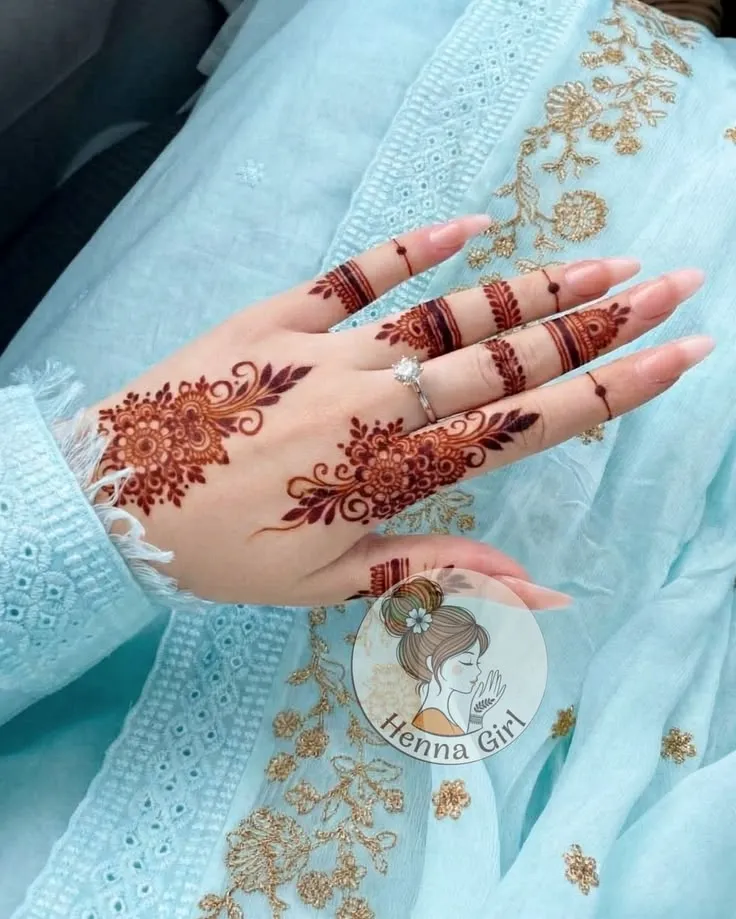
14. Ring Finger Band with a Mini Mandala
A slim band at the base holds a tiny mandala just above it. Keep both small so the design frames your ring instead of hiding it.
Intermediate | 10 minutes | Engagements and ring wearers
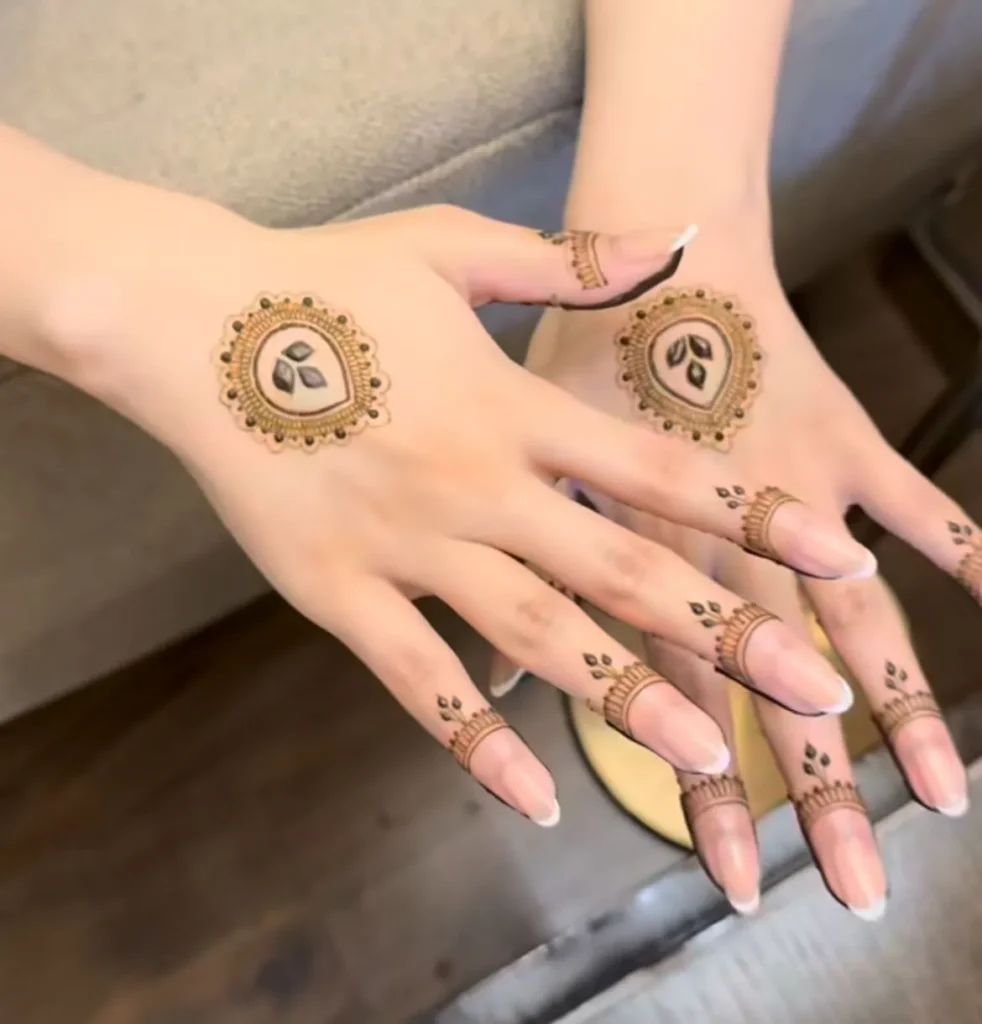
15. Index Finger Vine Sweeping Toward the Wrist
A fine leafy vine starts at the index fingertip and curves down the finger, fading out on the back of the hand toward the wrist. Draw the main curve in one smooth stroke.
Intermediate | 15 minutes | Arabic style
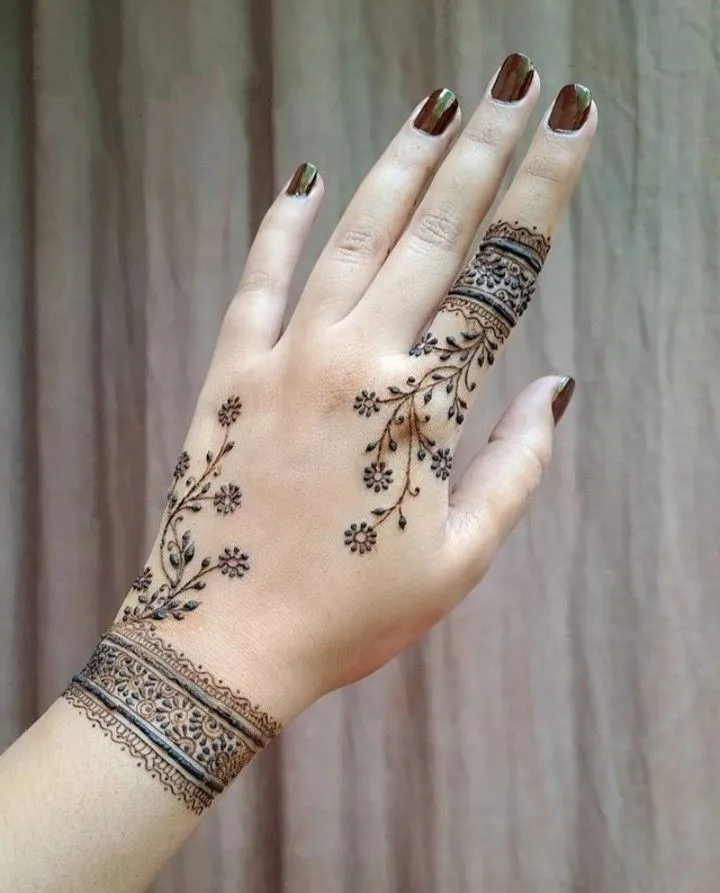
16. Thumb Accent
The thumb gets its own small motif, like a leaf pair or short band, while the other fingers stay bare. If you plan palm mehndi, repeat one motif from it here.
Beginner | 5 to 10 minutes | Quick accents
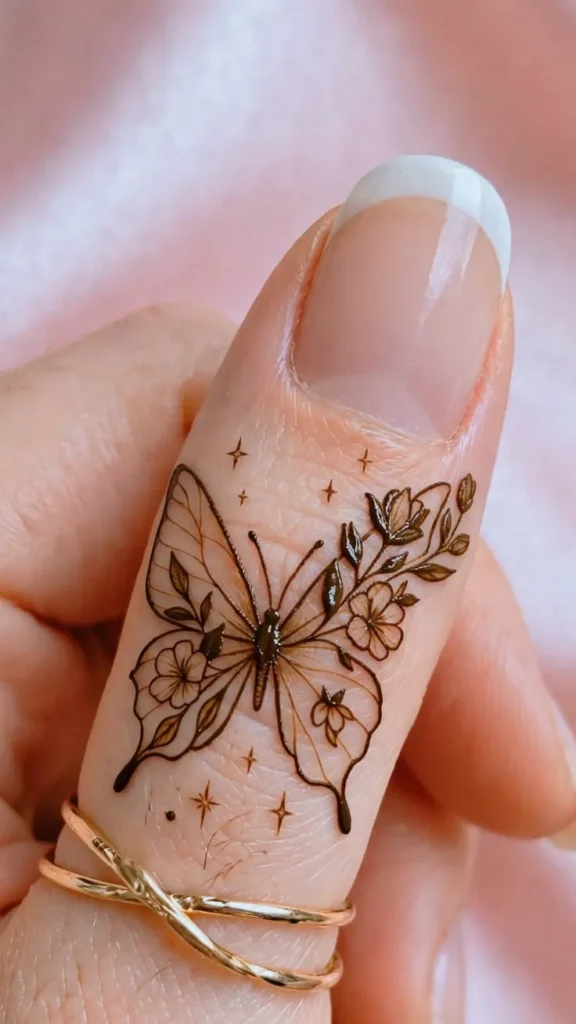
17. Index and Little Finger Only
Detail goes on the index and little finger, and the two fingers between them stay bare. Use the same motif on both so the uneven look still feels balanced.
Beginner | 10 minutes | Asymmetric looks
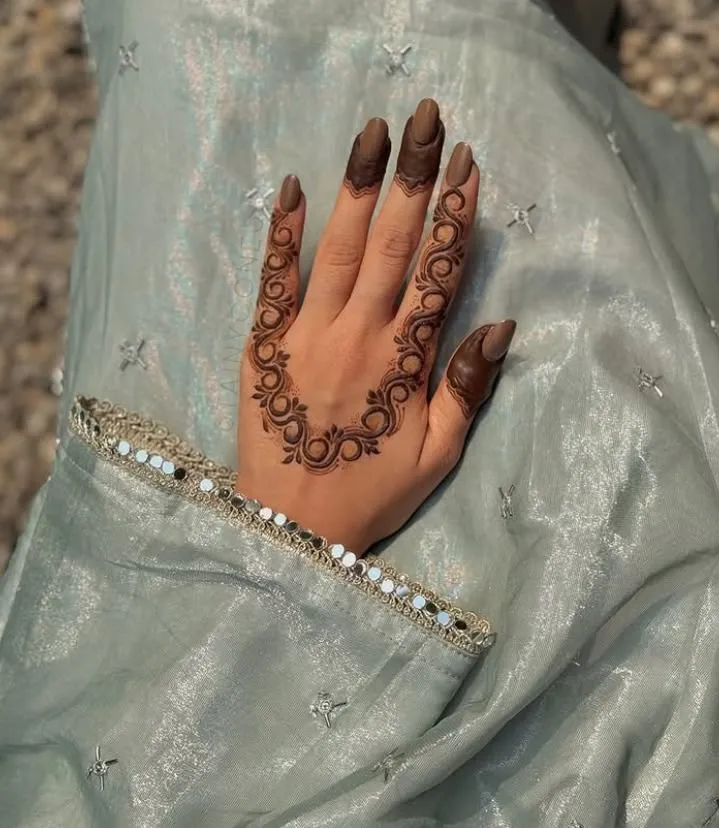
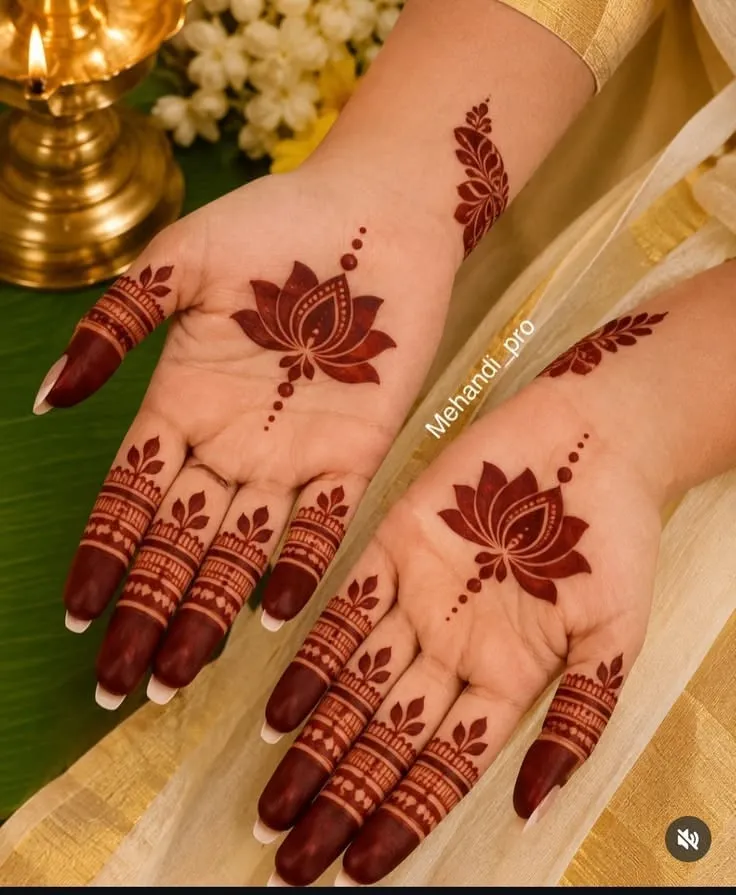
18. Fingertip Caps with a Bare Lotus Window
Henna covers each fingertip like a small cap, with a lotus-shaped window of bare skin in the middle. Outline the lotus first, then fill in around it.
Intermediate | 15 to 20 minutes | Festive and bridal wear
Stylish and Modern Finger Mehndi Designs
Modern designs depend on clean shapes and empty skin, not heavy filling. A fine cone line shows every wobble, so a steady hand matters more than speed here.
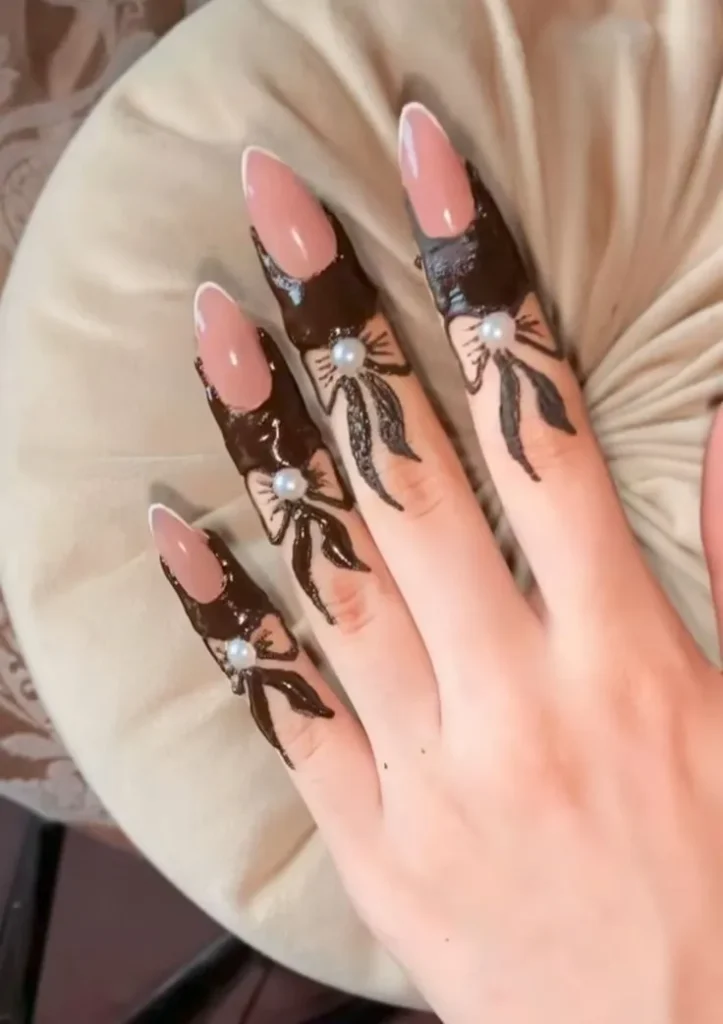
19. Negative-Space Cuff
A solid henna band wraps the base of the finger, with a small leaf or row of dots left bare inside it. Fill the band in one pass, then tidy the window edge with a toothpick before it dries.
Intermediate | 15 minutes | Parties and modern looks
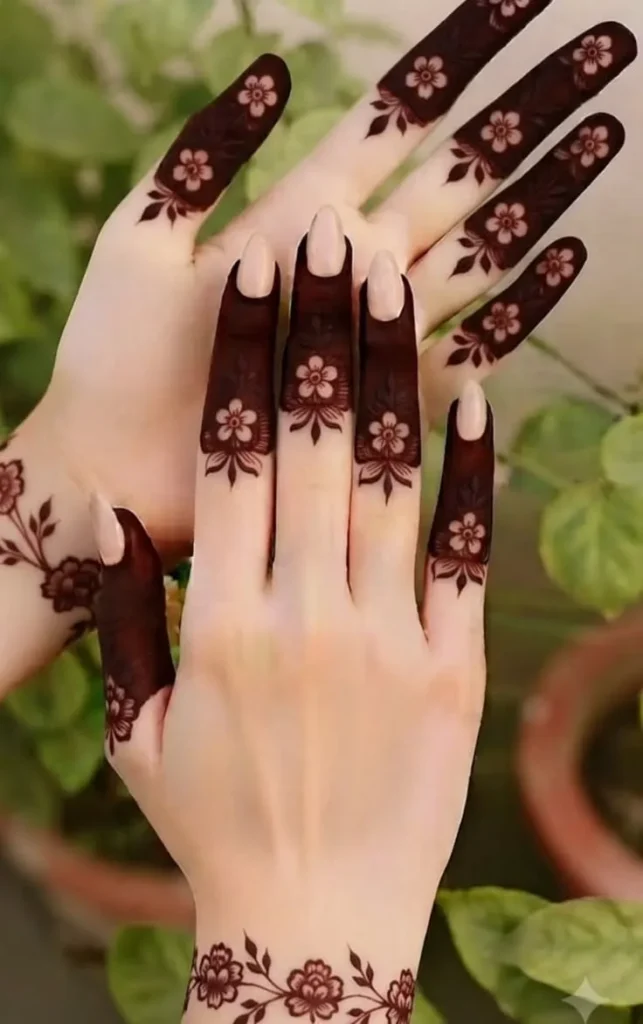
20. Chevron and Zigzag Bands
Two or three V-shaped lines stack along the finger, with the points aiming at the nail. Press one dot at the finger’s centre first, then build every V from it.
Beginner | 10 minutes | Everyday wear
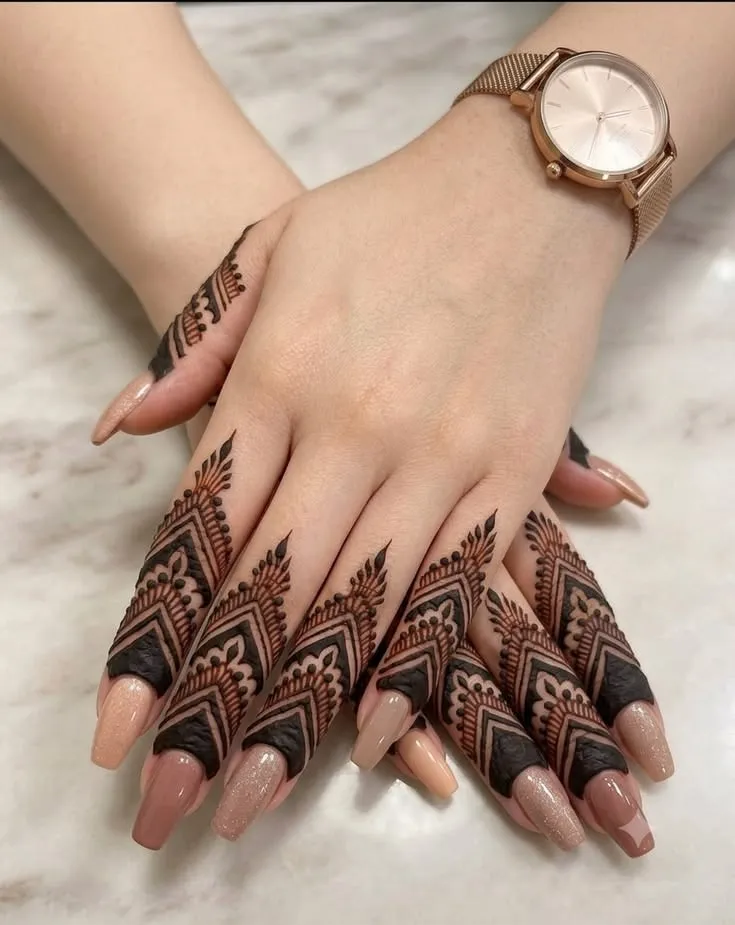
21. Fine-Line Tattoo Style
Hair-thin lines form a tiny crescent, star, or initial on the side of the finger. Rest your wrist on the table and pull the line toward you for a steady, thin stroke.
Advanced | 15 minutes | Minimal and office looks
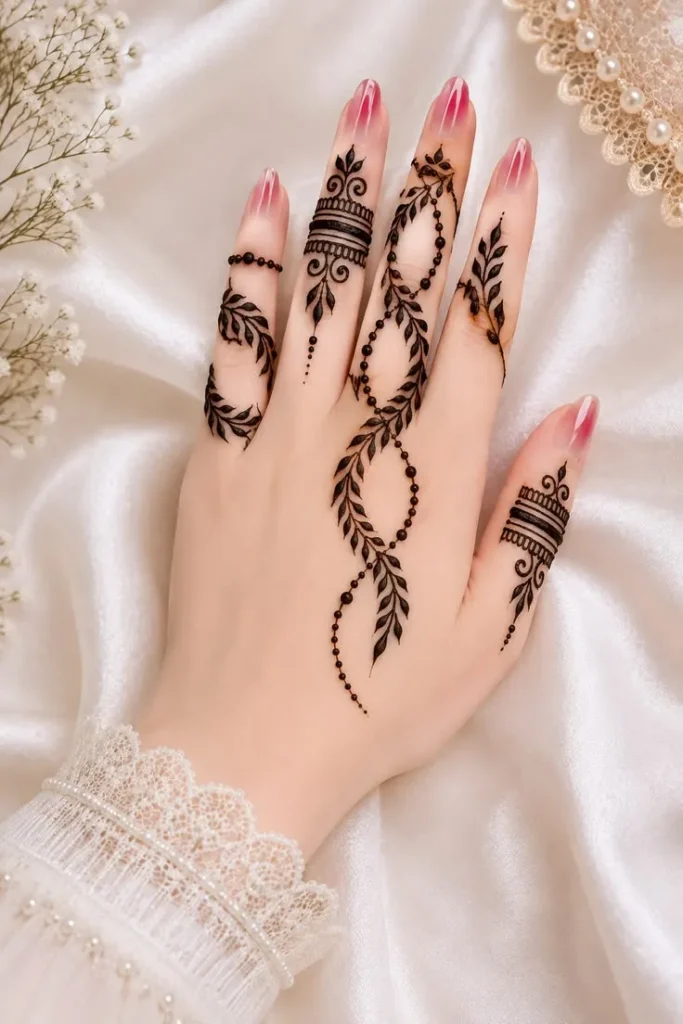
22. Chessboard Grid
Small squares alternate between filled and bare, like a tiny checkerboard wrapped around one band. Draw all the grid lines first, then fill every second square.
Intermediate | 20 minutes | Parties and modern looks
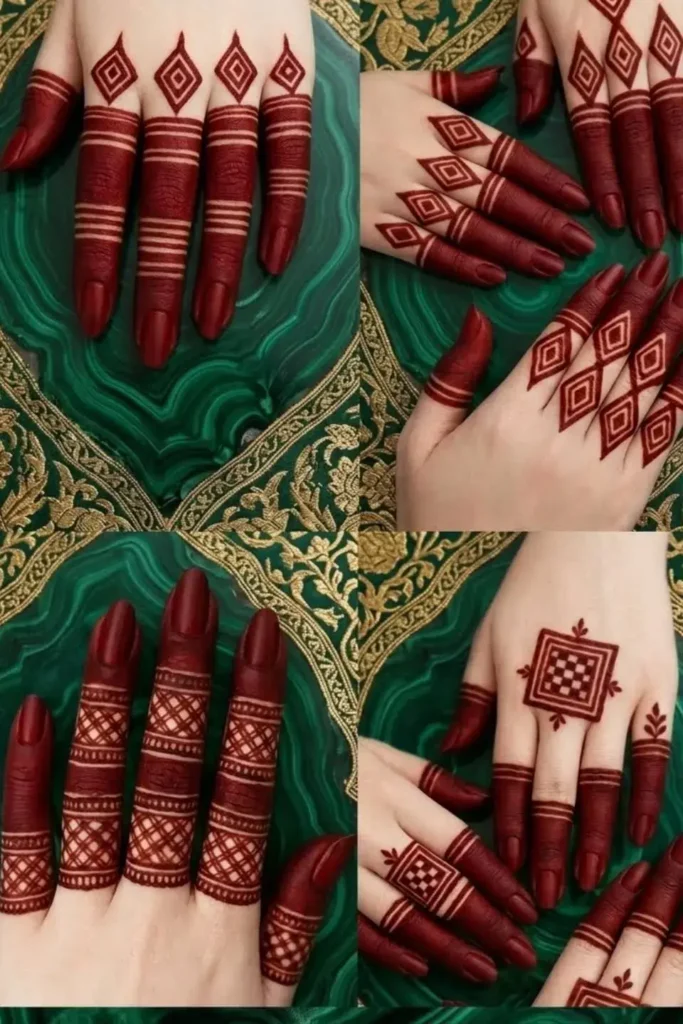
23. Continuous Line Art
One unbroken line loops and curves down the finger without leaving the skin. Plan the whole path before you start, because a pause in the middle leaves a blot.
Advanced | 10 to 15 minutes | Minimal looks
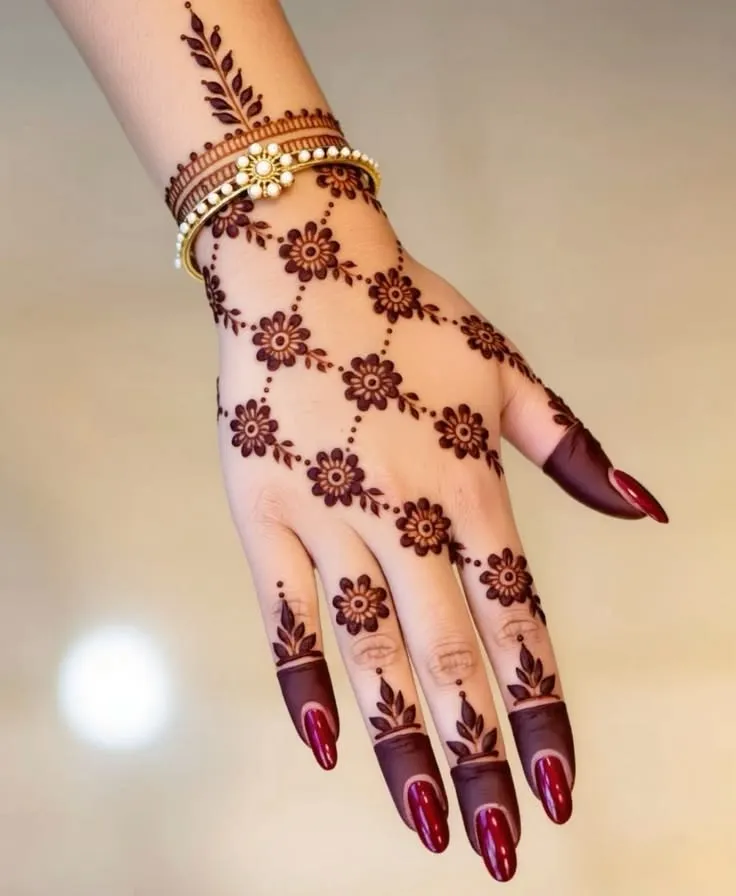
24. Reverse-Filled Leaf
The leaf stays bare while henna fills the skin around it, so the leaf reads as a light shape on a dark ground. Leave the centre vein as a hair-thin gap and fill outward from it.
Advanced | 20 minutes | Festive and party wear
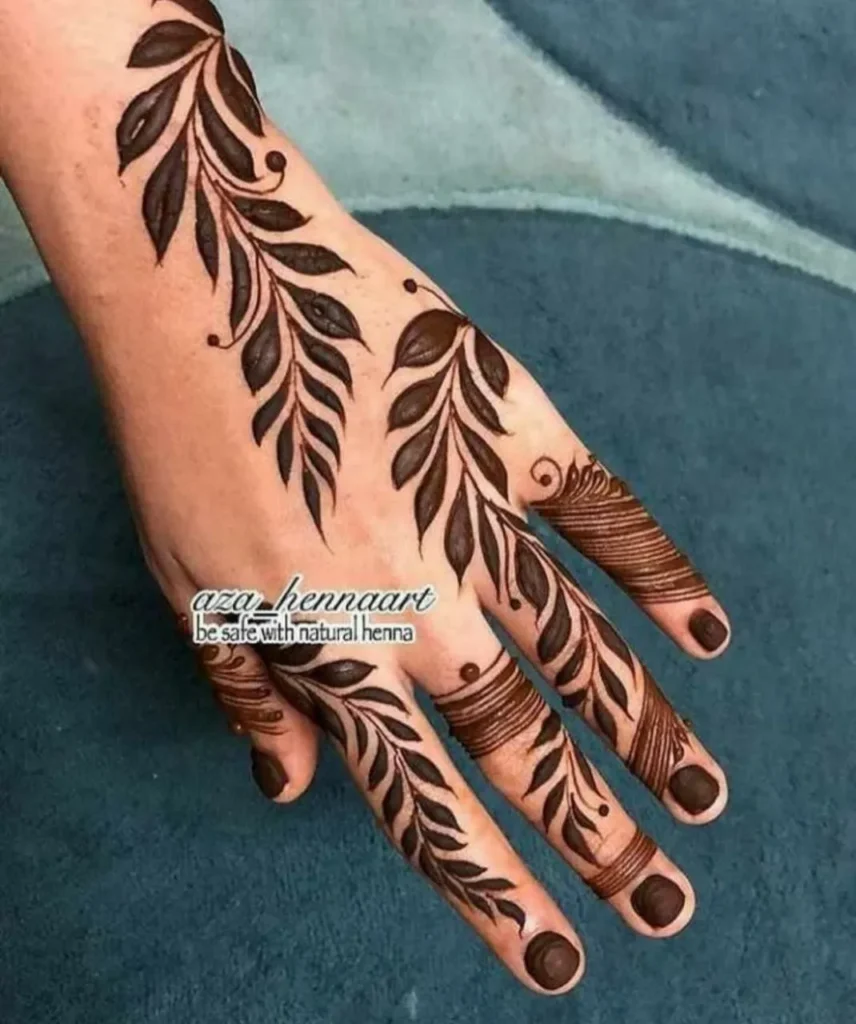
Jewellery Style Finger Mehndi Designs
Jewellery designs copy rings, chains, and pearls in henna. They work best when the lines stay thin, and the shapes stay small, like real fine jewellery.
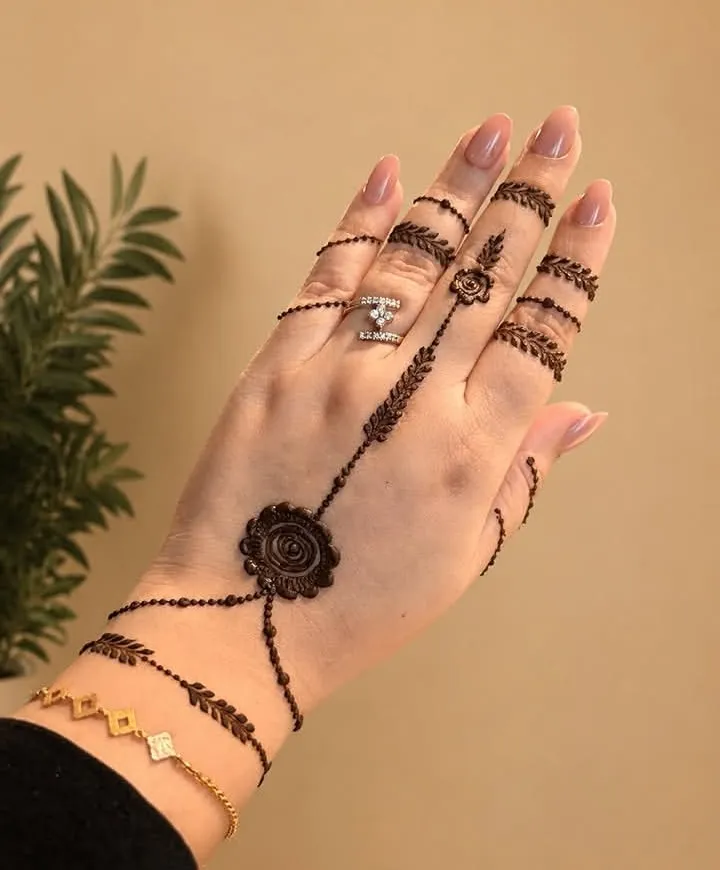
25. Faux Stacked Rings
Three thin bands sit at different heights on the finger, drawn to look like separate rings. Place a small diamond shape or dot on one band as the stone.
Intermediate | 10 to 15 minutes | Engagements and parties
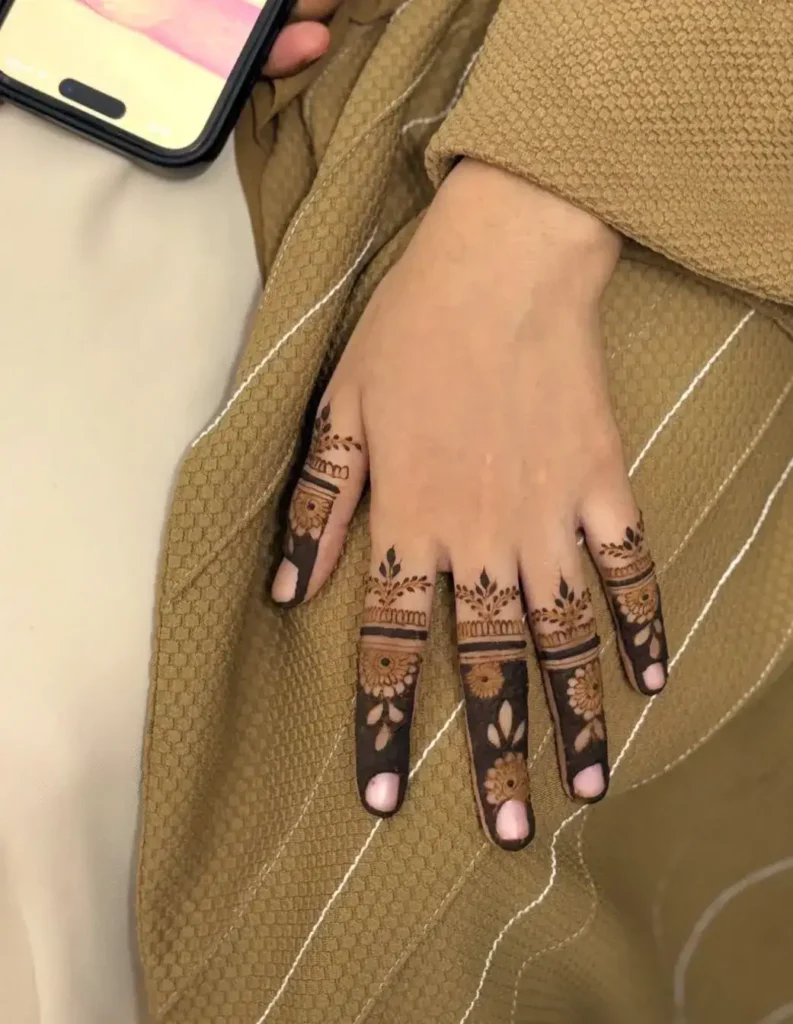
26. Haathphool Chain to Finger Rings
A haathphool is a hand ornament that joins a bracelet to finger rings with fine chains. Draw a small floral medallion on the back of the hand, then run dotted chains from it to a ring band on one or more fingers.
Advanced | 25 to 30 minutes | Bridal and engagement
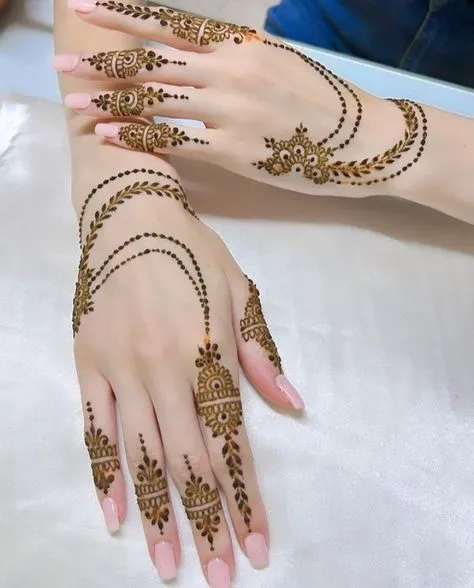
27. Pearl and Teardrop Chain
A row of round dots runs down the finger like pearls and ends in one teardrop. Press the cone down and lift straight up so every pearl comes out the same size.
Beginner | 10 to 15 minutes | Parties and Eid
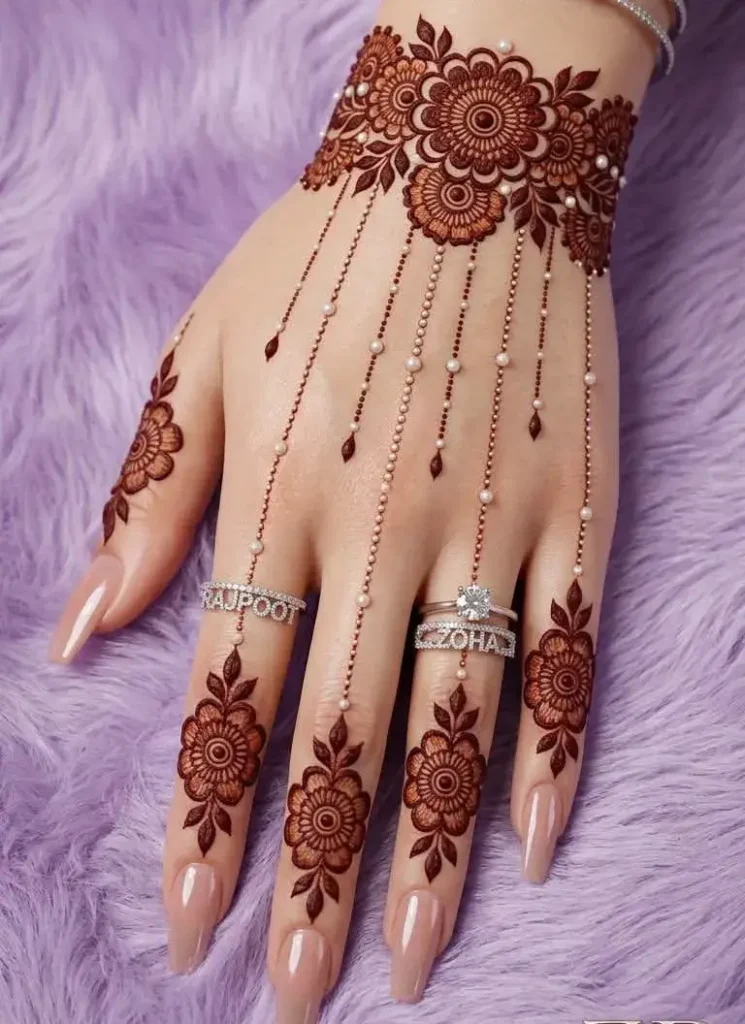
28. Wrist Cuff Linked to Finger Bands
A wide cuff sits at the wrist, and straight fine lines run from it to thin bands on the fingers. Draw the cuff first, then pull each line toward the finger so it stays straight.
Advanced | 30 to 40 minutes | Bridal and sangeet
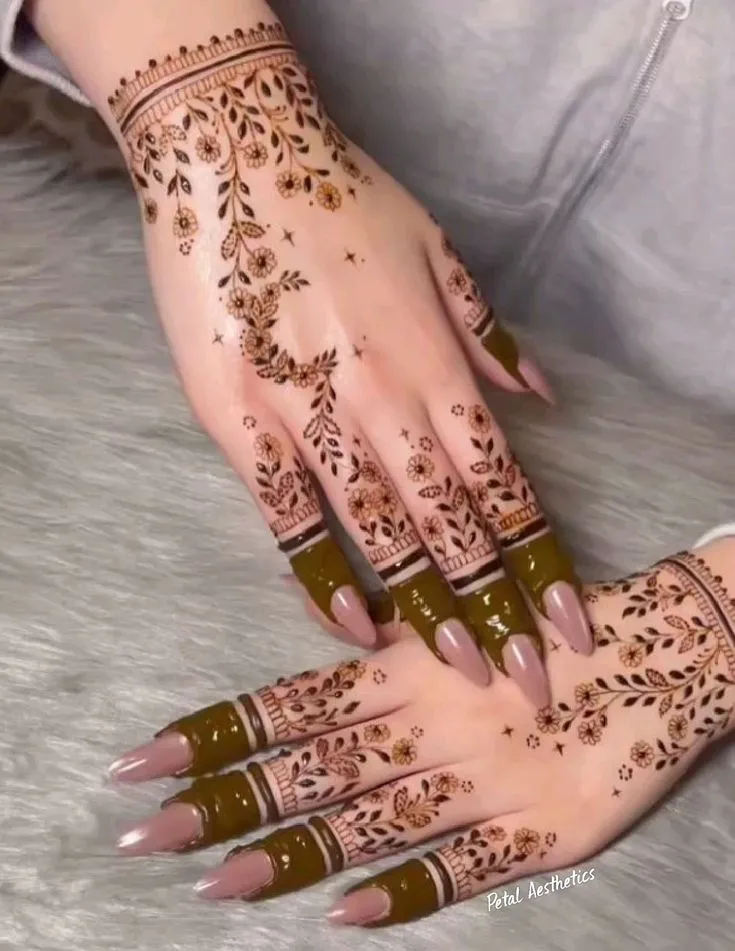
Arabic Finger Mehndi Designs
Arabic mehndi style uses bold, flowing lines with plenty of bare skin around them. It is lighter and more open than Indian jaali work, so it draws fast and reads clearly.
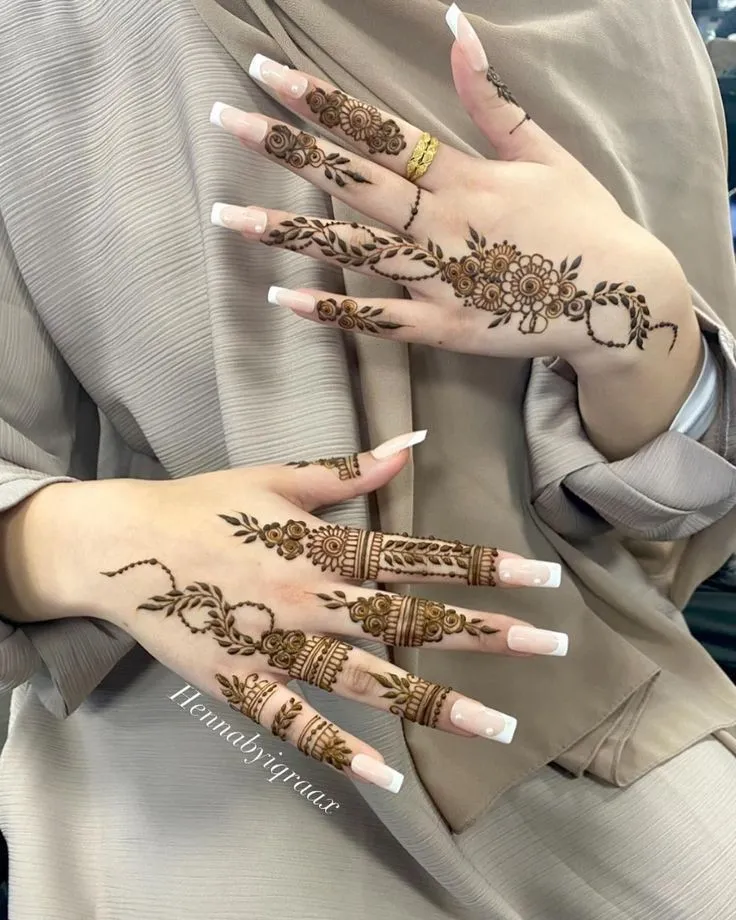
29. Flowing Vine with Shaded Leaves
A thick vine curls along the finger with a leaf at each bend. Shade only one half of every leaf, always on the same side, to give the vine depth.
Intermediate | 15 minutes | Eid and festive wear
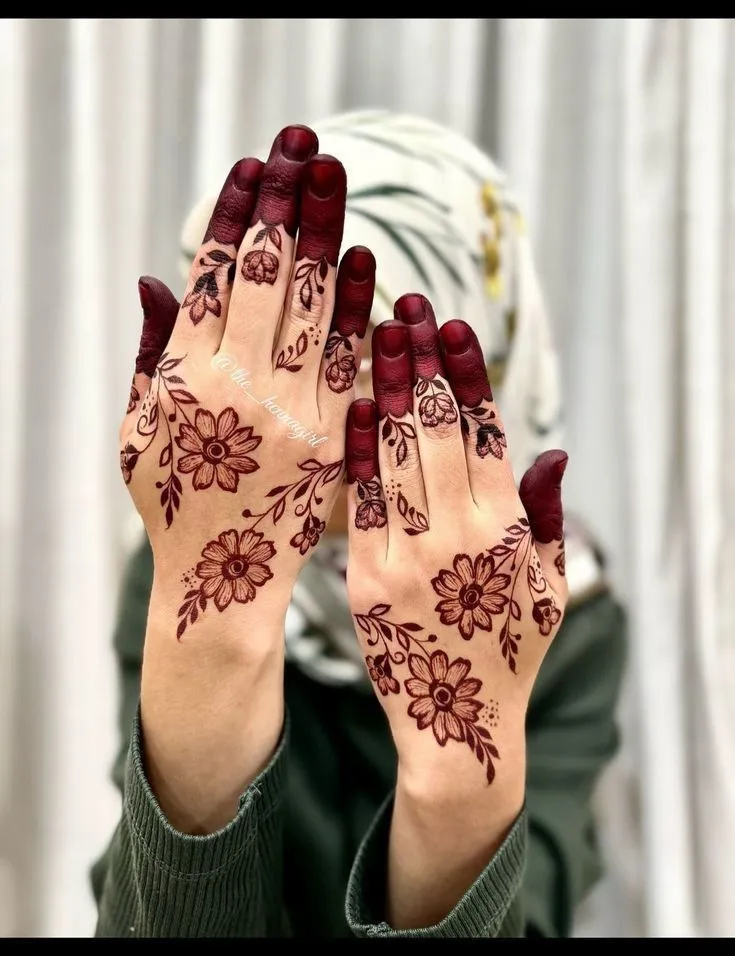
30. Bold Open Petals on Bare Skin
Large petals with open centres sit on bare skin, with wide gaps between them. Use three or five petals, and draw the middle one first so the flower stays balanced.
Beginner | 10 minutes | Casual festive wear
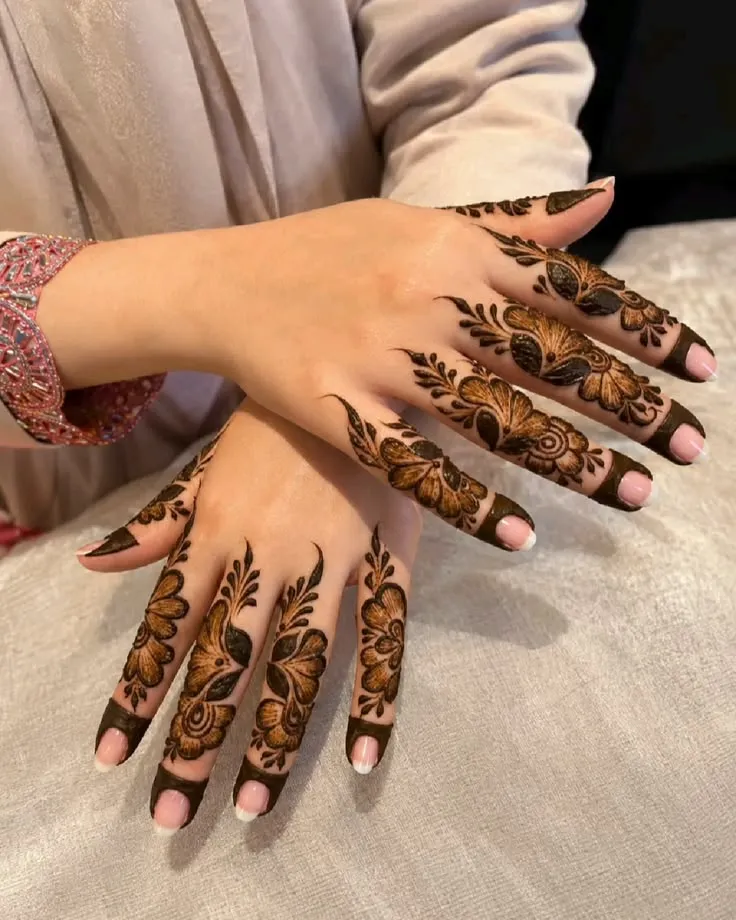
31. Diagonal Ribbon from Fingertip to Wrist
One long ribbon runs across the finger and the back of the hand to the wrist, with small leaves along its edge. Press harder in the middle of the stroke and ease off at both ends to get the thick-thin swell.
Advanced | 20 to 25 minutes | Weddings and Eid
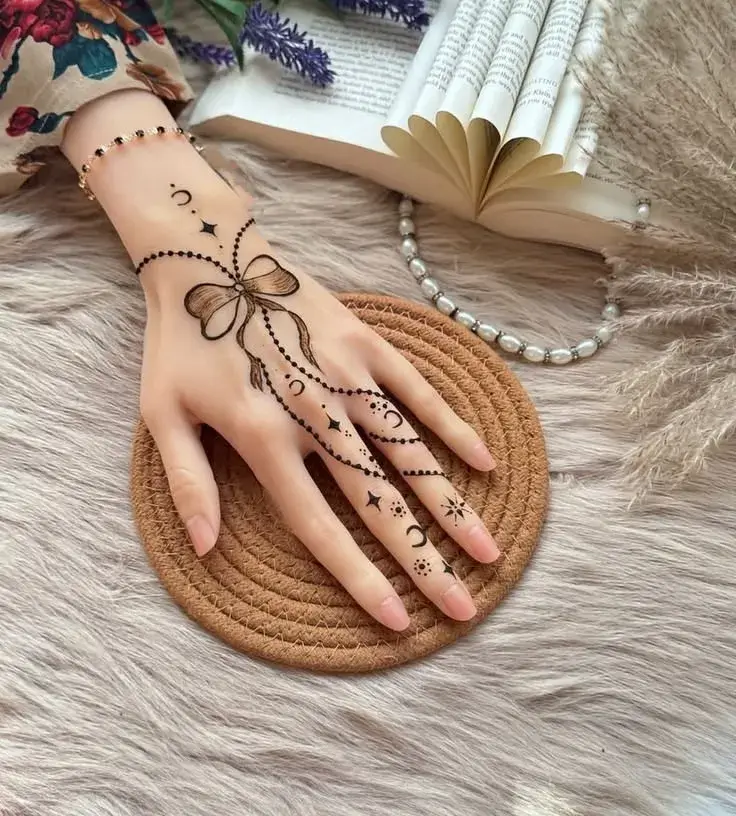
32. Crescent and Star on the Index Finger
A thick crescent sits near the knuckle with a small star in its opening. Draw the crescent first as a bold C, then place the star and one dot at its centre.
Beginner | 5 to 10 minutes | Eid and Chand Raat
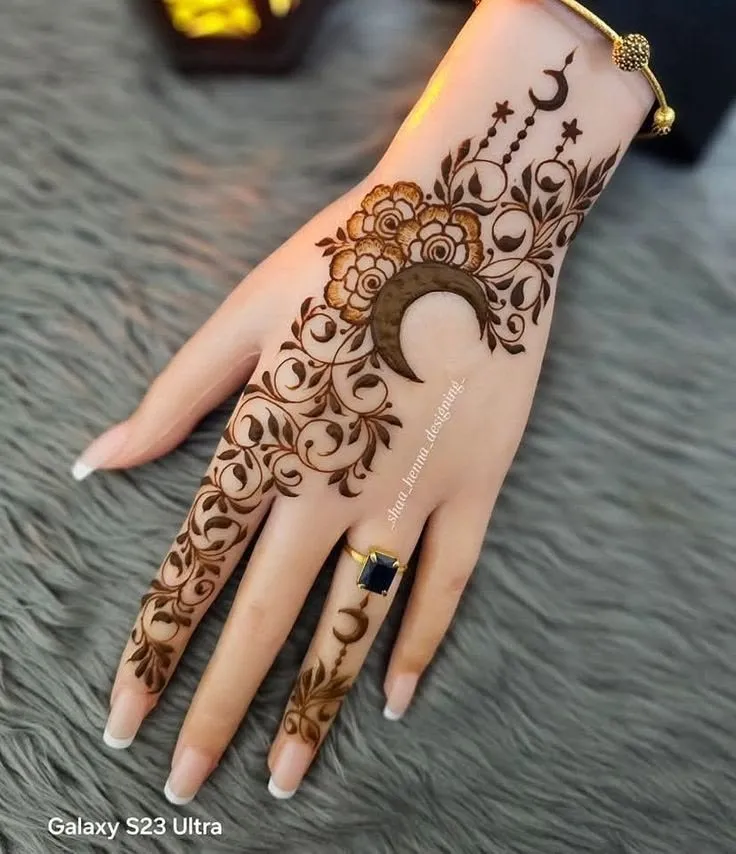
Jaali, Mandala and Traditional Finger Mehndi Designs
Traditional, royal-style work is dense and patterned, and it rewards patience. The lines are fine, the shapes repeat, and the finger becomes a small canvas for them.
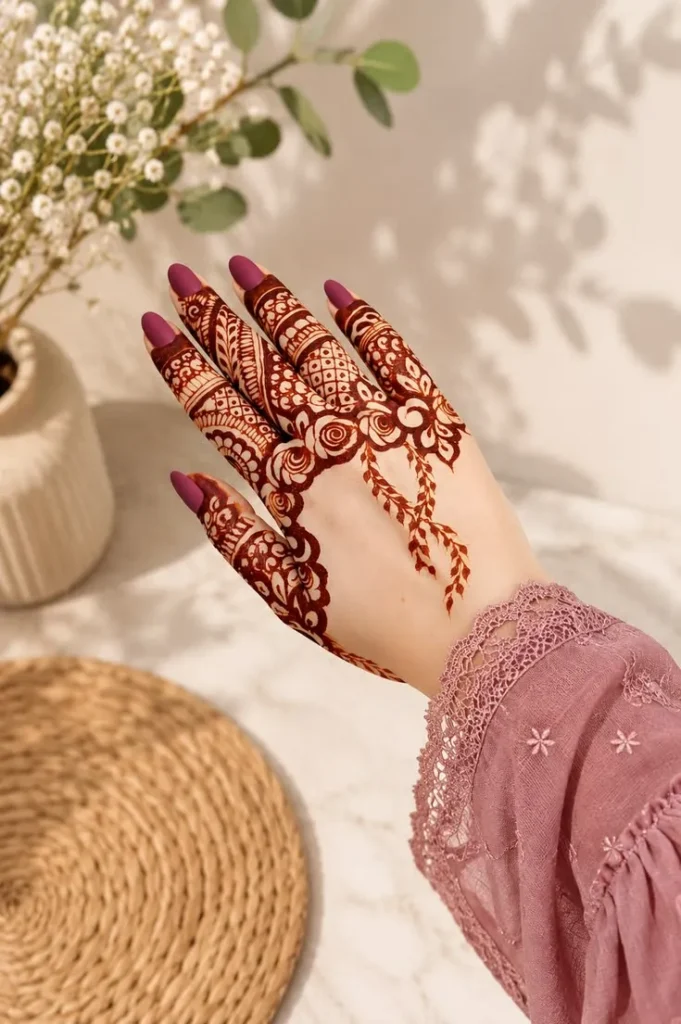
33. Full Jaali with a Dot at Each Crossing
Diagonal lines cross over the whole finger like a net, with a dot at every point where they meet. Draw all the lines in one direction first, then the other, and add the dots last.
Intermediate | 20 minutes | Weddings and festive wear
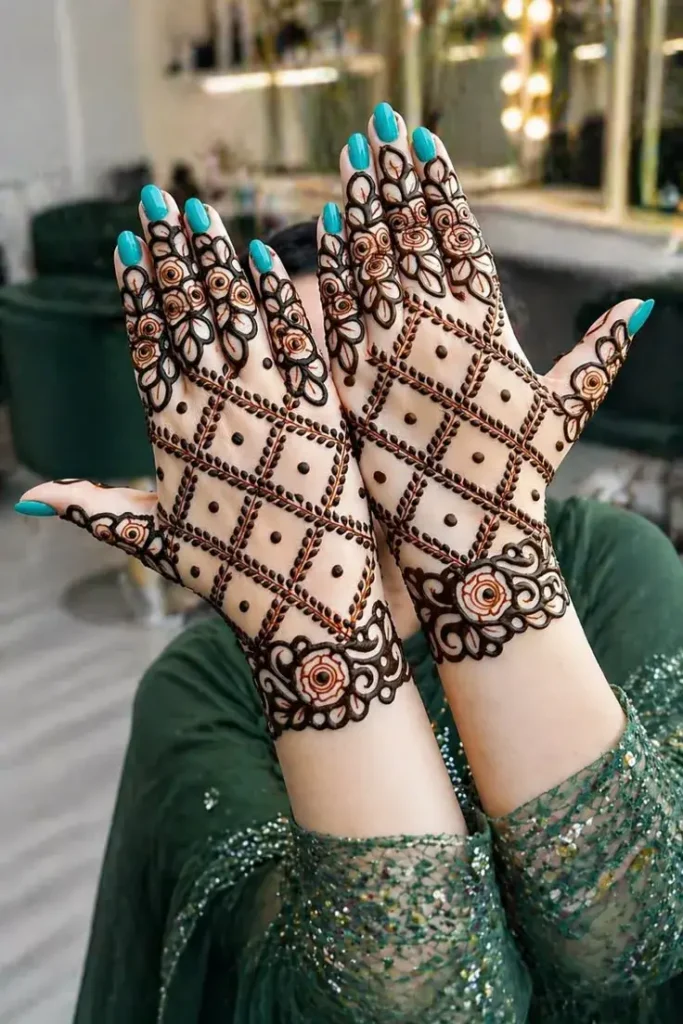
34. Mandala Dome with a Scalloped Border
A half-round mandala sits on the finger and is ringed by small scallops. Start from the centre dot and work outward, and finish the scallops last so the edge stays even.
Advanced | 20 minutes | Traditional wear
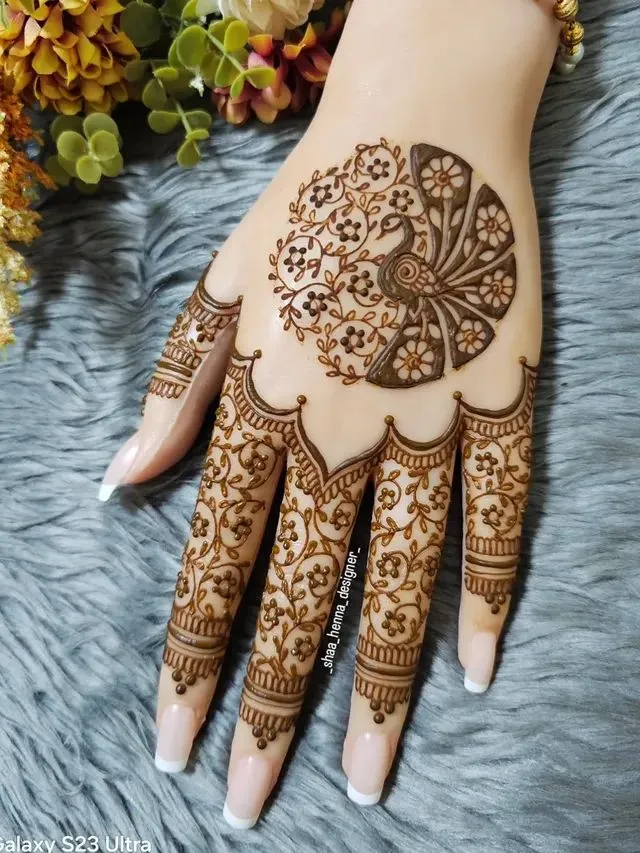
35. Mughal Arch with Florals
A pointed arch frames one small flower, with tiny blooms running down both sides. Draw the peak first, then pull each side down so the two halves match.
Advanced | 20 to 25 minutes | Weddings and Eid
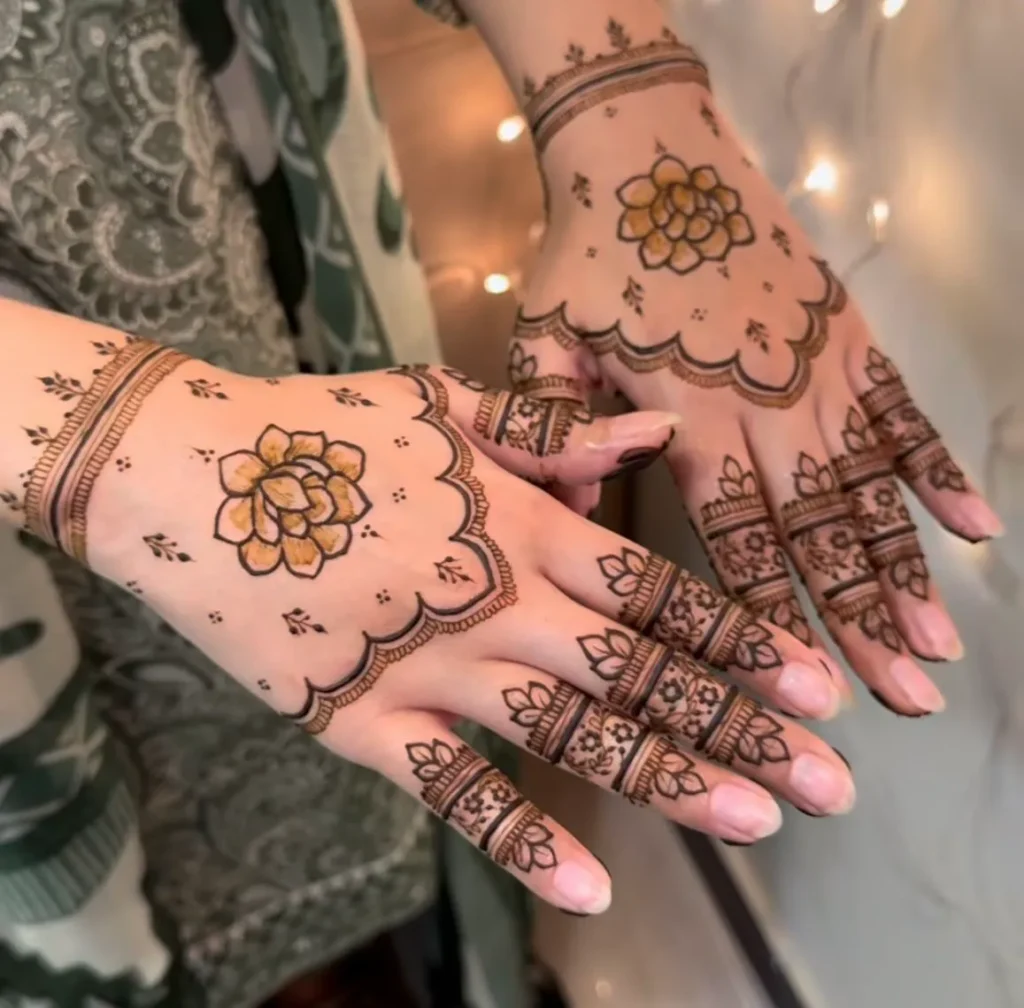
36. Peacock Crest at the Fingertip
A feather crest fans out from the fingertip, with an eye shape at its centre. Draw the eye first as a dot inside a teardrop, then fan the crest lines around it.
Intermediate | 15 to 20 minutes | Weddings and traditional events
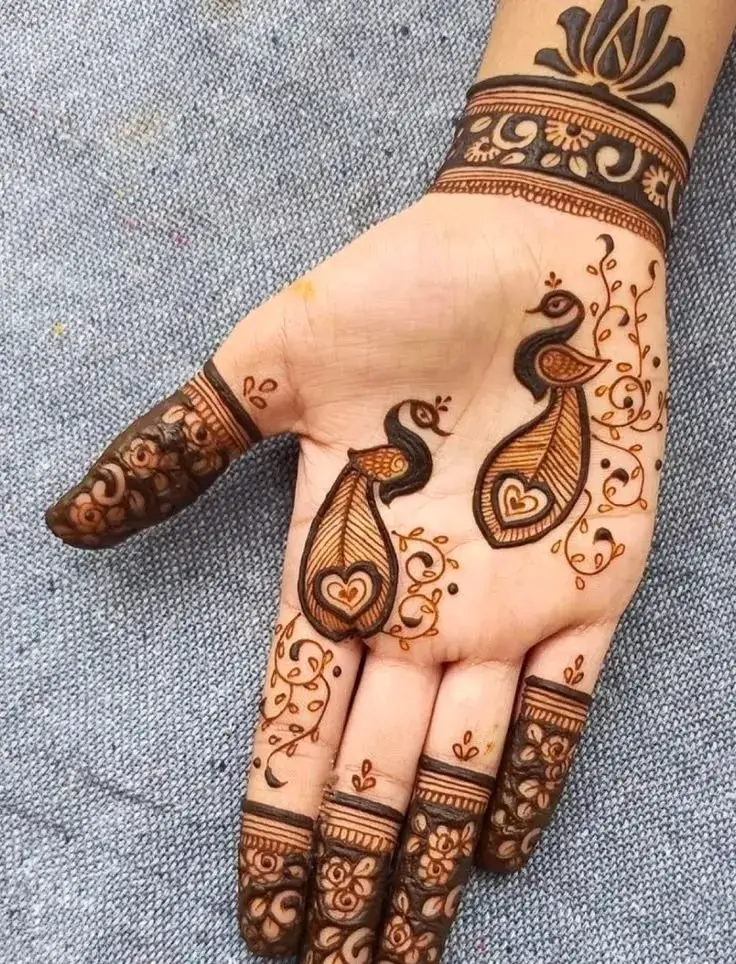
Bridal and Bridesmaid Finger Mehndi Designs
Bridal fingers carry the most detail on the day, so planning matters more than speed. Choose one motif, scale it to each finger, and keep everyone else’s hands lighter than the bride’s.
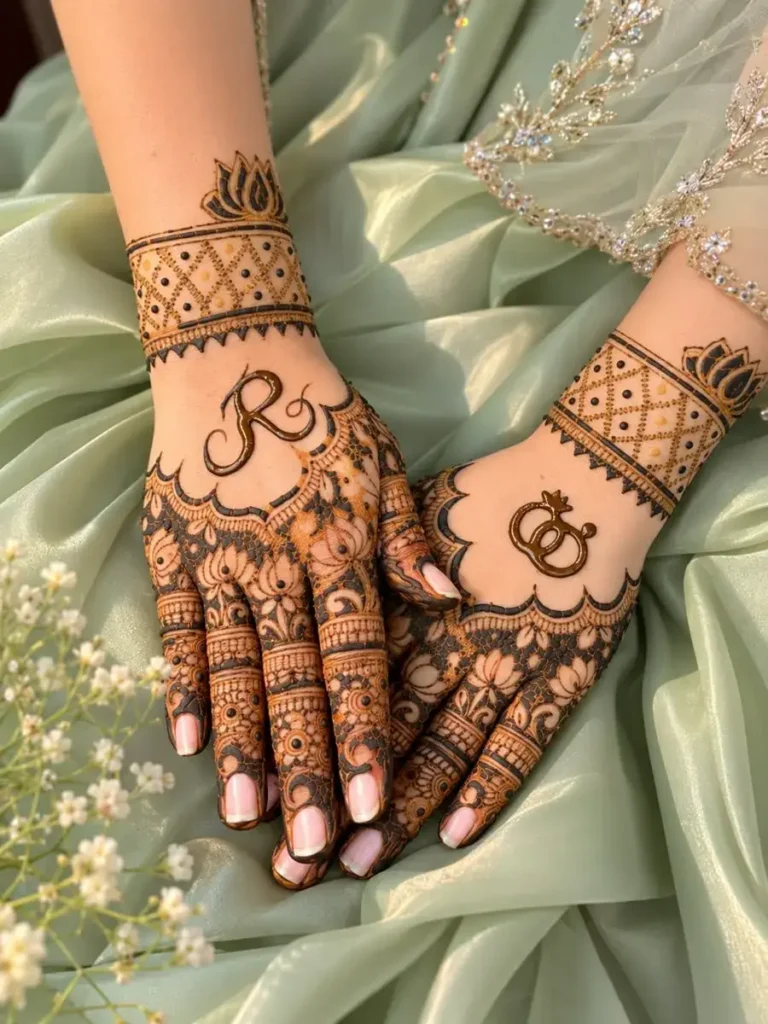
37. Five-Finger Bridal Set Scaled to Finger Length
The same motif repeats on all five fingers, with fewer repeats on the shorter ones. Draw the longest finger first, then drop one repeat for each shorter finger.
Advanced | 25 to 45 minutes per hand | Brides
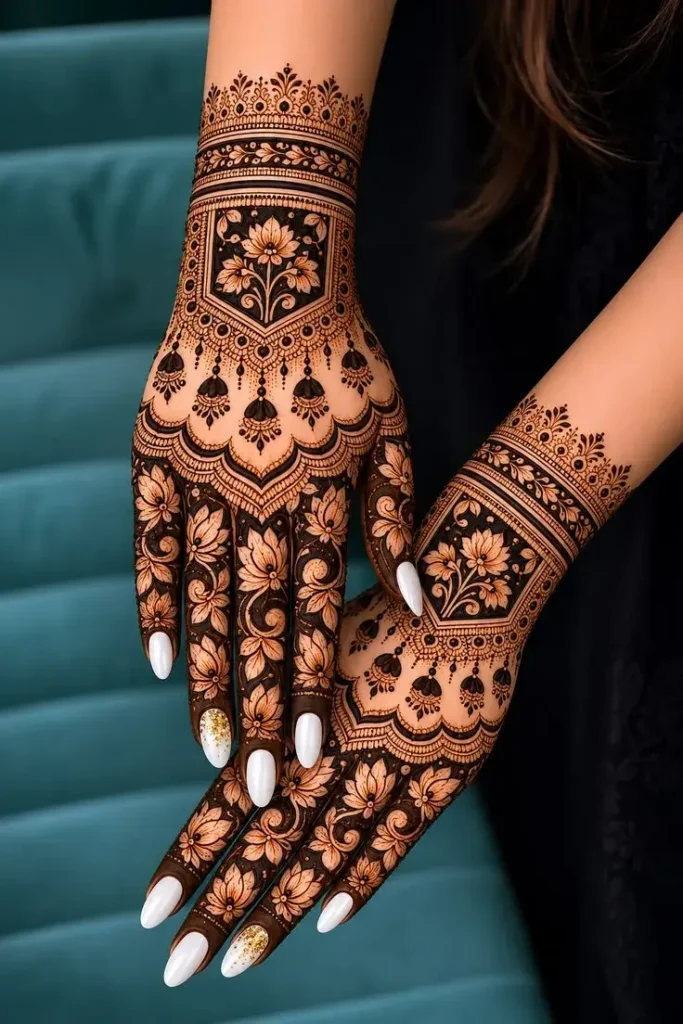
38. Matching Bridesmaid Set, Lighter Than the Bride
Bridesmaids wear the bride’s main motif, but with fewer lines and no outer border. This keeps the group matched while the bride’s hands stay the busiest.
Beginner | 20 to 35 minutes | Bridesmaids and close family
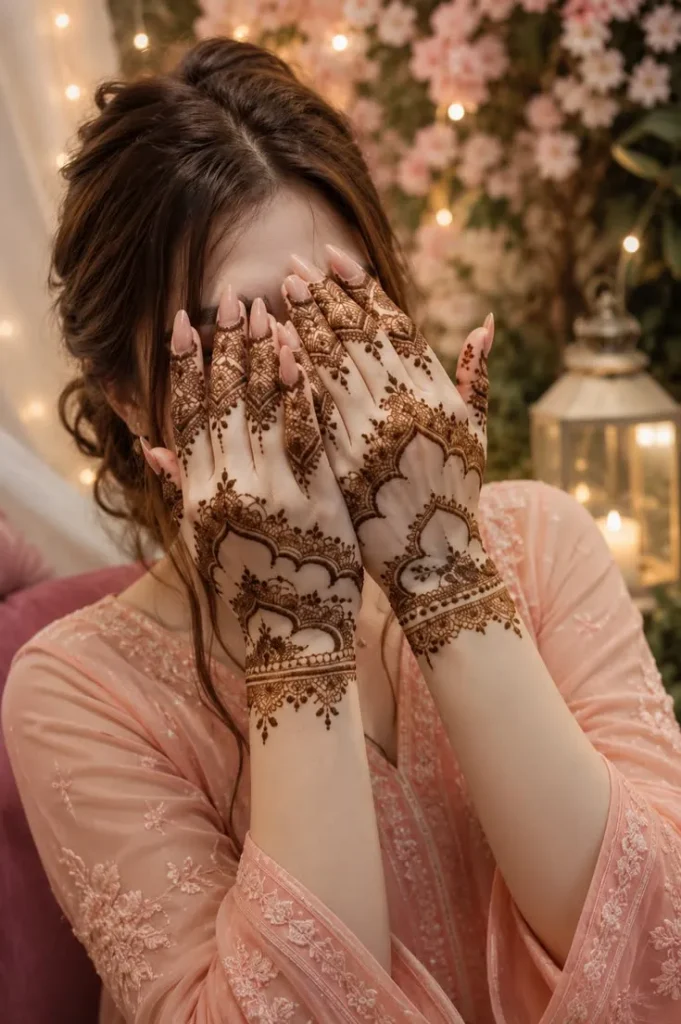
39. Minimal Bridal Ring Finger with an Initial
The ring finger gets a thin band with one initial set inside a small curl, while the other fingers stay light. Practise the letter on paper first, because a slip on skin leaves a stain.
Intermediate | 10 minutes | Brides who want a light look
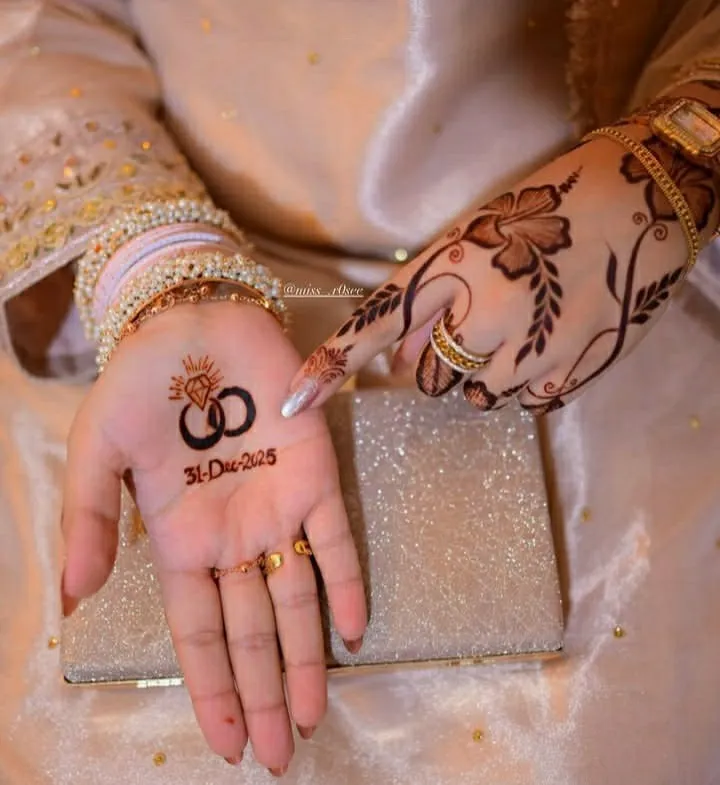
40. Filled Bharwa-Style Fingers
Bharwa means filled, so the finger is covered in henna with only thin bare lines left for detail. Fill one finger at a time from the tip down, so your hand never rests on wet paste.
Advanced | 30 to 40 minutes | Brides and weddings
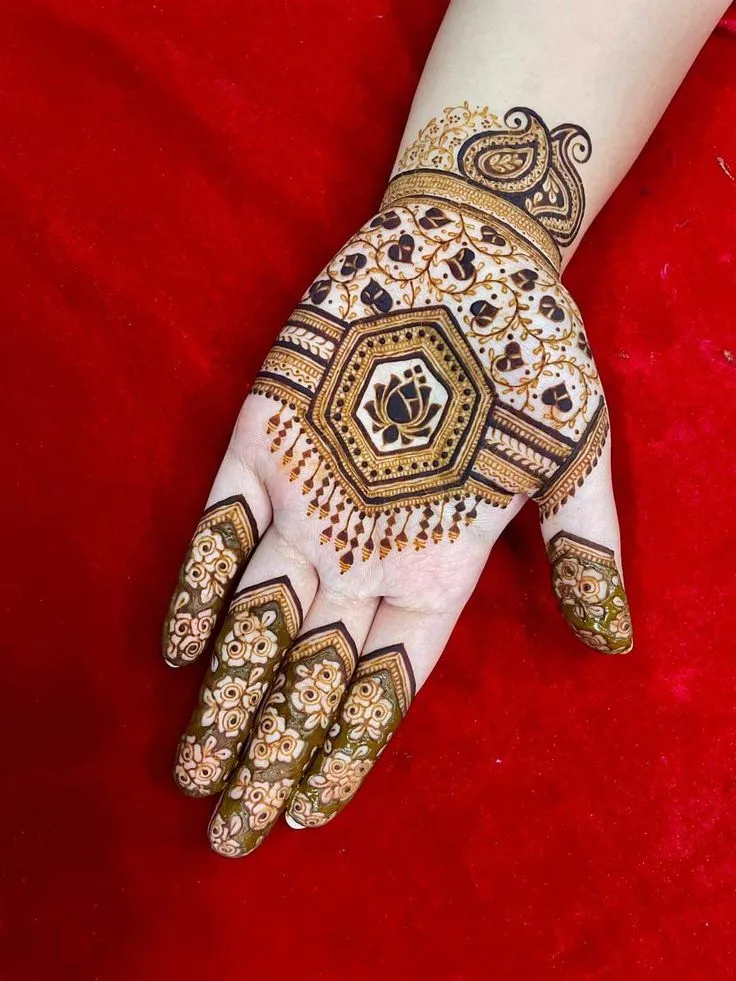
Finger Mehndi for Karwa Chauth, Eid and Teej
Festival mehndi follows the day’s mood. Pick a motif that matches the occasion, and time the application so the stain is at its best when it matters.
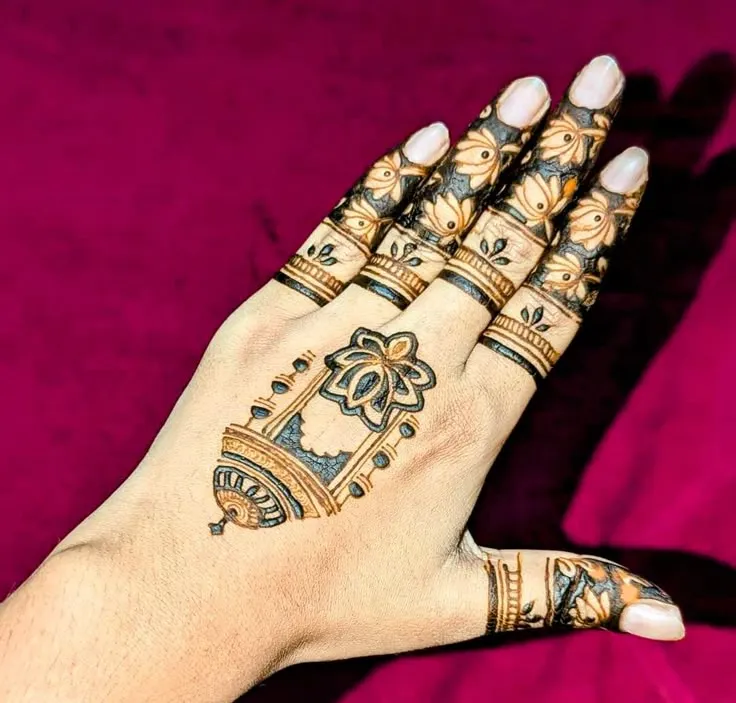
41. Karwa Chauth
Karwa Chauth is a one-day fast that ends at moonrise, so moon and sieve (chalni) motifs fit naturally. Apply the evening before, because the stain keeps deepening for 24 to 48 hours.
Try: Crescent and Star on the Index Finger, Mini Mandala in the Middle of the Finger, Faux Stacked Rings
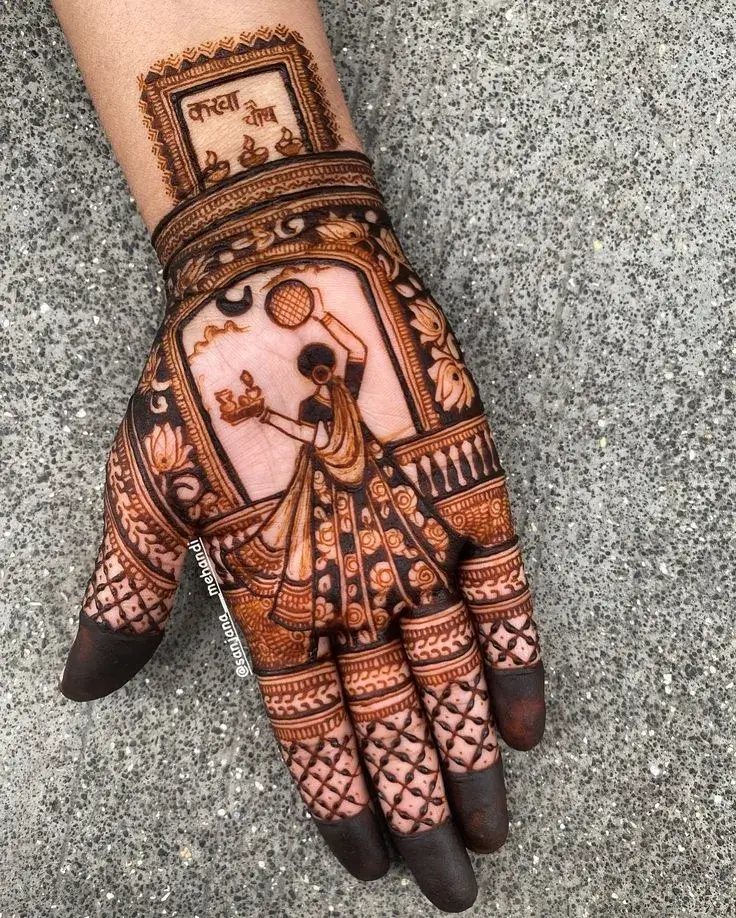
42. Eid and Chand Raat
Chand Raat is the night before Eid, and most people apply mehndi that evening. Expect a lighter orange-brown on Eid morning, and a darker shade the day after. Open Arabic designs dry fast and suit the shorter wait.
Try: Bold Open Petals on Bare Skin, Flowing Vine with Shaded Leaves, Pearl and Teardrop Chain
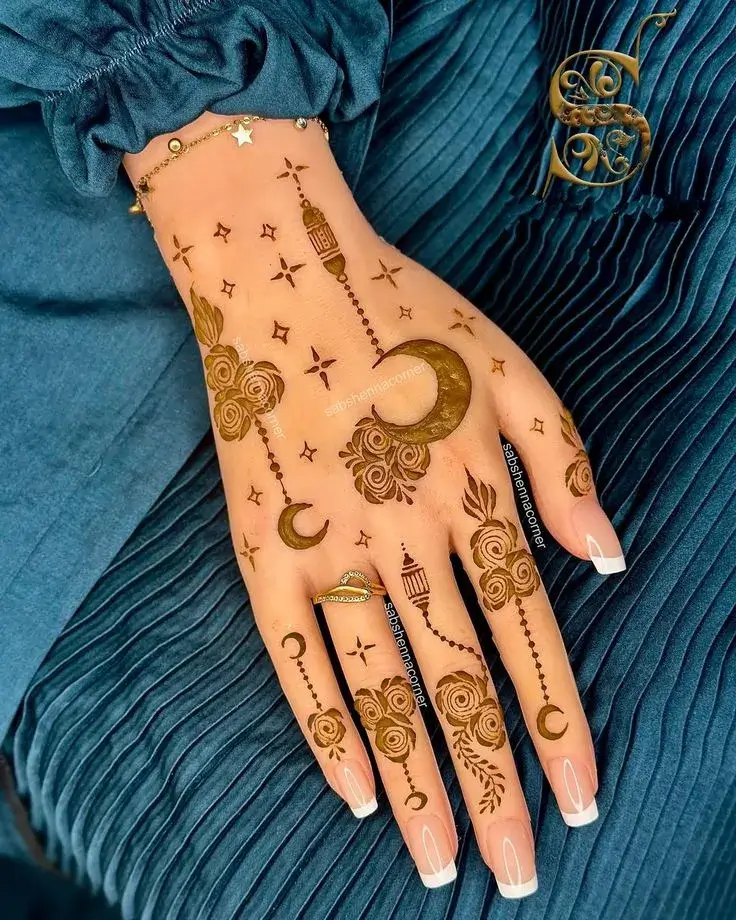
43. Teej
Teej is a monsoon festival where mehndi is part of the celebration. Green leaves, vines, and peacock motifs suit the season. Damp air slows drying, so keep your hands in a dry room while the paste sets.
Try: Single Leaf Trail on Each Finger, Peacock Crest at the Fingertip, One Vine Curling Along the Finger
Sources:
- Karwa Chauth: Date, Moonrise Time, Sargi & Puja (SmartPuja)
- Karwa Chauth date, moonrise time, what to wear (Aza Fashions)
How to Draw a Simple Finger Mehndi Design Step by Step
Start with three easy patterns, one at a time. Each uses the same few strokes, so practise a pattern once on paper, then move to skin.
What You Need
Keep the kit small and within reach before you open the cone.
- A fresh henna cone with a fine tip
- Tissues and cotton buds for quick fixes
- A sheet of plain paper for a test run
- A clean, dry hand with no oil or lotion on it
Before You Start
Wash your hands with plain soap and dry them fully, since oil stops the paste from sticking. Remove rings. Squeeze a short line on paper first. It should flow in one thin, even thread. If it comes out in jerks, cut the tip a little wider. Do a patch test first if this is your first time with a new cone (see the safety section below).
Pattern 1: The Three-Line Band
- Touch the tip to one side of the finger and squeeze lightly.
- Pull the line across the finger in a gentle curve.
- Draw a second line below it, with a small gap.
- Add a third line a little shorter than the others.
- Wipe any wobble away with a dry tissue corner while the paste is wet.
Pattern 2: The Leaf Trail
- Draw a thin stem down the middle of the finger, from the tip.
- Press the cone at the stem to start a leaf, pull away slightly, then lift.
- Make the next leaf on the opposite side of the stem.
- Keep alternating sides until you reach the base.
- End with one small dot at the fingertip.
Pattern 3: The Ring-Style Band with Dots
- Draw two thin lines around the finger, one just above the other.
- Fill the gap between them with evenly spaced dots.
- Add a row of smaller dots just under the lower line.
- Leave the rest of the finger bare so the band stands out.
Easy Motifs to Practise
Learn these five shapes, and you can build almost any simple finger design.
- A dot
- A teardrop leaf
- A small curl
- A single petal
- A short wave line
Look more leg and foot mehndi design
How to Make Finger Mehndi Darker and Last Longer
A deep stain comes from the paste you leave on and the care you give afterwards. Keep the paste on, keep water away early, and let the colour develop.
Aftercare Timeline
- While the paste is wet: keep the hand still and the fingers apart.
- As it dries: if it starts to crack, dab on a little lemon and sugar mix to keep it moist.
- After several hours: scrape the paste off with a blunt edge or a dry tissue. Do not wash it off.
- First day: keep the area dry. If you must use water, rub on a light oil or balm first.
- Day one to day two: the colour deepens from orange to brown over 24 to 48 hours, so wait before judging it.
- After that: moisturise, and skip scrubbing the stained skin.
Finger-Specific Care
Fingers get wet and rubbed all day, so they fade first. Wear gloves for dishes and avoid scrubbing your hands while the stain sets. Keep each finger apart from its neighbour while the paste dries, or the lines will join. If you need your phone, ask someone to help or use voice, not touch.
Common Problems and Quick Fixes
| Problem | Quick fix |
| Pale stain | The paste probably came off early or got wet. Next time, leave it on longer and keep water away for the first day. |
| Cracking paste | Dab on a little lemon and sugar mix to soften it. |
| Smudged lines | Wipe with a dry tissue corner while the paste is wet. Leave it alone once dry. |
| Orange colour | This is normal at first. Wait 24 to 48 hours for the brown. |
| Itching or burning | Wipe the paste off, rinse the skin, and read the safety section below. See a doctor if swelling or blisters appear. |
How to Choose the Right Design for You
The Quick Picks table sorts designs by occasion and time. These checks narrow the list by your hand, your skill, and your day.
- Finger length: Long fingers have room for bands and full jaali. Short fingers suit one narrow motif, like a leaf trail.
- Your skill: If you draw it yourself, stay with bands, dots, and leaf trails. Leave fine-line, jaali and filled work to an artist.
- Rings and watch: Plan around the jewellery you will wear, so the stain is not hidden under it.
- The rest of the hand: Pair bold fingers with a light hand, or the other way round, so the two do not compete.
- Your next two days: If you cook, type, or wash your hands often, choose bold, simple lines. Very fine lines can fade patchy.
When two designs tie, pick the simpler one. Clean lines look better than crowded ones.
Conclusion
Pick one design that fits your time and your hand, and keep it simple. A three-line band or a leaf trail already looks finished. Practise the stroke on paper first, then draw slowly. Leave the paste on, keep water away on the first day, and let the colour deepen. Check what is in your cone before it touches your skin, and read the safety section above. Start with one finger mehndi design today, and add more as your hand gets steadier.
FAQs
How long does finger mehndi last?
On the hands, the stain usually lasts about one to two weeks. Fingers fade first, because they get washed and rubbed the most.
What is a mehndi challa?
A mehndi challa is a ring-style design, a henna band drawn to look like a ring on the finger. It is a popular jewellery look and often sits on the ring finger.
How do I match finger mehndi to my outfit and nails?
Pick bold mehndi for a plain outfit and lighter mehndi for a heavily worked one. If the henna reaches the fingertip, keep the nails clean and neutral so the two do not compete.
Which finger mehndi styles are trending in 2026?
Minimal looks, jewellery-style bands and chains, and one or two accented fingers lead the trend. Fine lines and negative space show up in many of them.
