
40+ Foot and Leg Mehndi Designs: Easy, Simple & Bridal Look for 2026
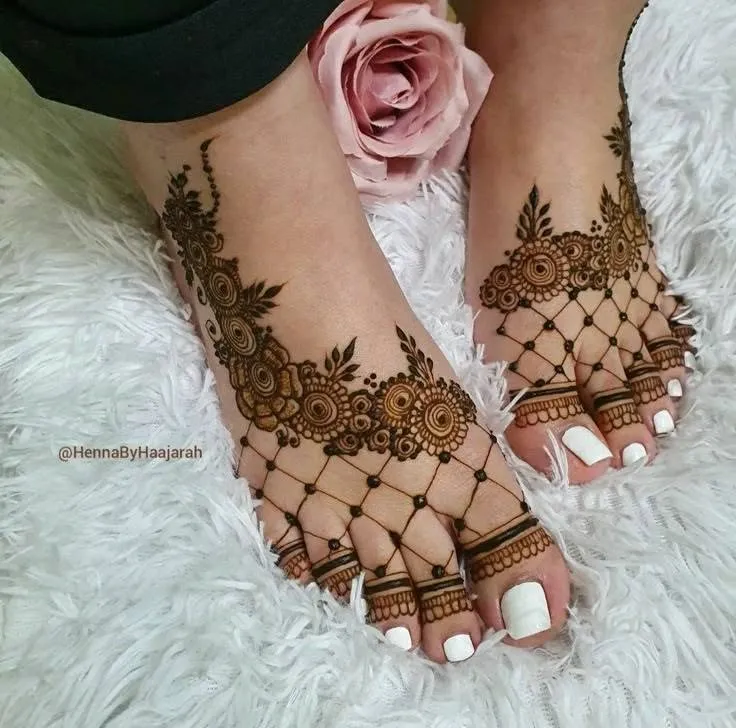
Mehndi on the feet has a pull that hand mehndi can’t match. Feet and soles usually give some of the deepest stains, so even a single vine looks rich and finished. A thin ankle band can look as complete as a full bridal pattern.
Foot and leg mehndi also has the widest range of any body placement. A few dots on the toes take minutes to draw. A traditional bridal design, with jaal, peacocks, and a gol tikki, runs from the toes up to the knee. Between the two sit Arabic trails, mandalas, payal bands, and floral borders, each with its own look and pace.
Below are 44 foot and leg mehndi designs, from simple and easy to full bridal. Each one comes with a photo, a note on who it suits, and a difficulty level, so you can choose a design that fits your skill, your outfit, and the occasion.
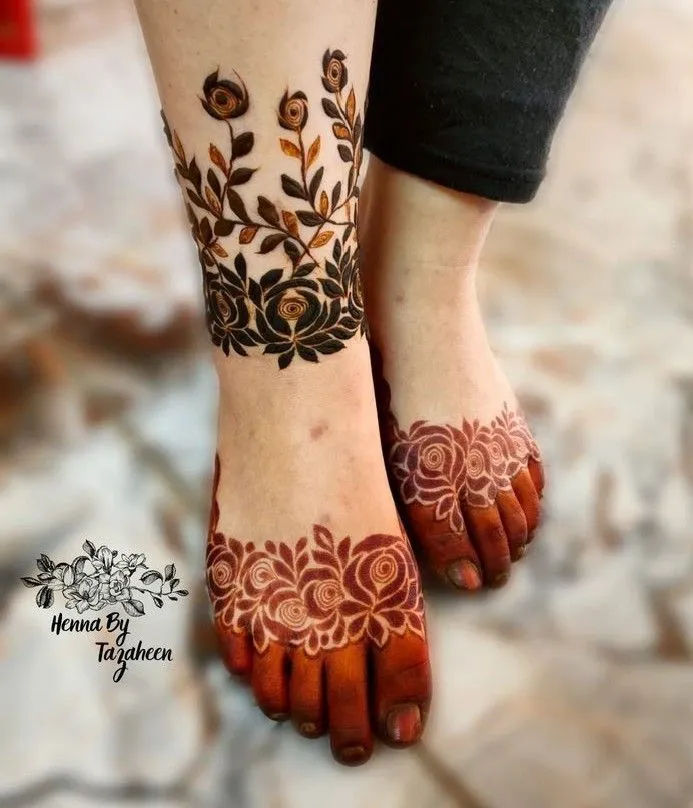
Most Importantly: This guide ensures your safety by helping you identify and avoid harmful “black henna.” The U.S. Food and Drug Administration (FDA) strongly warns against black henna temporary tattoos because they illegally contain p-phenylenediamine (PPD). As documented in PubMed (National Institutes of Health), PPD is a potent chemical sensitizer that can trigger severe allergic contact dermatitis, painful blistering, and lifelong chemical sensitivities or permanent scarring.
Editor’s Note: Simplemehandidesigns.com shares beautiful mehndi inspiration for weddings, festivals, celebrations, and everyday occasions. We feature designs sourced from real mehndi artists and provide credit or a source link whenever available. We do not use AI-generated mehndi images or rely on anonymous, unverifiable sources. Our team reviews the artist or original source before featuring a design. Some links may be affiliate links, at no extra cost to you.
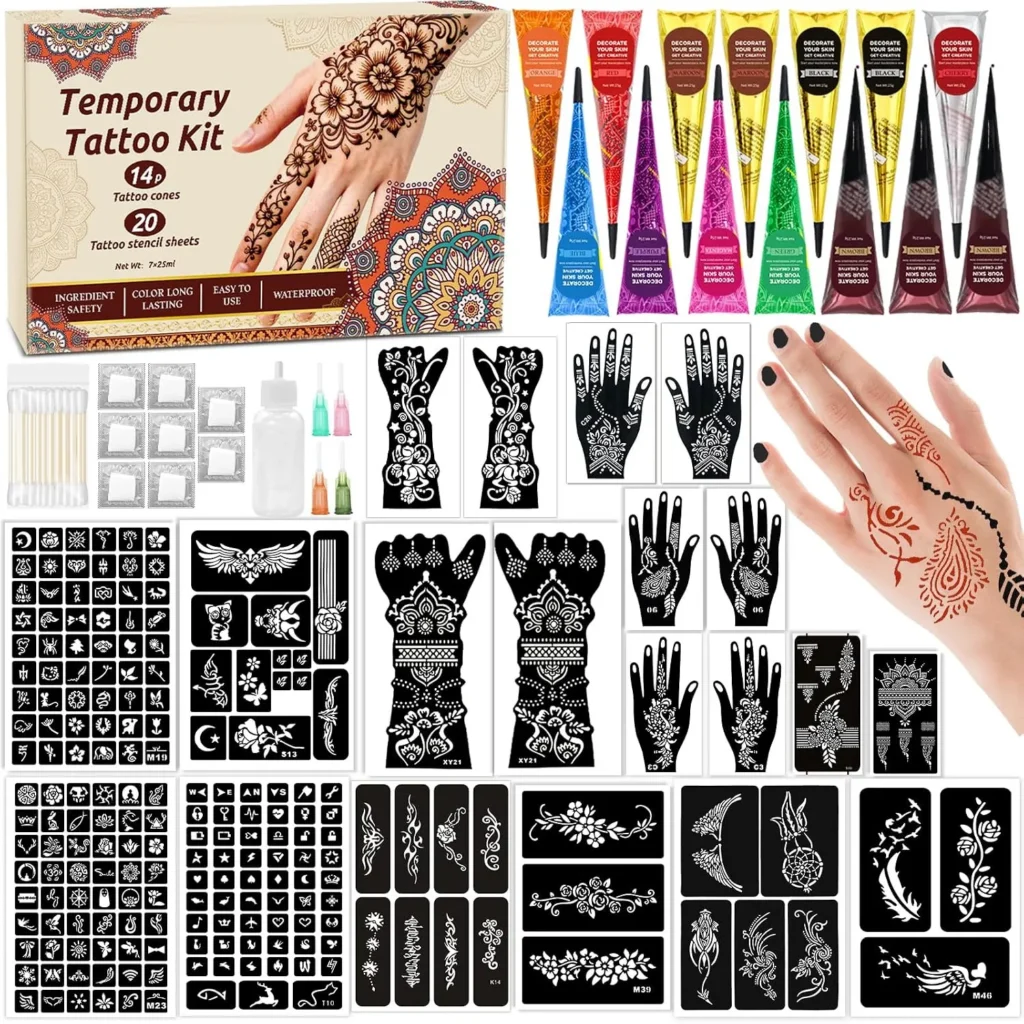
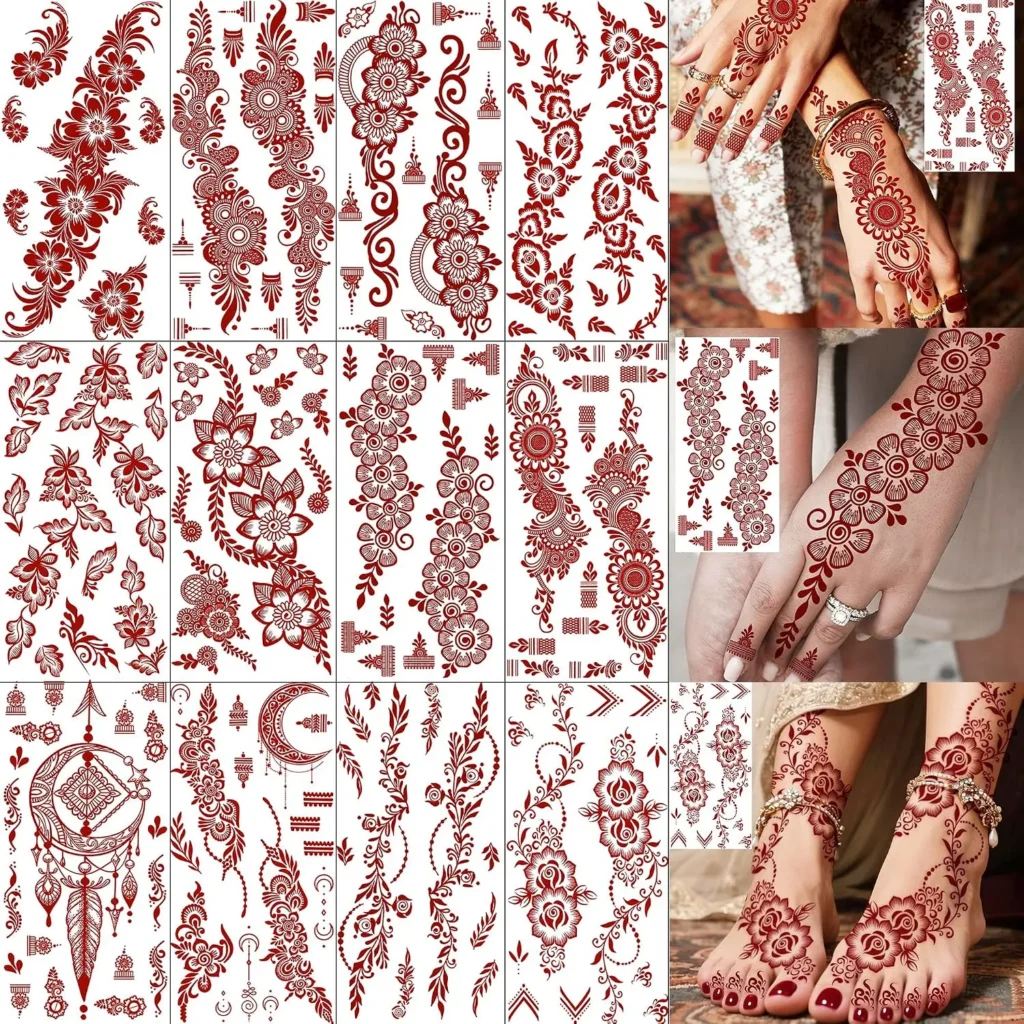
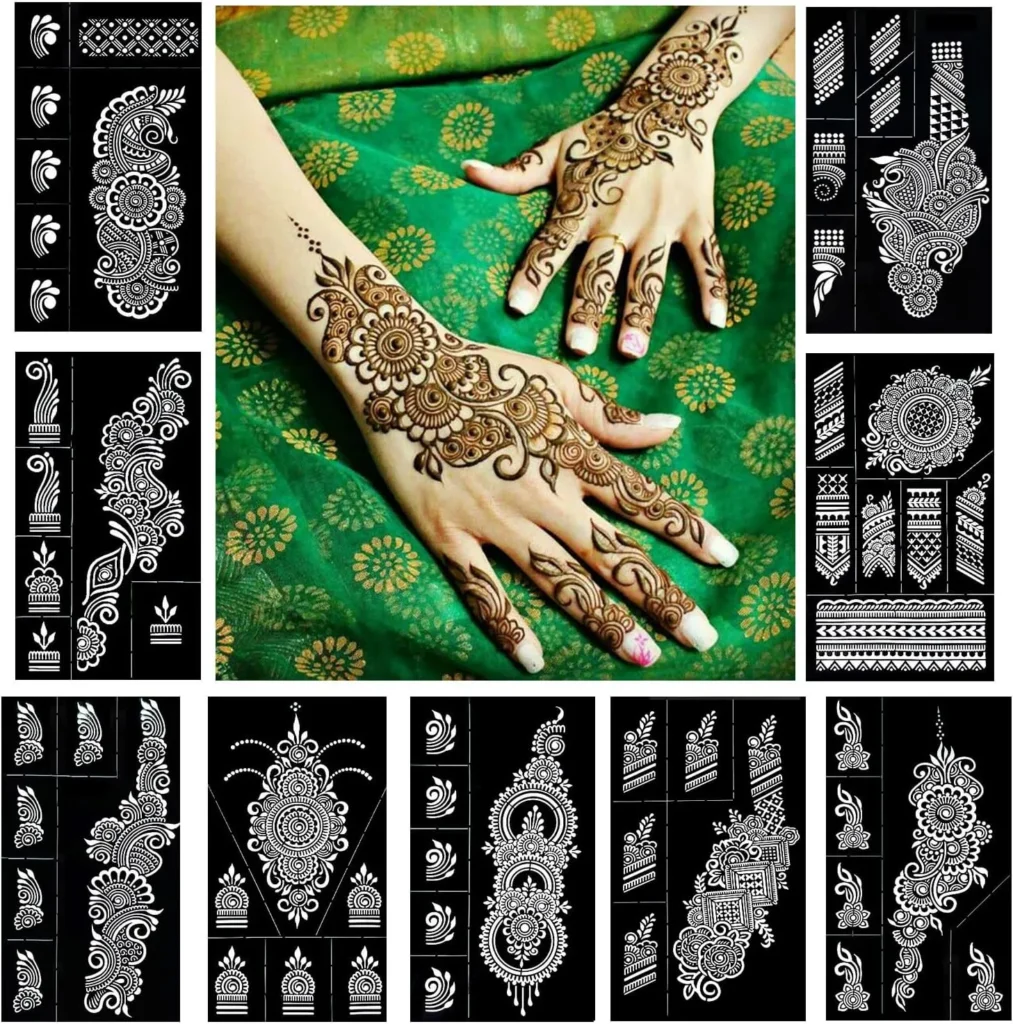
My Favourite Mehndi Stickers: These are some of my favourite mehndi stickers that I personally love using. I’ve picked these designs because I love how they look and how easy they are to use. Check out my top picks below!
Simple Foot Mehndi Designs
Simple designs rely on one idea: a vine, a flower, or a row of dots. The open skin around it does half the work, so clean lines matter more than detail. These six suit festivals, family events, and first-time wearers.
For more ideas beyond the feet, see these simple mehndi designs.
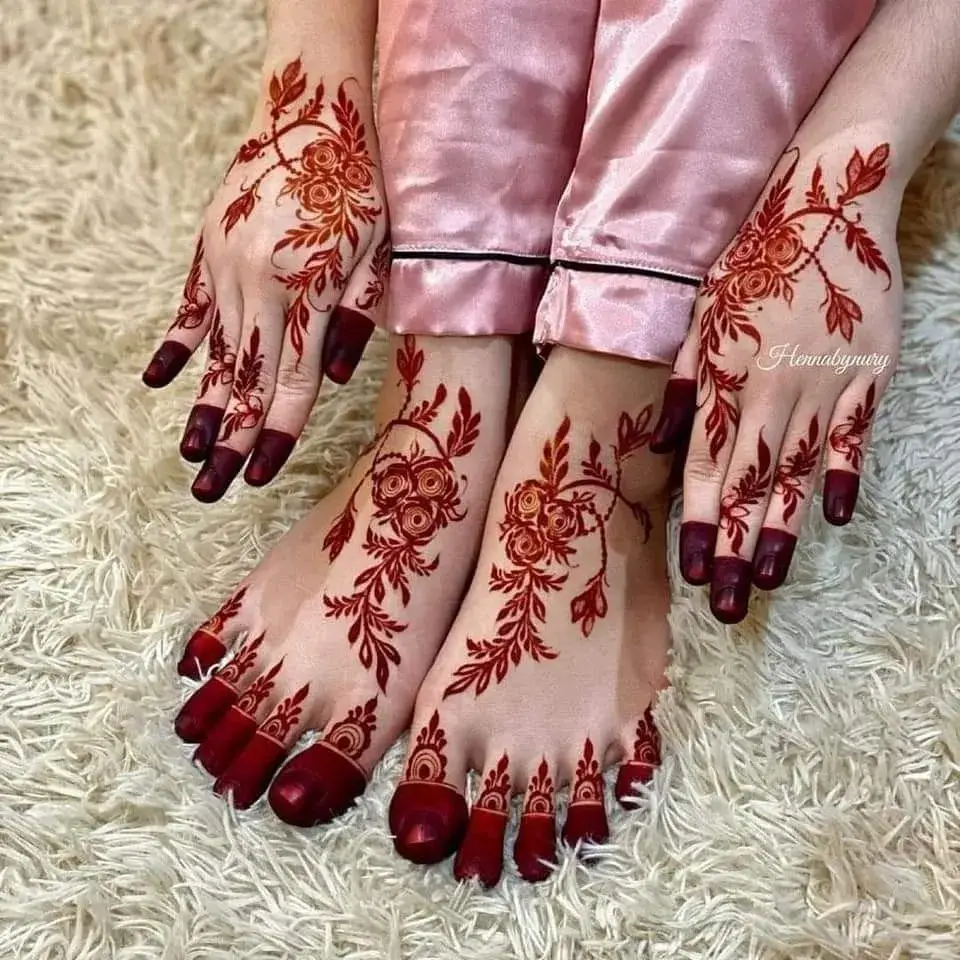
1. Single Vine Along the Side
Start the vine at the base of the little toe and let it climb the outer edge of the foot toward the ankle. Small leaves alternate along the stem. With the top of the foot left bare, the design shows well in sandals, heels, and anklets.
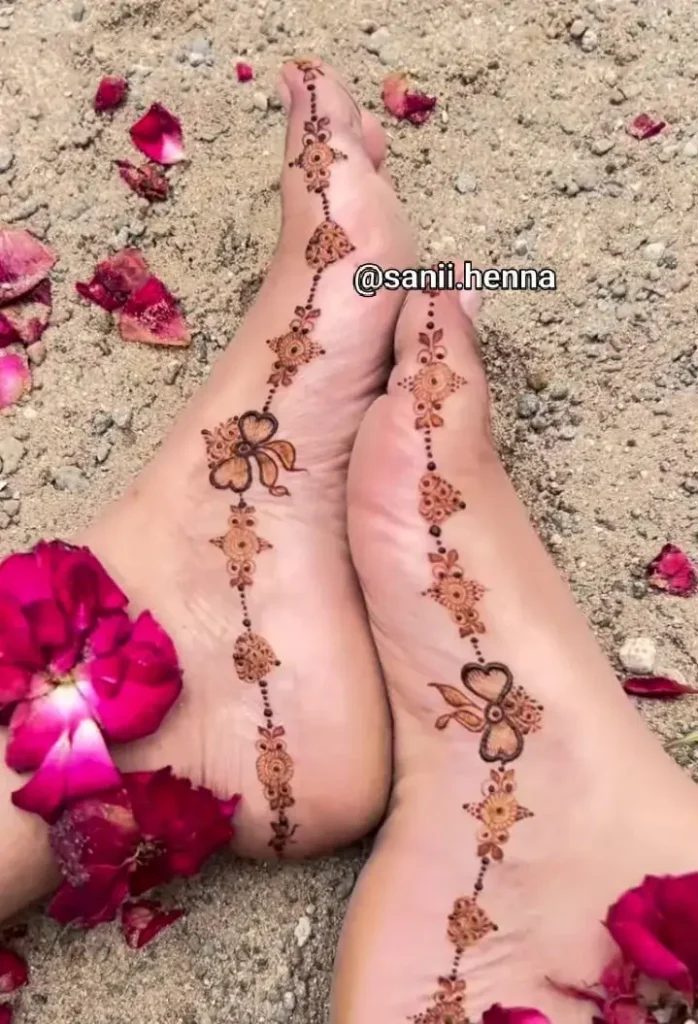
2. Toe Dots and Ring Bands
A thin ring circles the base of each toe, with a dot on the tip or centre. Spacing does the work here: even dots look neat, uneven ones look careless. The pattern draws the eye to the toes, so fresh nail polish in a plain shade finishes it.
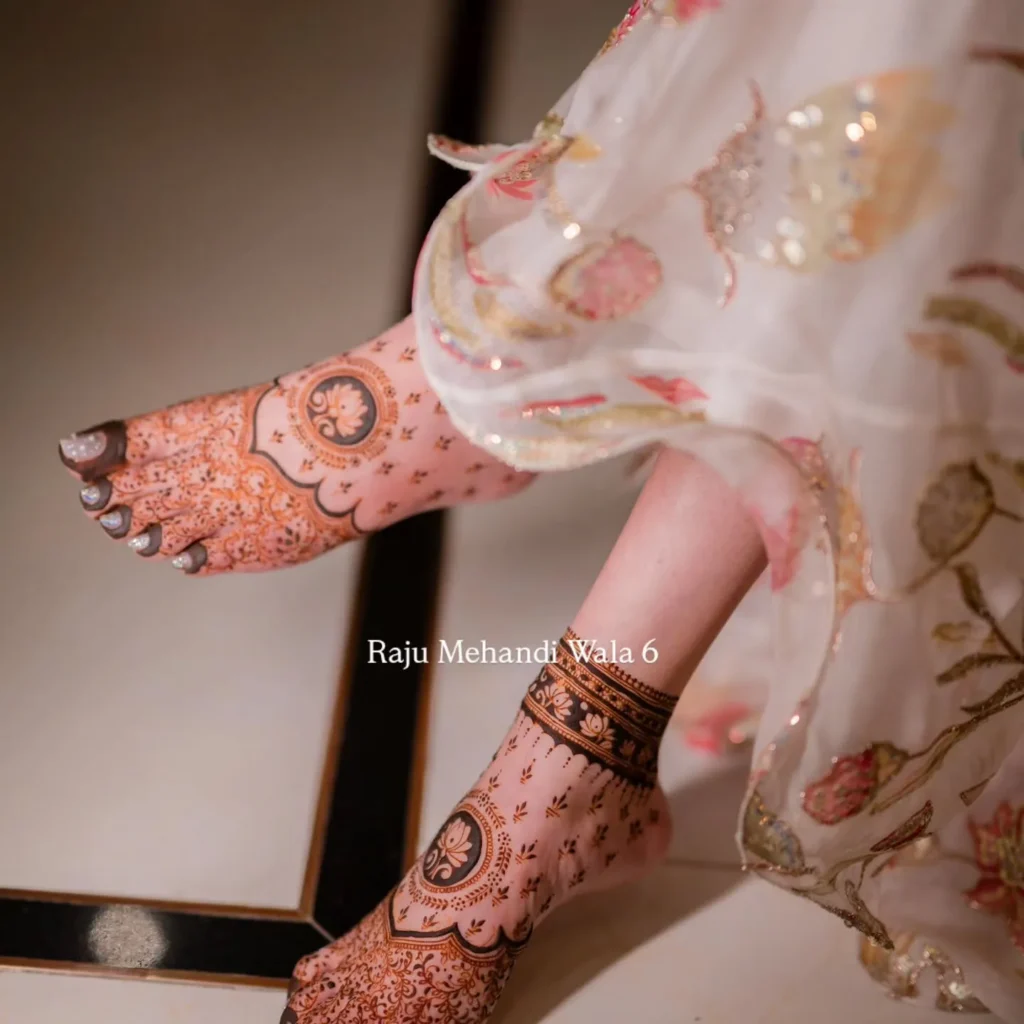
3. Small Flower on the Instep
One flower with five or six rounded petals and a dotted centre sits on the highest point of the foot. Two leaves below it stop it from looking flat. It reads clearly in photos, so it is a safe pick for a festival dinner or a family portrait.
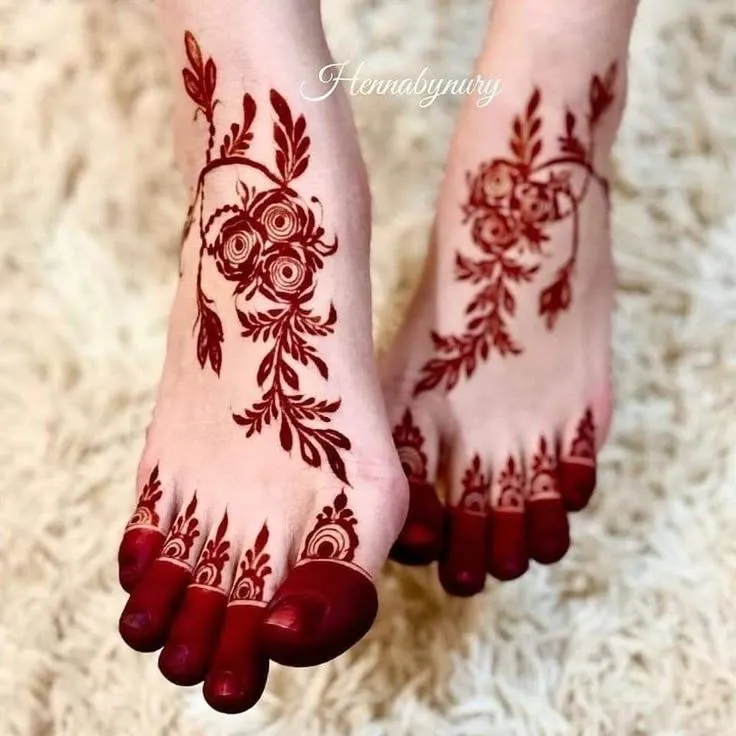
4. Leaf Trail to the Ankle
A thin stem runs from the toes to the ankle with paired leaves along its length. The straight line gives the foot a longer shape. It works under ankle-length outfits, where the whole trail stays in view.
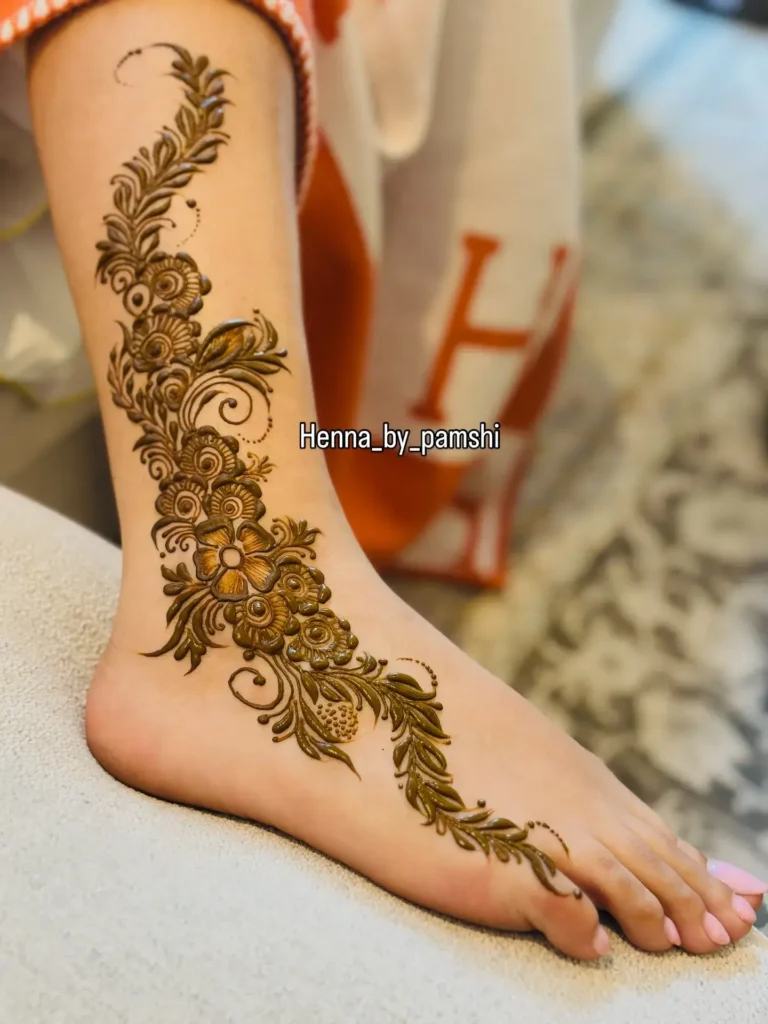
5. Half-Foot Dot and Line Pattern
Parallel lines and rows of dots fill the front half of the foot and stop near the middle of the instep. Ending before the heel and ankle leaves a clean break that looks planned. Keep the dot size consistent, because this pattern has few other features to hide mistakes.
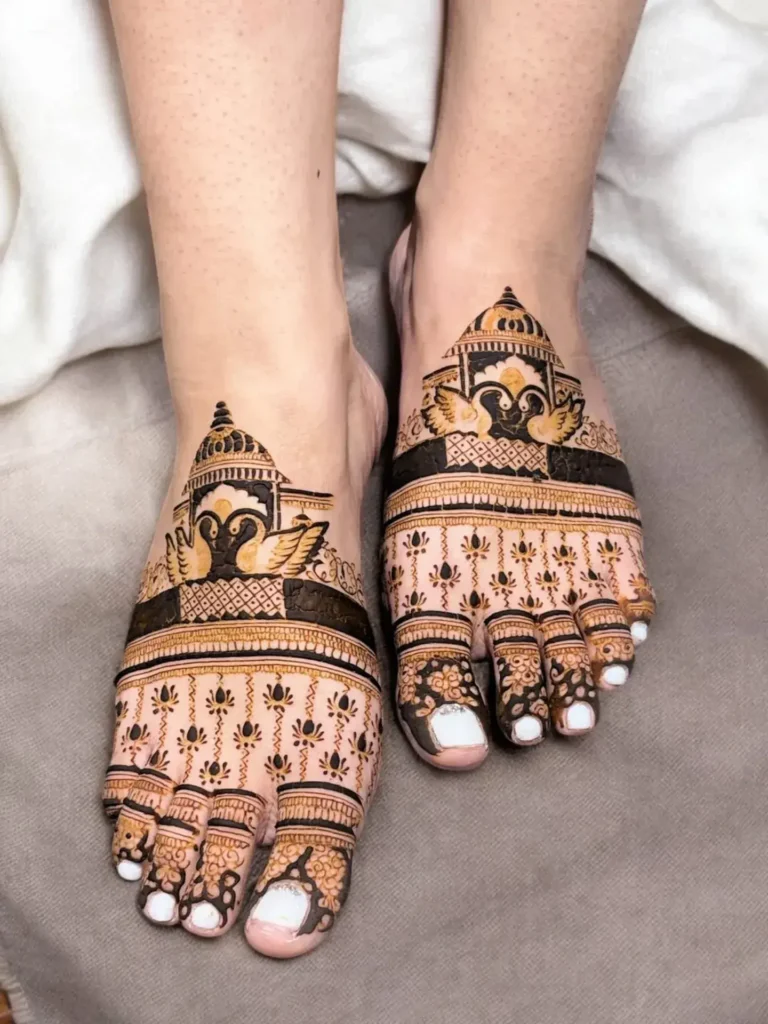
6. Toe Caps With a Thin Border
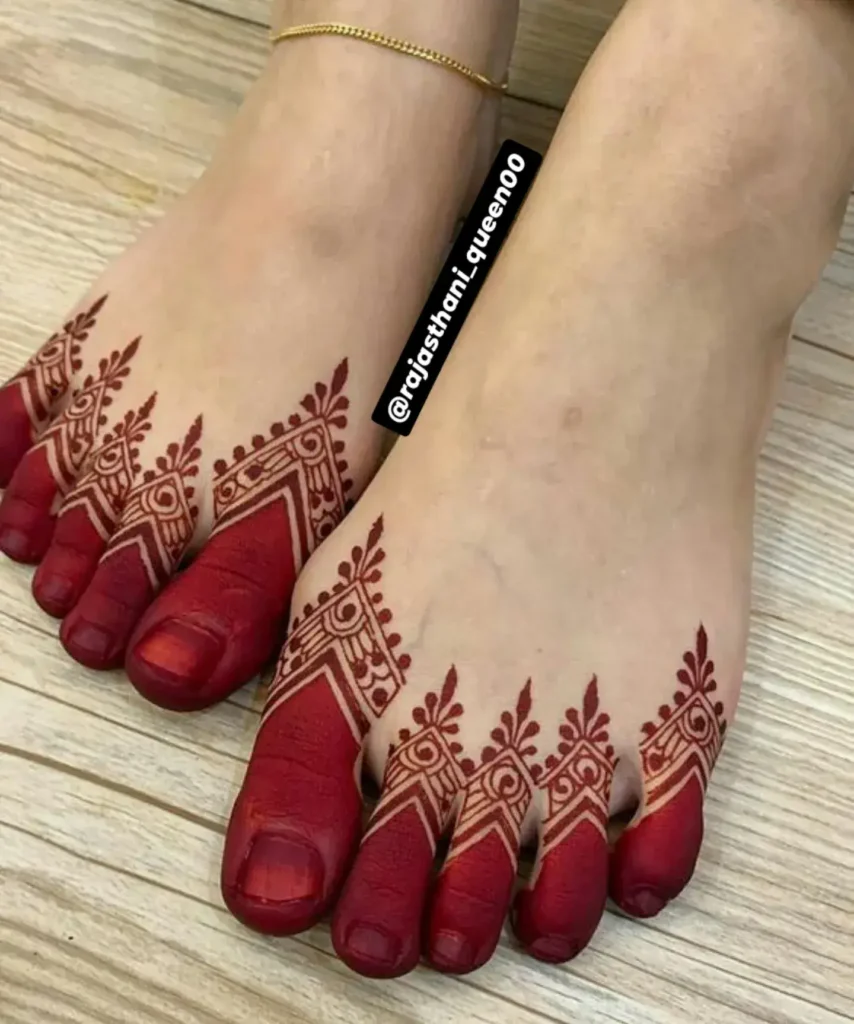
Solid toe tips, known as por, pair with a fine border along the edge of the foot. The solid colour adds weight at the toes, and the thin line frames the rest. It is a traditional, simple look for festive days and wedding week.
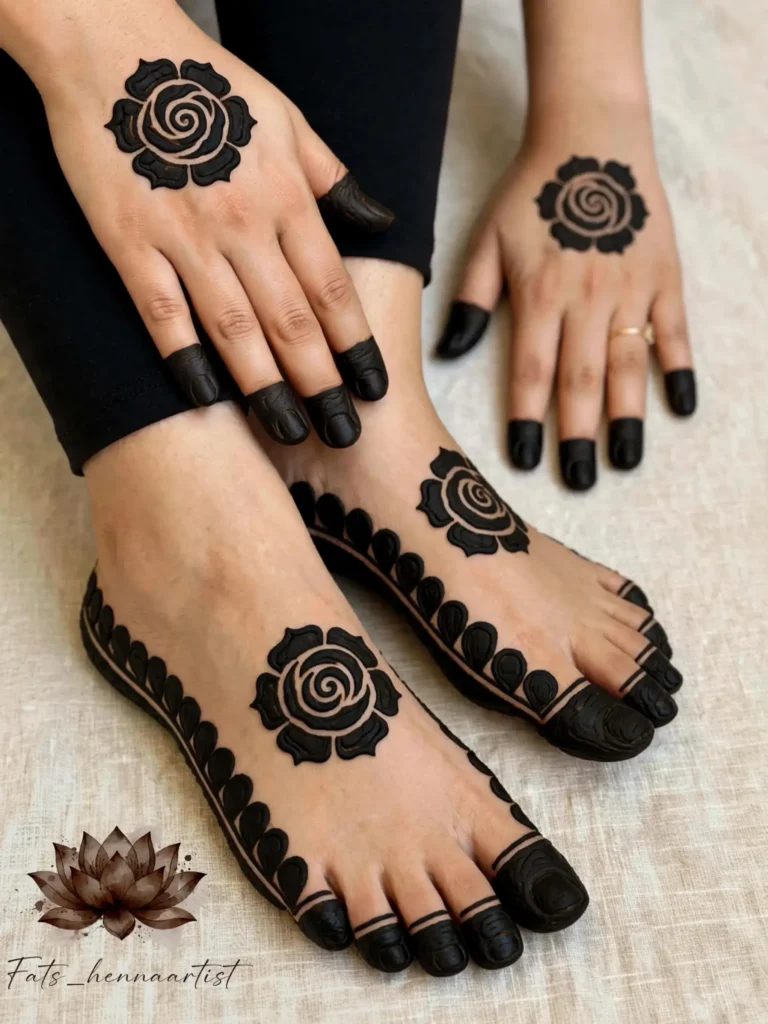
Easy Leg Mehndi Designs for Beginners
Beginner designs are built from shapes you already know: lines, circles, triangles, and dots. Each takes a few strokes, so a slip stays small. Practise the stroke on paper or a plate first, then move to the skin.
Once you feel confident, try the same shapes on a simple front hand design.
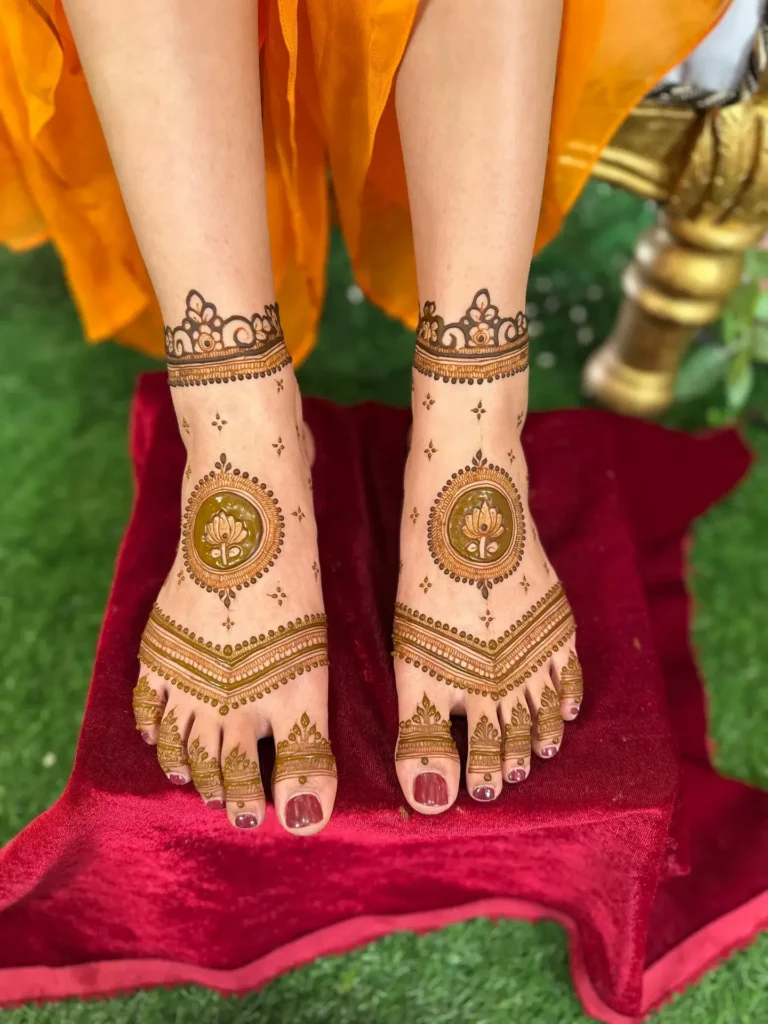
7. Straight Line and Dot Border
Two parallel lines wrap the ankle or run down the shin, with one dot between each pair of lines. Draw the lines first, then add the dots at the same pressure so they match in size. It is the simplest border to learn, and it frames any other design you add later.
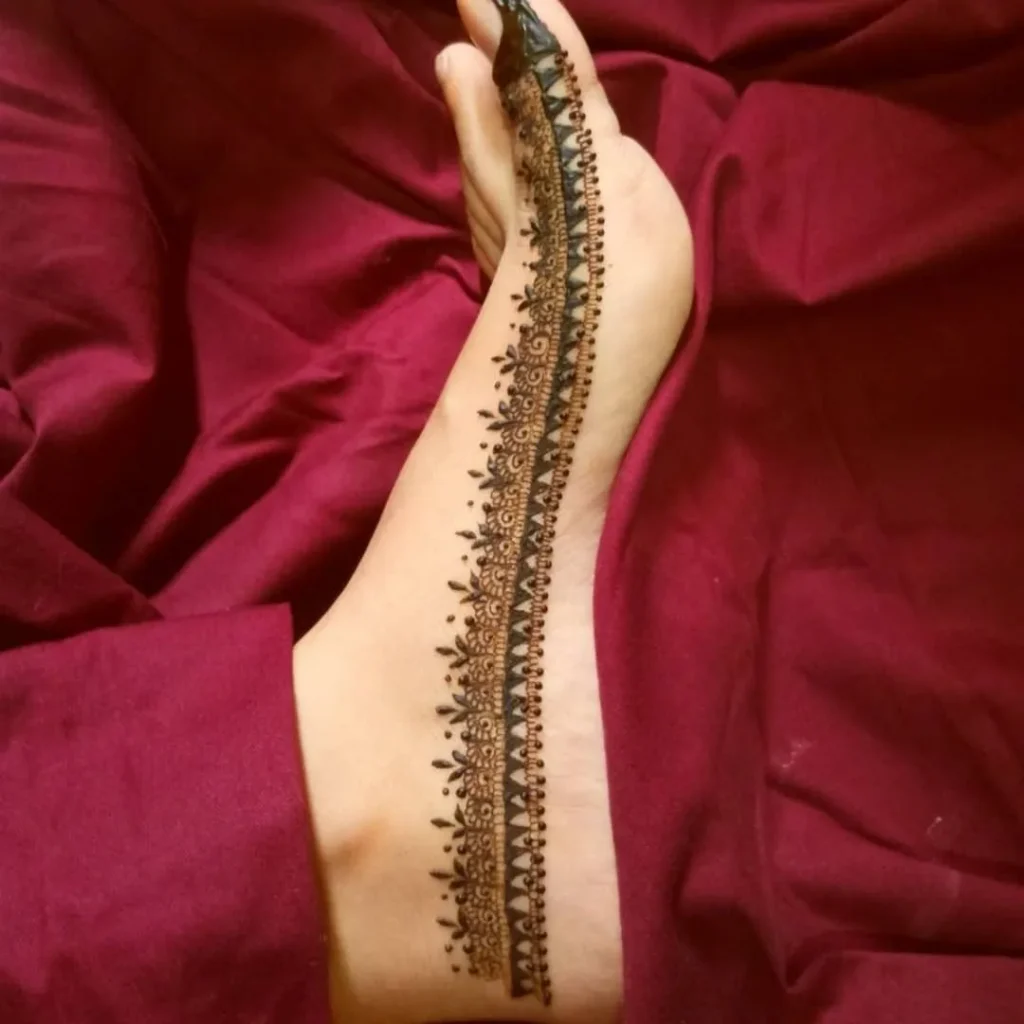
8. Three-Flower Cluster
Three flowers of different sizes sit close together on the ankle or the top of the foot, with small leaves between them. Press the cone and release to form each teardrop petal. The uneven sizes make the cluster look natural without extra detail.
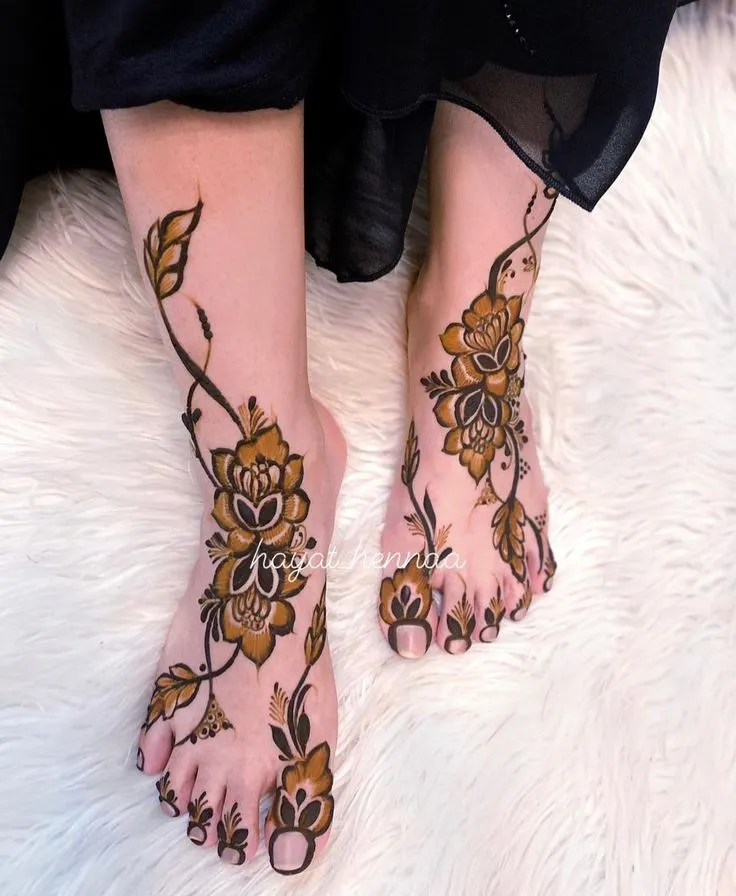
9. Simple Circle on the Foot
A plain ring with a dot in the centre and small petals around the outside. Draw the circle in two halves, from the top down each side, to keep it round. It looks like a light version of a mandala and takes only a few minutes.
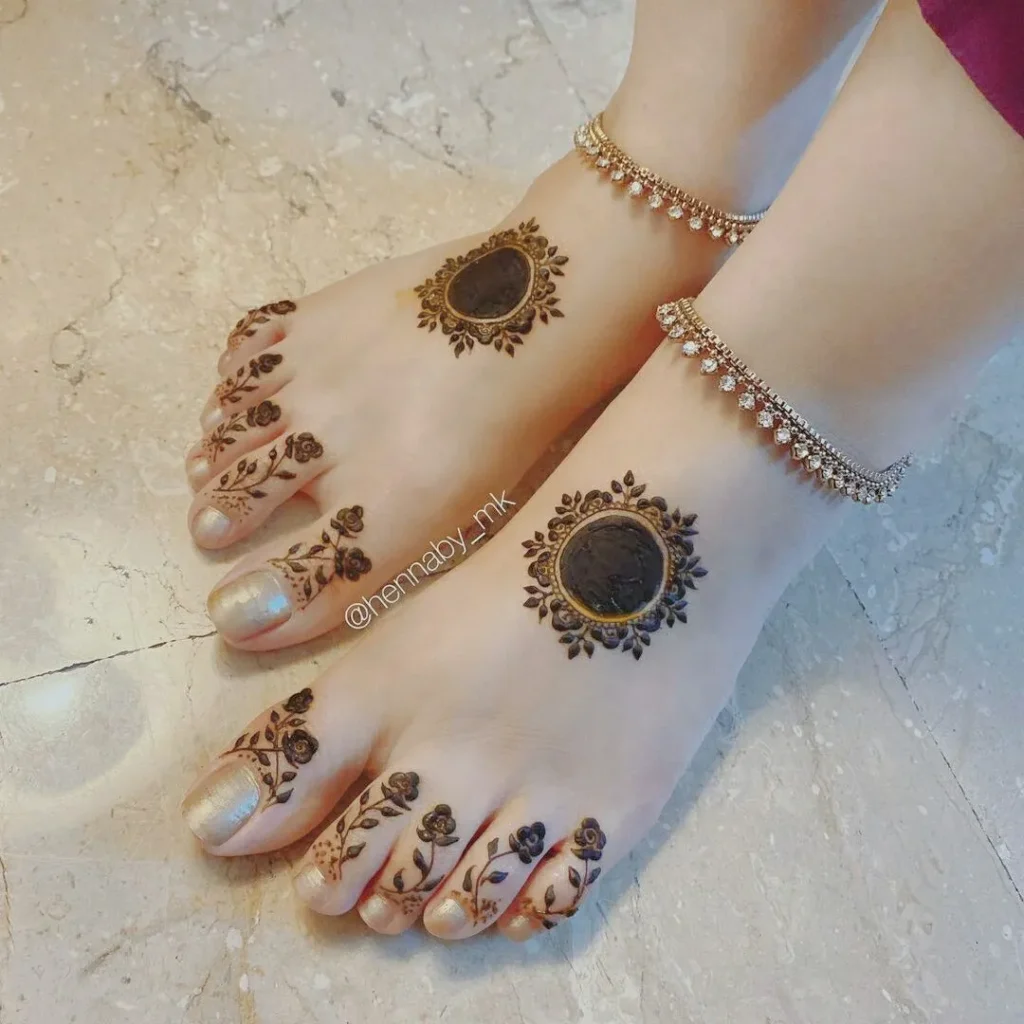
10. Curved Vine With Leaves
A gentle S-curve climbs from the ankle up the outer side of the leg, with leaves along the bends. Place each leaf with a short press and flick, starting from the stem. The curve follows the leg’s shape, so it looks good even if the line is not perfectly smooth.
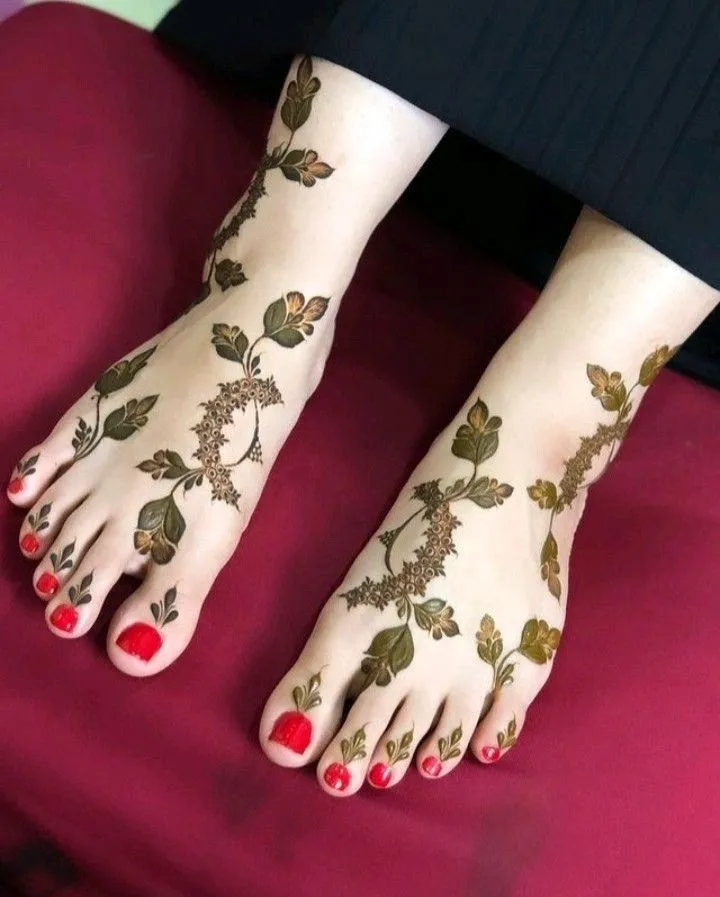
11. Triangle and Dot Strip
A row of small triangles forms a band around the ankle or a strip across the foot, with a dot above each point. Mark the tips first, then join them. The pattern has no curves, which makes it the easiest geometric option for a beginner.
Stylish and Modern Feet Mehndi Designs
Modern designs lean on contrast, open space, and clean structure instead of dense filling. They suit engagements, receptions, and outfits with a simple cut. The skin you leave bare is part of the design, so plan it as carefully as the henna.
12. Negative Space Lotus
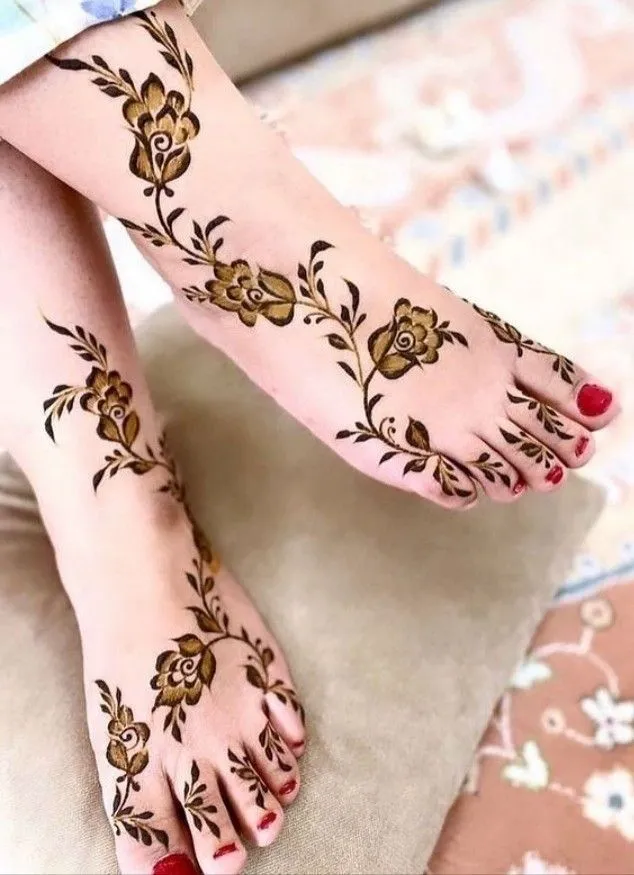
The lotus is outlined and left uncoloured, while henna fills the area around it. Once the paste comes off, the bare-skin lotus stands out against a dark background. It takes a steady hand, because the outline must be closed before the fill goes on.
13. Half and Half Pattern
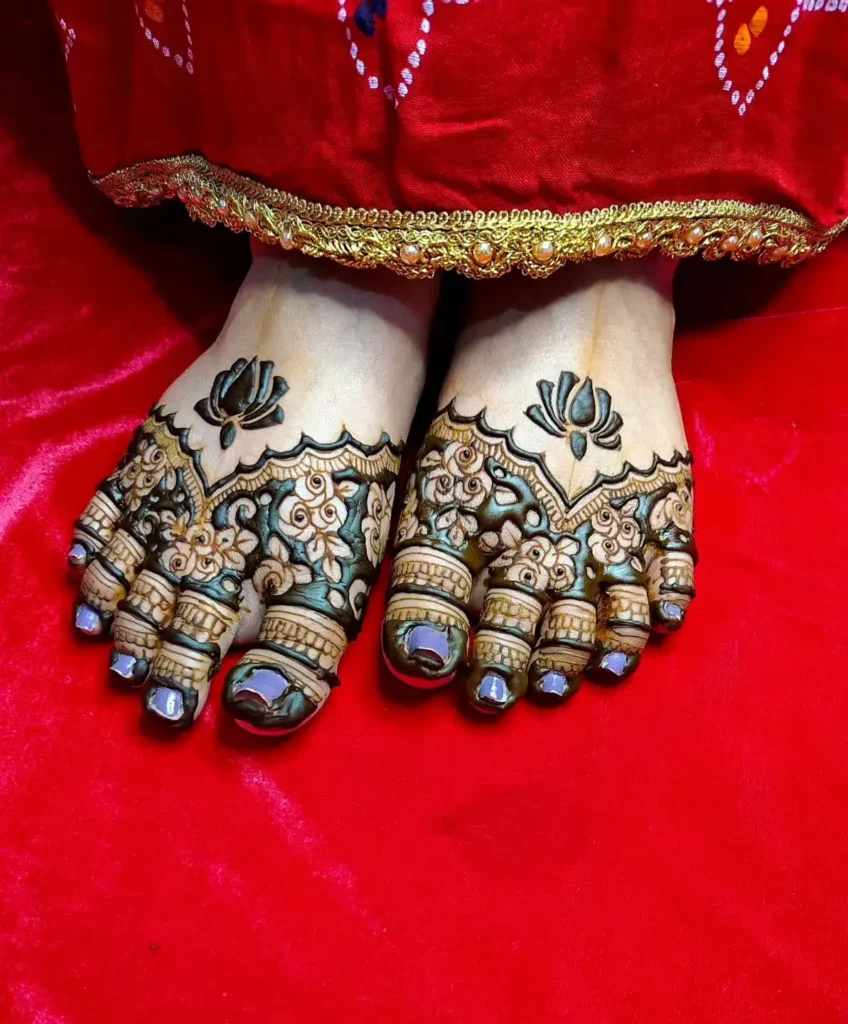
One half of the foot carries dense work, and the other half stays open or holds only a few lines. The uneven balance gives the design a modern, deliberate look. Pick one side of the foot for the weight and keep the other clean.
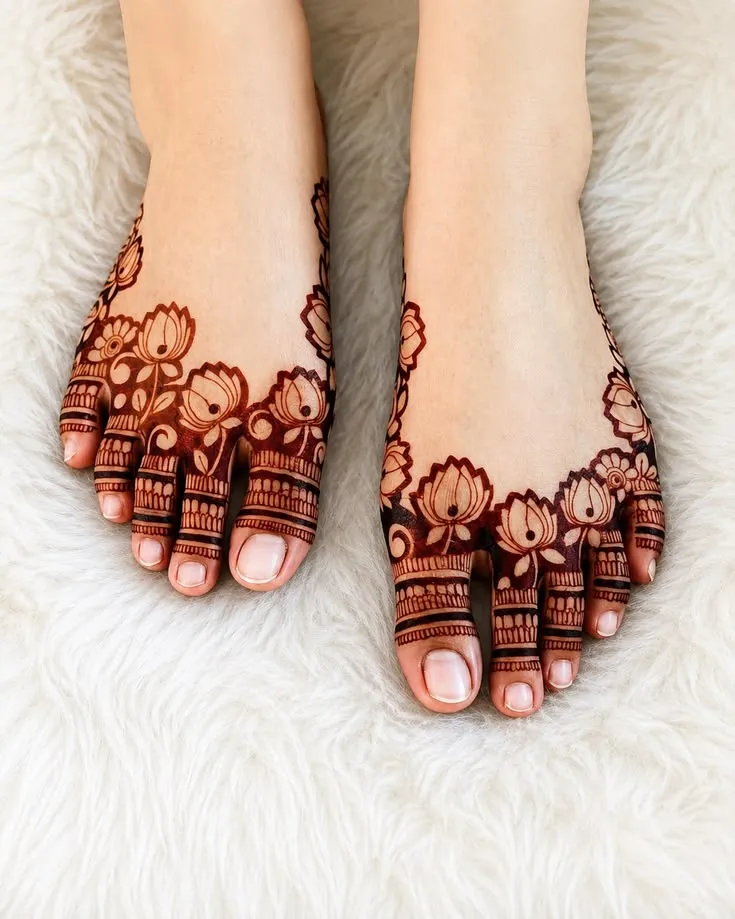
14. Beaded Chain Design
Rows of dots form a chain that drapes across the instep, with small drops hanging at the lower edge. It reads like fine jewellery on the foot. The dots do most of the work, so even spacing matters more than the number of drops.
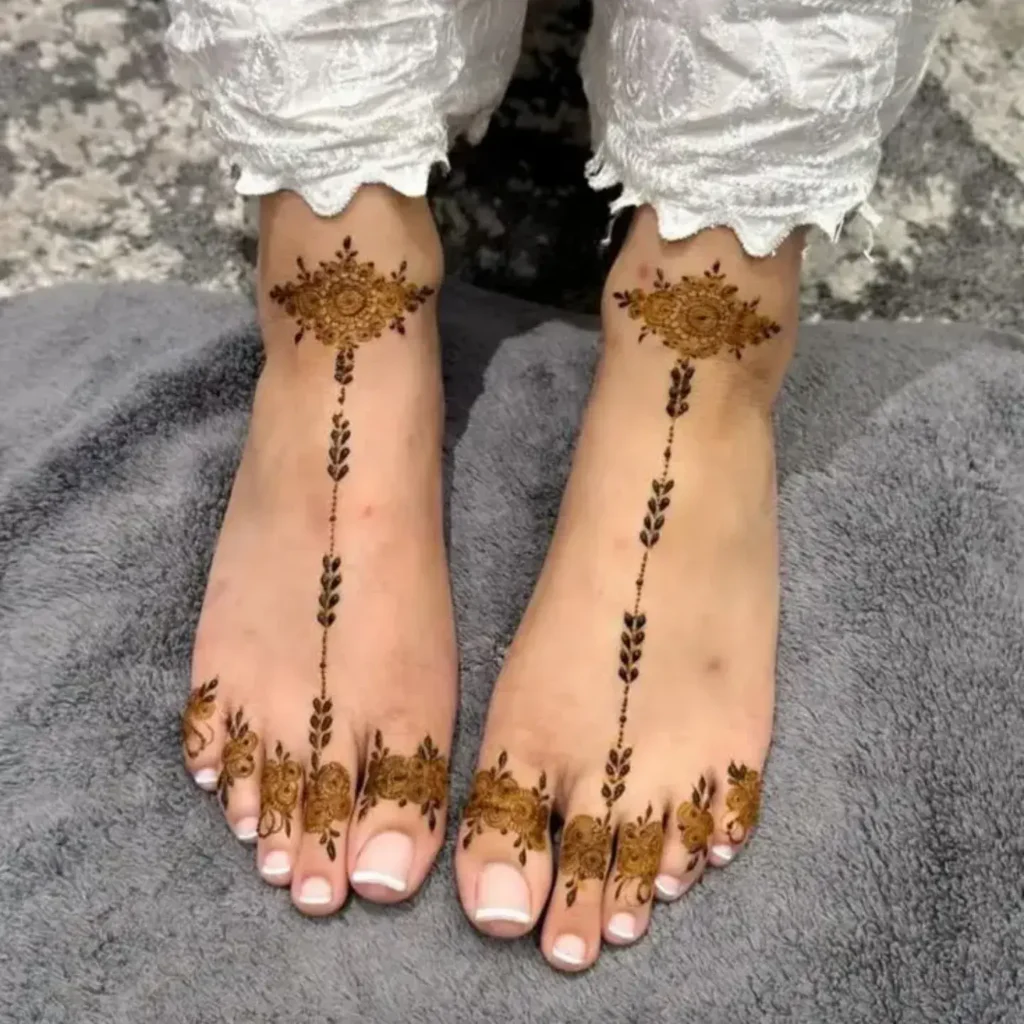
15. Geometric and Floral Mix
Straight lines and triangles sit beside soft flowers and leaves. The contrast between sharp and rounded shapes gives the design a fresh look, with a nod to Moroccan geometry. Keep the geometric part to one area, so the flowers still read clearly.
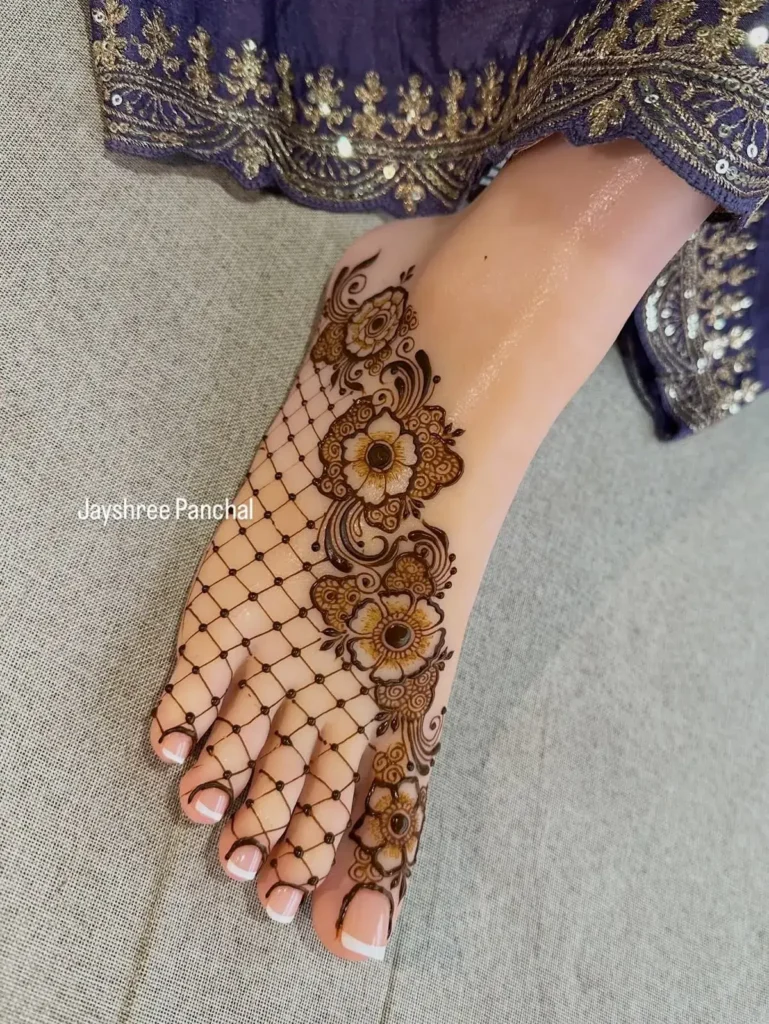
Arabic Leg and Foot Mehndi Designs
Arabic mehndi design uses bold, flowing outlines and varied line weight, with plenty of open skin around the pattern. A trail or vine leads the eye across the foot instead of filling it. The style is lighter than traditional Indian coverage, so it suits festive days and modern brides. Many people match their feet with a back hand mehndi design in the same style.
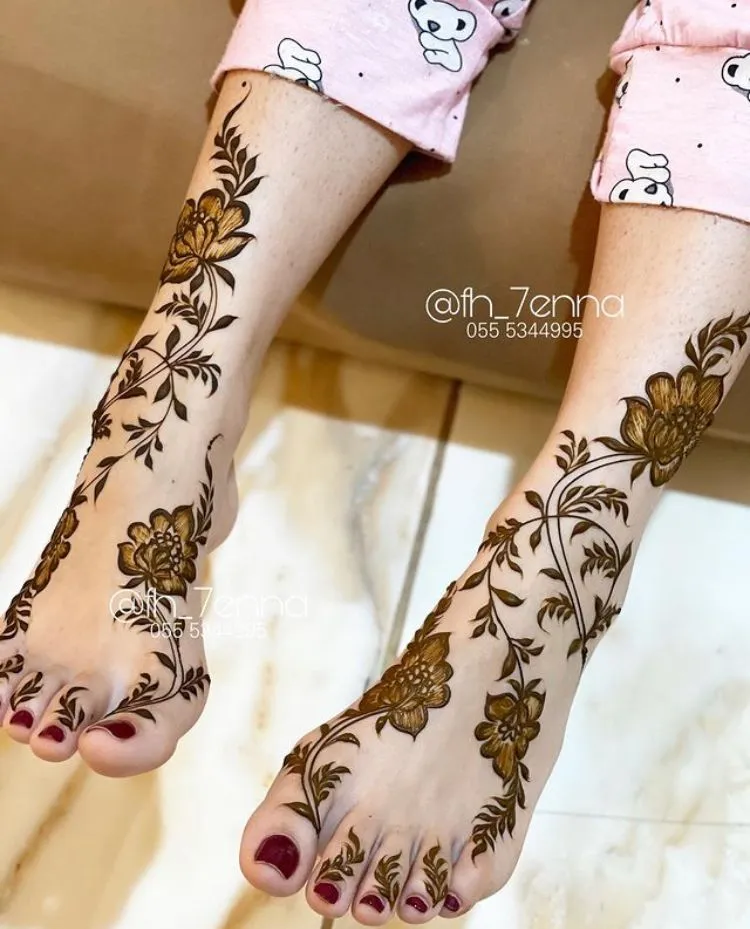
16. Diagonal Bel Across the Foot
One bold vine crosses the foot on a diagonal, from the outer ankle toward the toes. The leaves are thick teardrops, and the stem tapers as it travels. Open skin on both sides gives the line room to stand out.
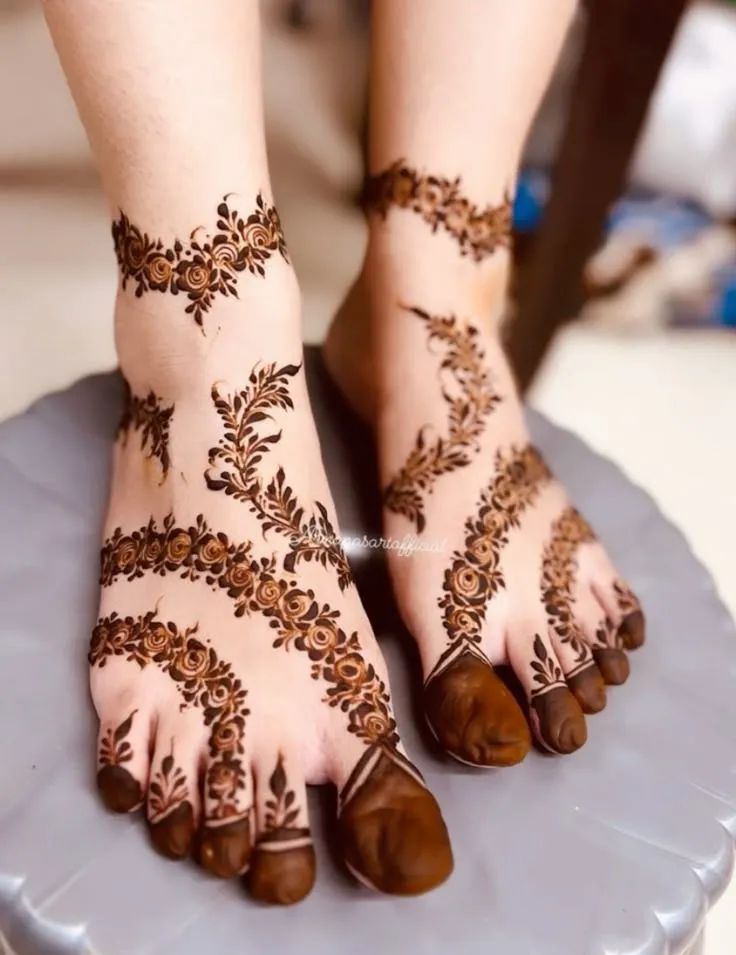
17. Floral Arabic Trail
Flowers, leaves, and small curls sit along a trail that curves from the side of the foot toward the centre. The petals carry thicker outlines, with a little shading inside. Keep the trail moving in one direction so the pattern does not look crowded.
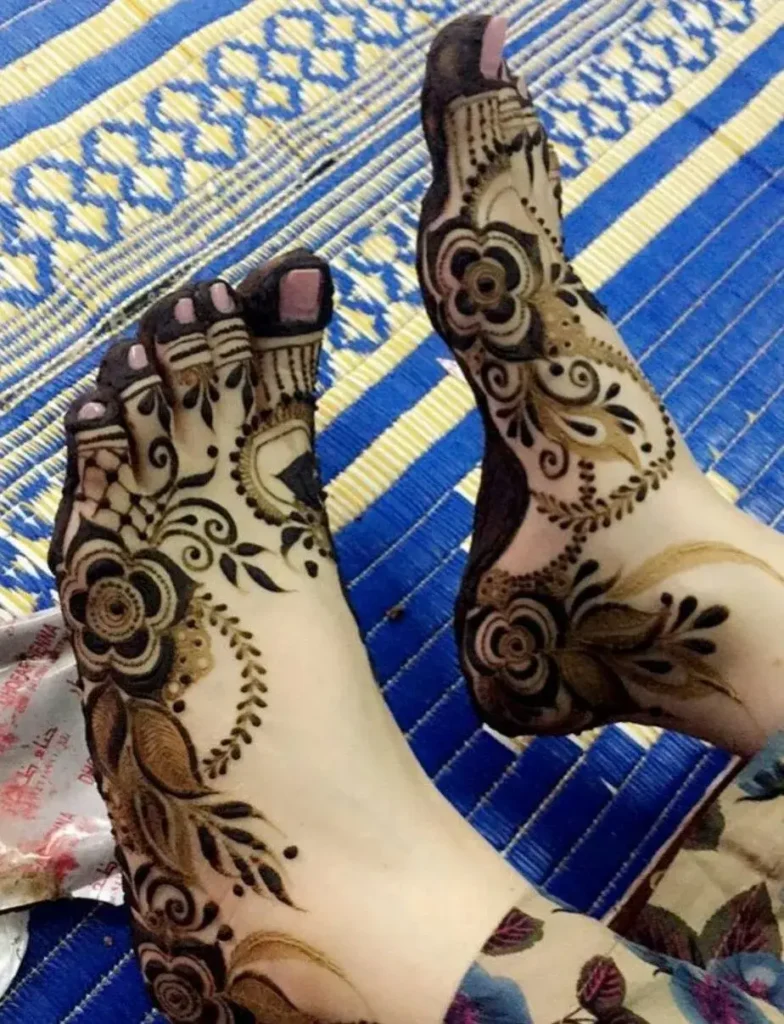
18. Arabic Design With Toe Detail
The bold trail ends in fine lines or small motifs on the toes. The mix of heavy and delicate work gives the foot a finished look. You can decorate all five toes or only the big toe for a lighter result.
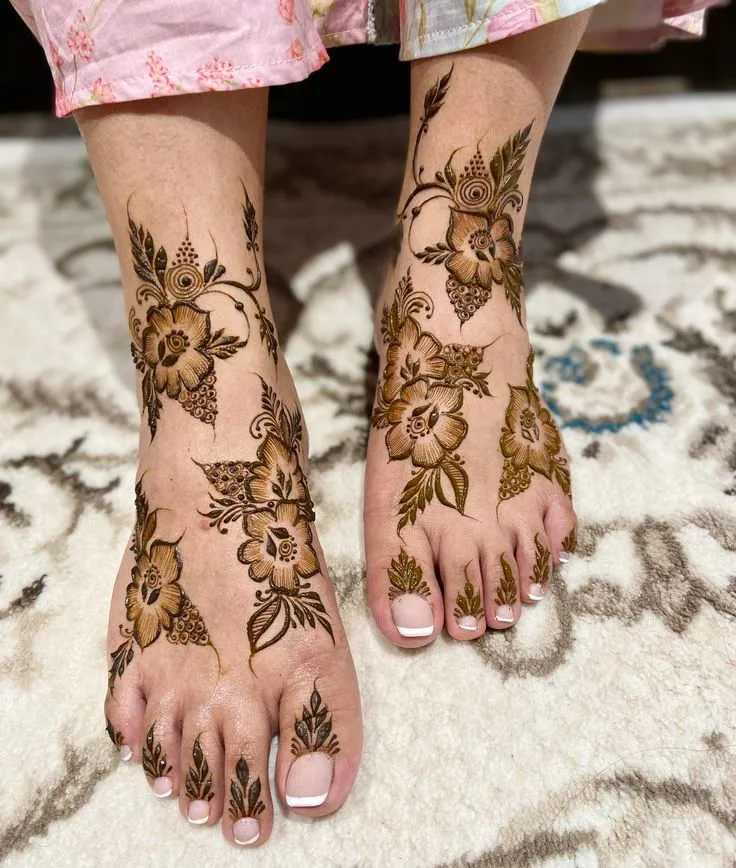
19. Full Leg Arabic Vine
A single vine of leaves and flowers runs from the foot up to the calf. The line grows slimmer as it climbs, which keeps the upper leg light. It covers a lot of skin without the density of bridal bharwa.
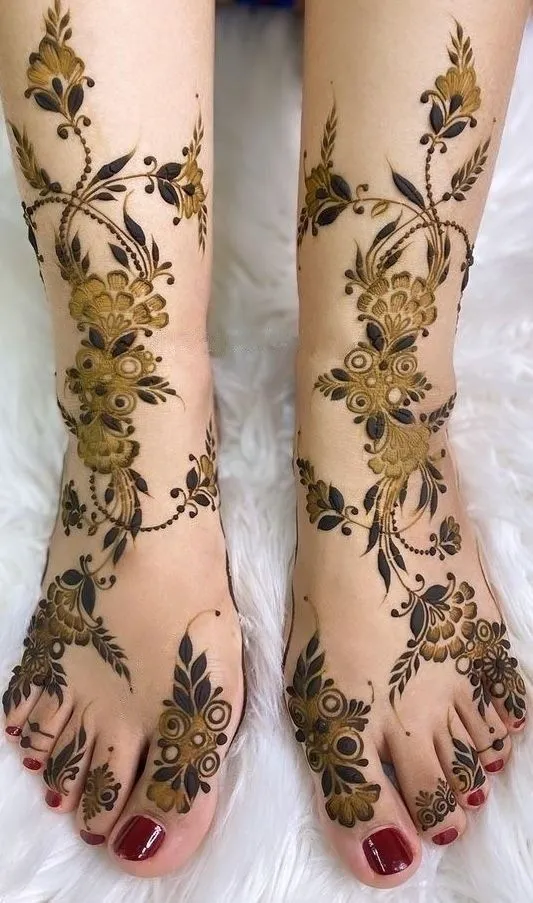
20. Indo-Arabic With Fine Filling
This design keeps the bold Arabic outline and fills the petals with fine Indian details such as dots, small swirls, and shading. The outline gives structure, and the fillings add depth. It suits brides who like both styles.
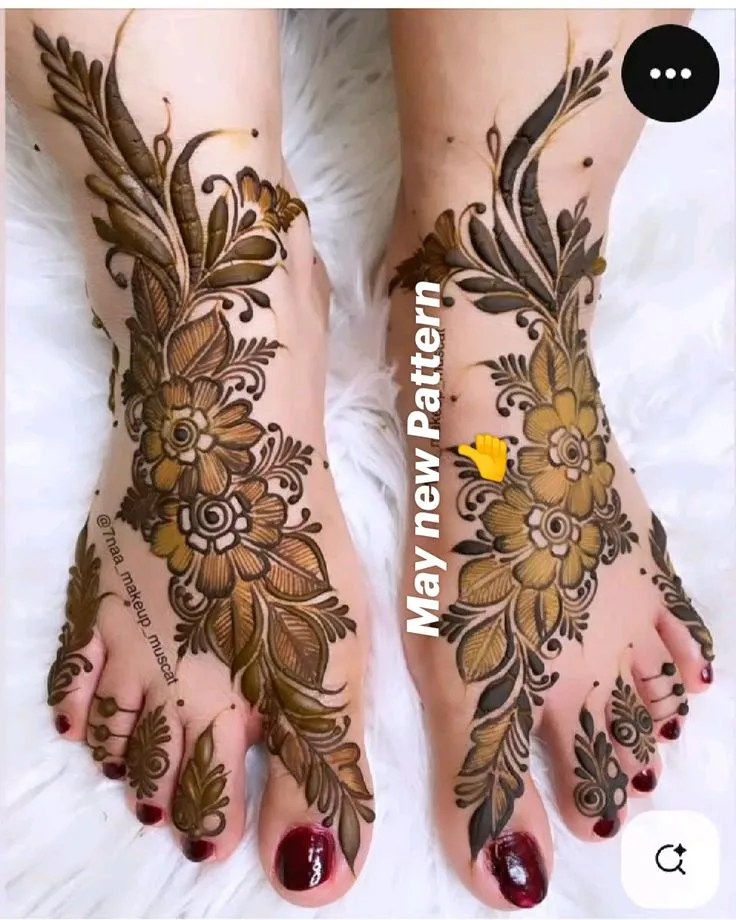
Side Foot and Leg Mehndi Designs
Side designs sit on the outer or inner edge of the foot or calf. The top of the foot stays free for straps, jewellery, or bare skin. They suit anyone who wants mehndi that does not compete with footwear, and they show well from the side when you walk or sit.
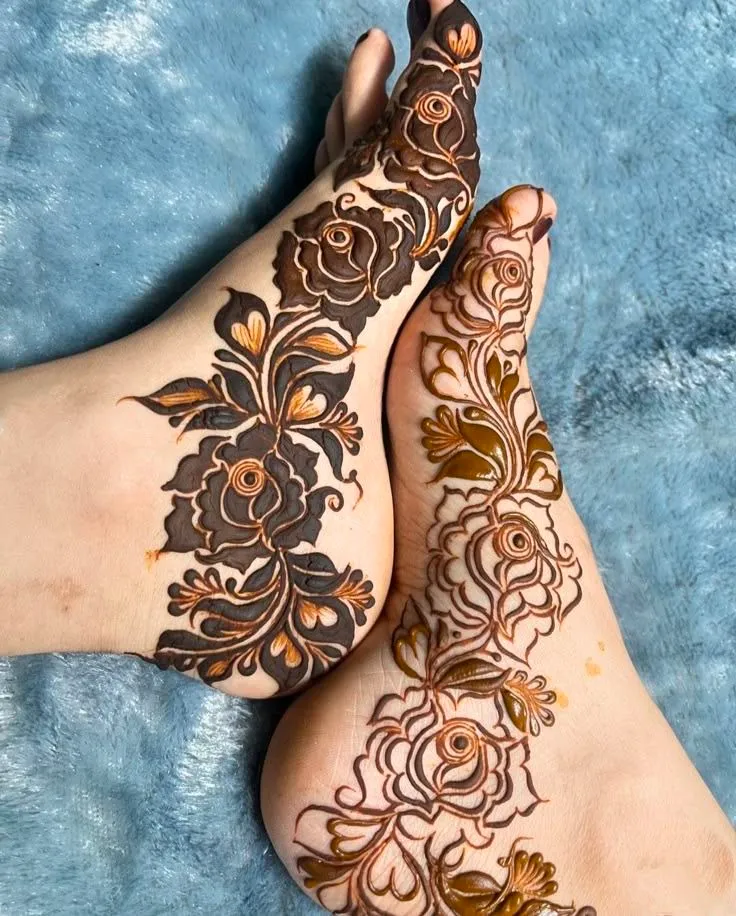
21. Outer Edge Vine
This is a fuller version of the classic side vine. It starts behind the ankle bone, curves under it, and follows the outer edge of the foot to the little toe. Flowers and small curls join the leaves, so the line has more movement than a plain stem.
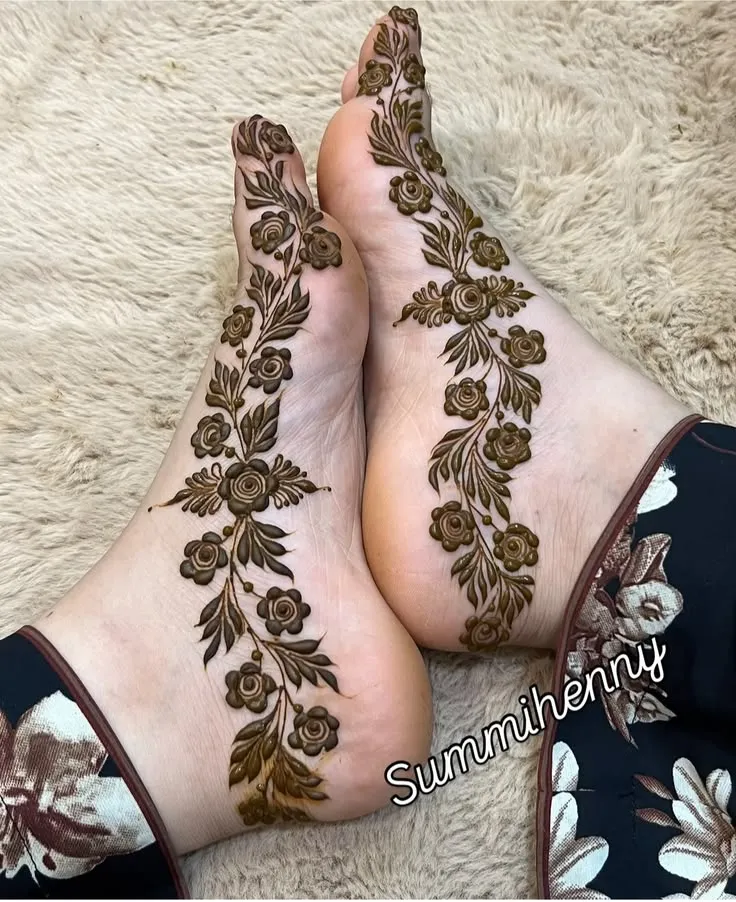
22. Inner Side Floral Band
A band of flowers and leaves runs along the arch side of the foot. The arch curves inward, so soft floral shapes fit it better than rigid lines. The band shows when the feet are together, which makes it a good choice for sitting photos.
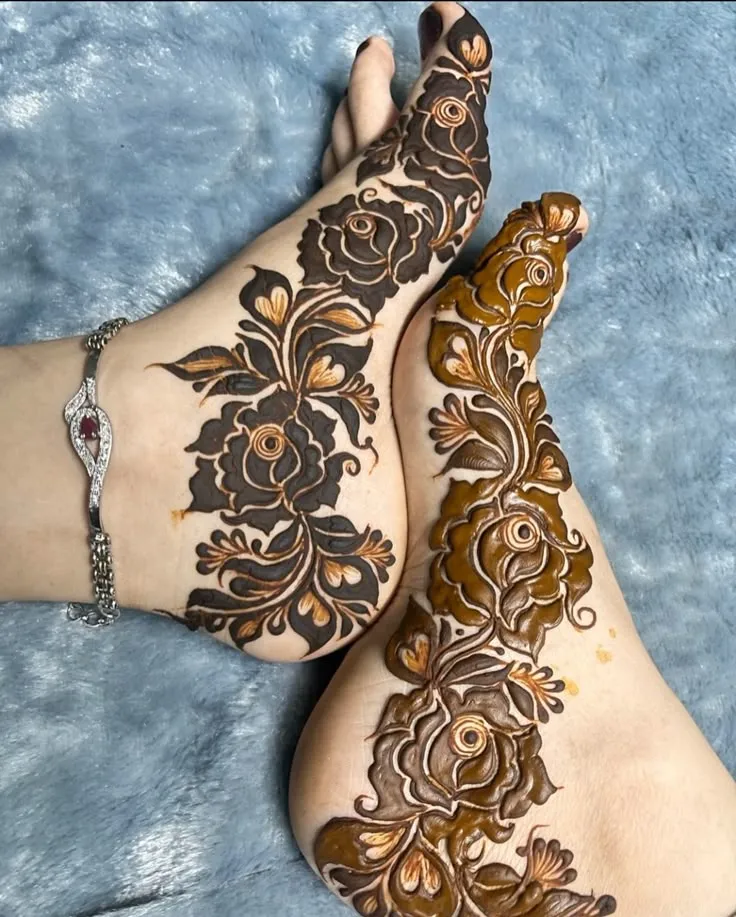
23. Border Side Design
A thin double line follows the edge of the foot, with a repeating scallop or dot between the lines. It works as a frame, either on its own or around a central motif. Run it on one side for a light look, or on both sides for a neat, finished edge.
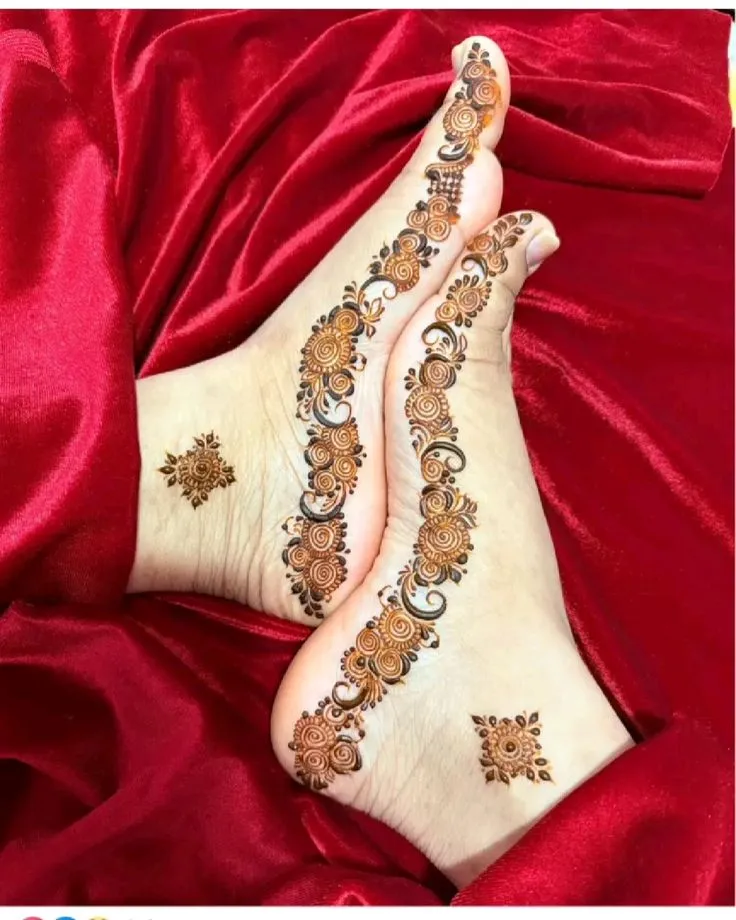
24. Side Leg Trail With Dots
A dotted line travels up the outer calf, with small leaves and a few paisleys placed along it. The dots keep the design light, while the paisleys add interest at the bends. It hugs the leg’s outline, so it looks good in motion as well as standing still.
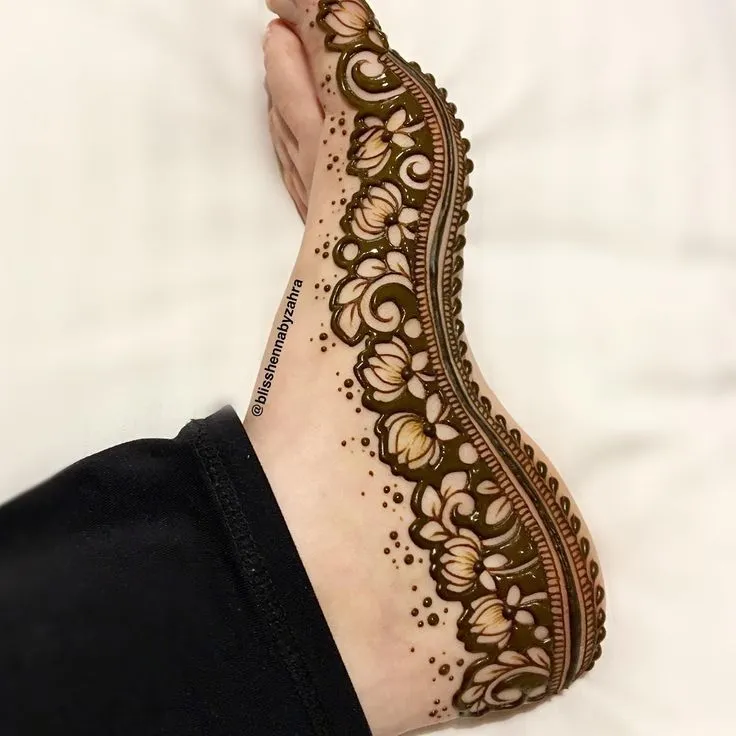
Flower Mehndi Designs for Feet (Pair)
Flowers are the most flexible motif in mehndi. One bloom can stand alone, or a group can fill the whole foot. Each flower has its own shape: the rose is round and layered, the lotus is pointed and open, and small blooms are simple and loose. The choice sets the mood of the design.
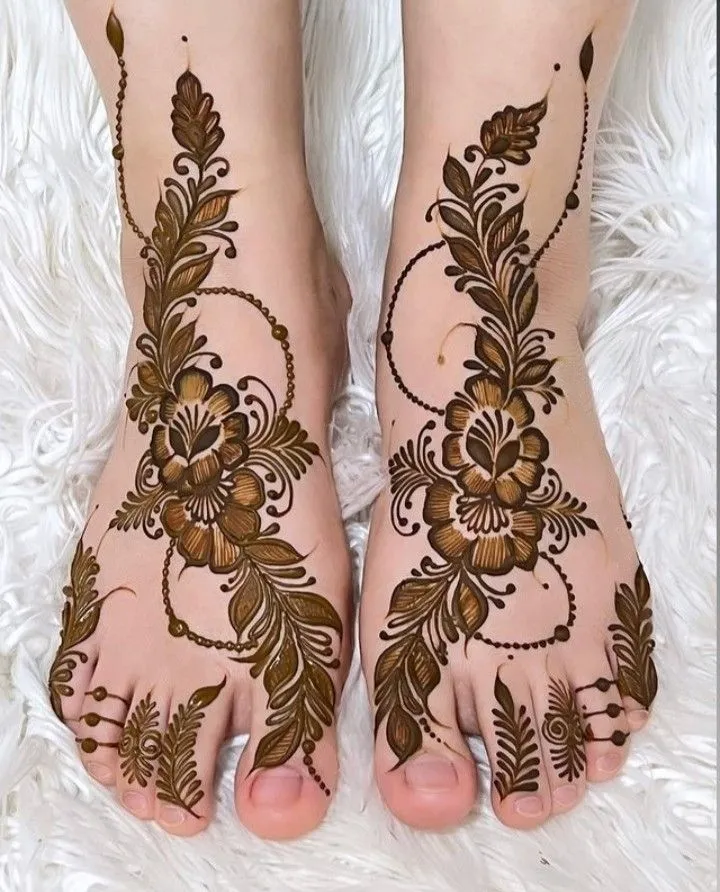
25. Rose and Swirl
A layered rose sits at the centre, with curved swirls spiralling out from its base. Build the petals from the middle outward, and add light shading to give the rose depth. The swirls carry the eye across the foot, so the design needs little else around it.
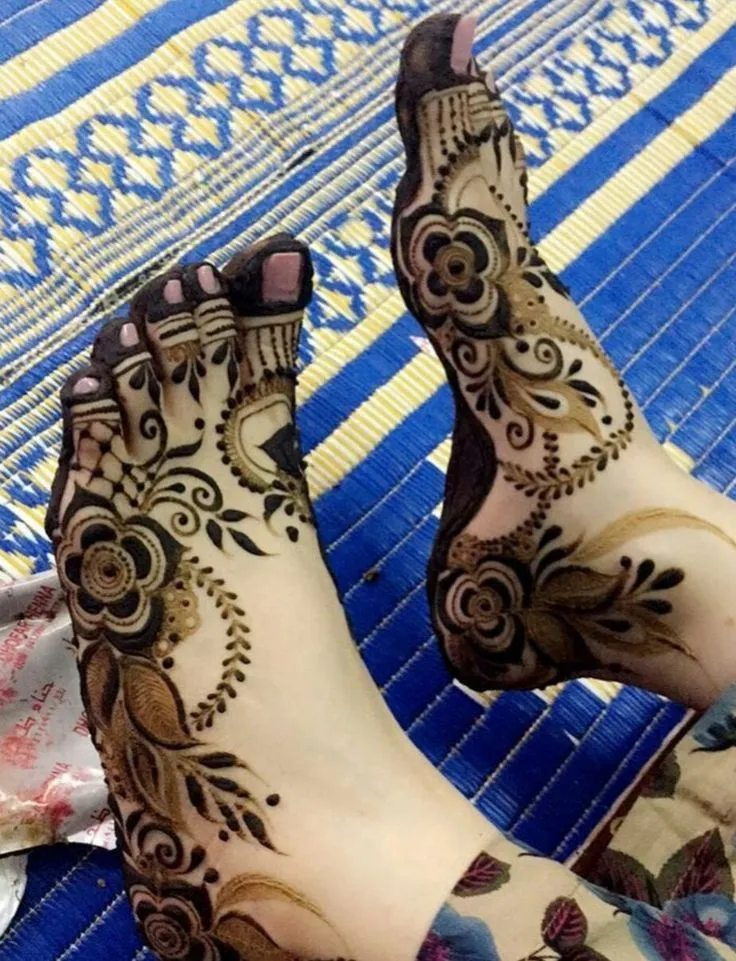
26. Lotus With Leaves
An open lotus with pointed petals rests on the instep, with broad leaves curving beneath it. The lotus is often linked with purity in South Asian tradition, which is why lotus mehndi designs appear so often in bridal work. Layer the petals in two or three rows for a fuller look.
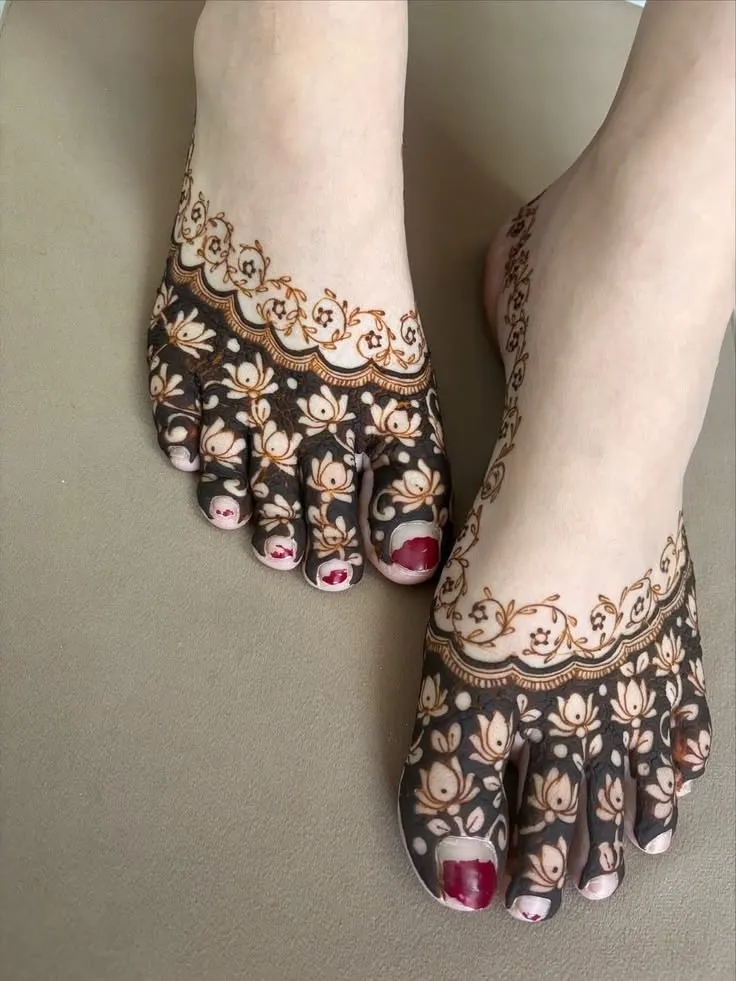
27. Scattered Small Blooms
Tiny flowers spread across the foot with space between them, joined by dots and the odd leaf. The look is casual and light, with no fixed centre. It suits festive days when you want a floral feel without a heavy pattern.
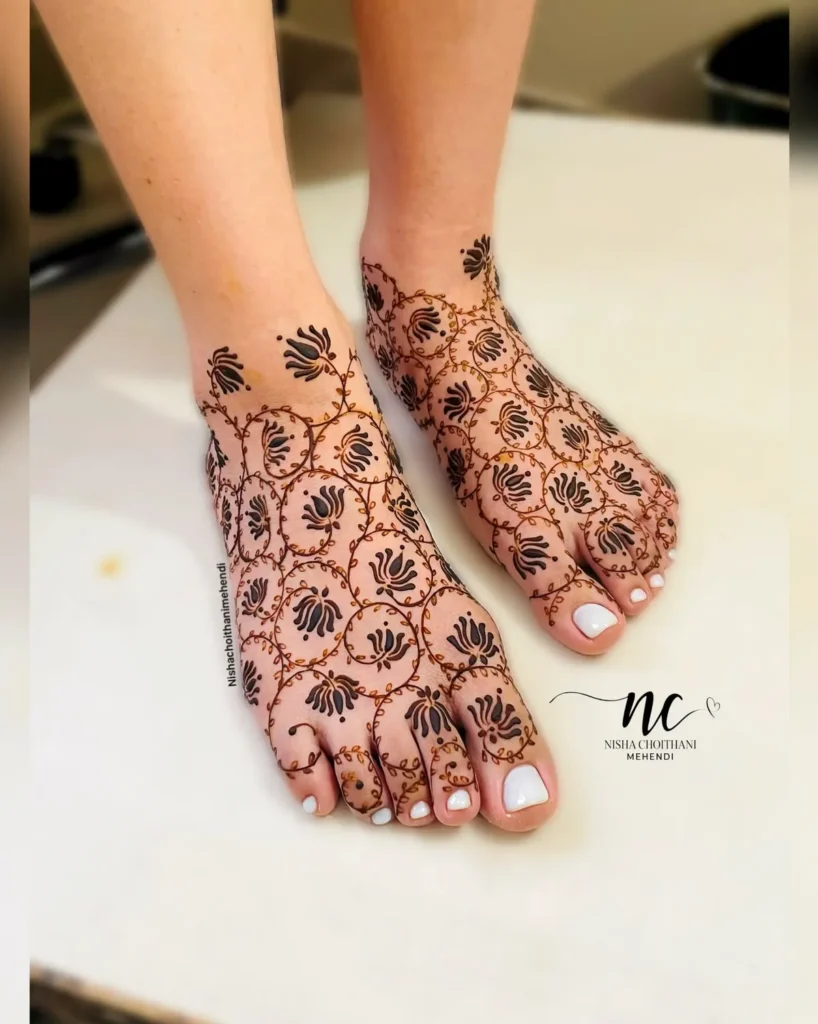
28. Symmetrical Floral Bunches
Matching bunches of flowers sit on both sides of a central line, linked by a thin vine or a small jaal. The balance makes the design look formal and tidy. It works well for engagements and wedding events, where the feet are often photographed together.
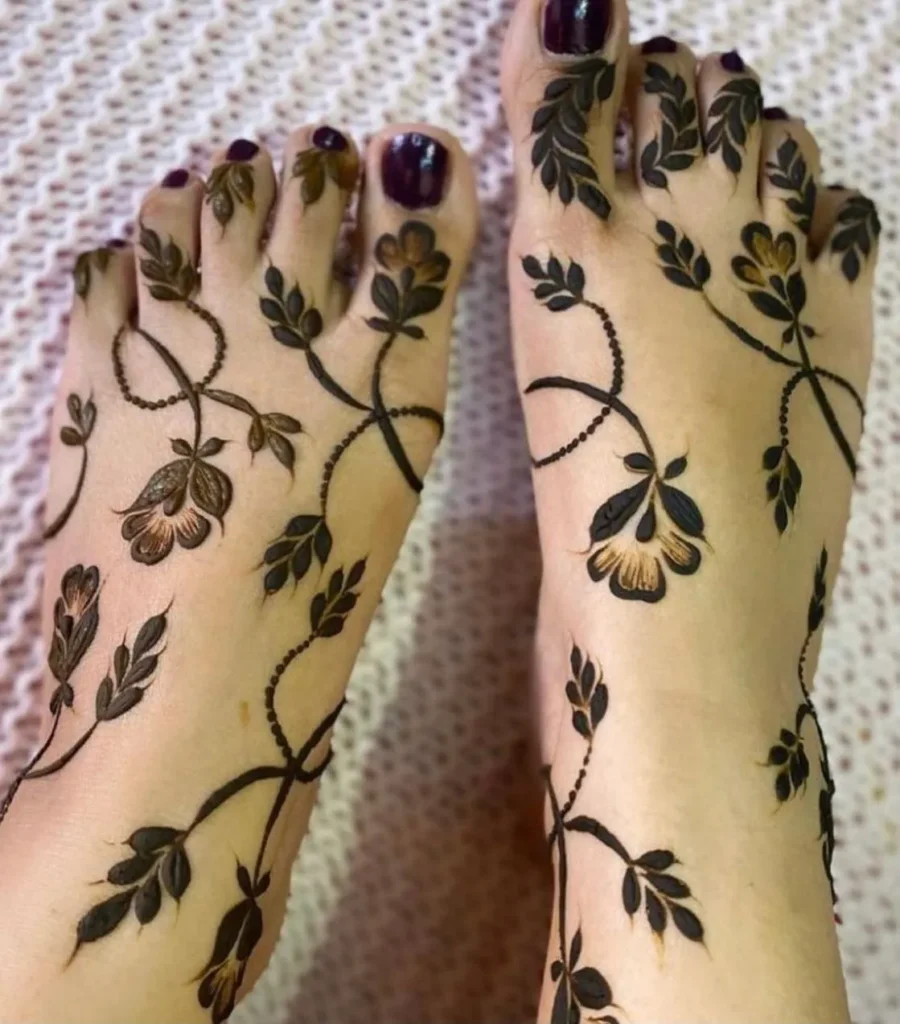
Anklet and Payal Mehndi Designs
These designs copy the jewellery that sits around the ankle: chains, bells, pearls, and lace cuffs. They work as a light finish when you want no pattern on the rest of the foot. They also sit well with a bridal outfit that already has heavy work elsewhere.
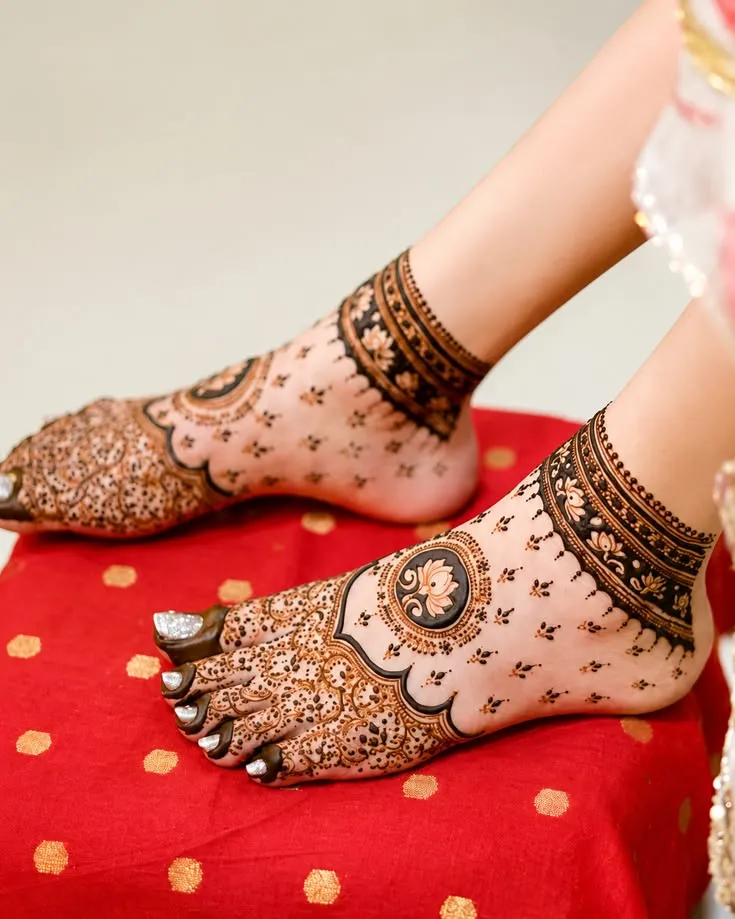
29. Chain Payal Band
Linked loops circle the ankle in one or two rows, drawn like the links of a fine chain. Keep each loop the same size so the band reads as metal, not as scribbles. The result looks like jewellery without any extra detail.
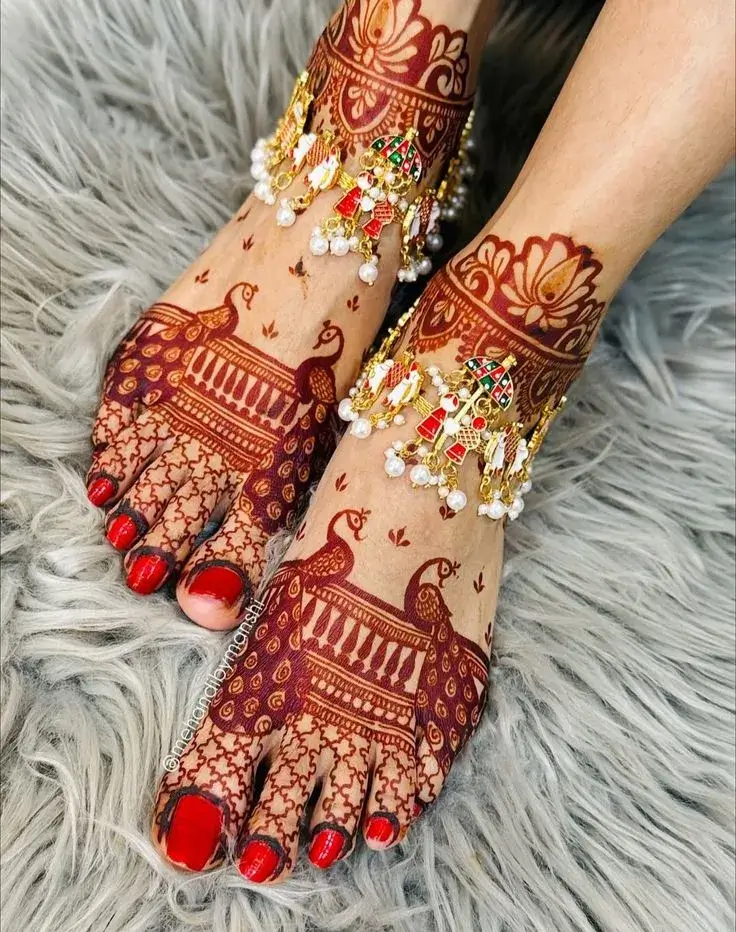
30. Hanging Ghungroo Drops
A thin band wraps the ankle, with round drops hanging below it like small bells. Vary the drop lengths slightly to give the band movement. The drops point toward the foot, so they draw the eye down to the toes.
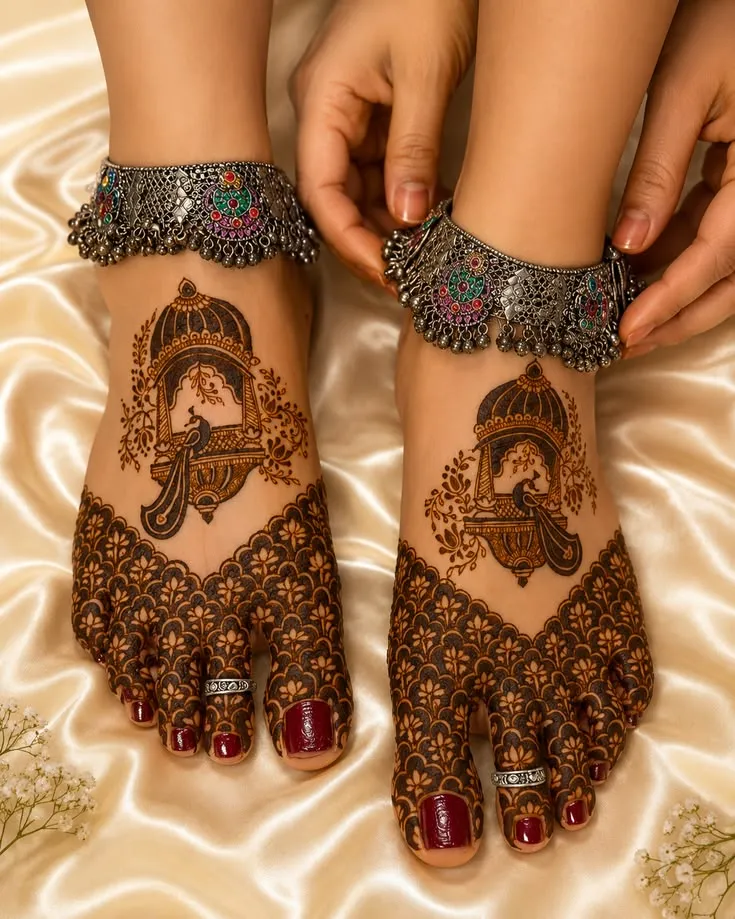
31. Dotted Pearl-Style Anklet
Two or three rows of dots circle the ankle like a string of beads, with one larger dot at the centre front. The dots are quick to place and easy to space evenly. It suits anyone who wants a clean ankle design with no curves.
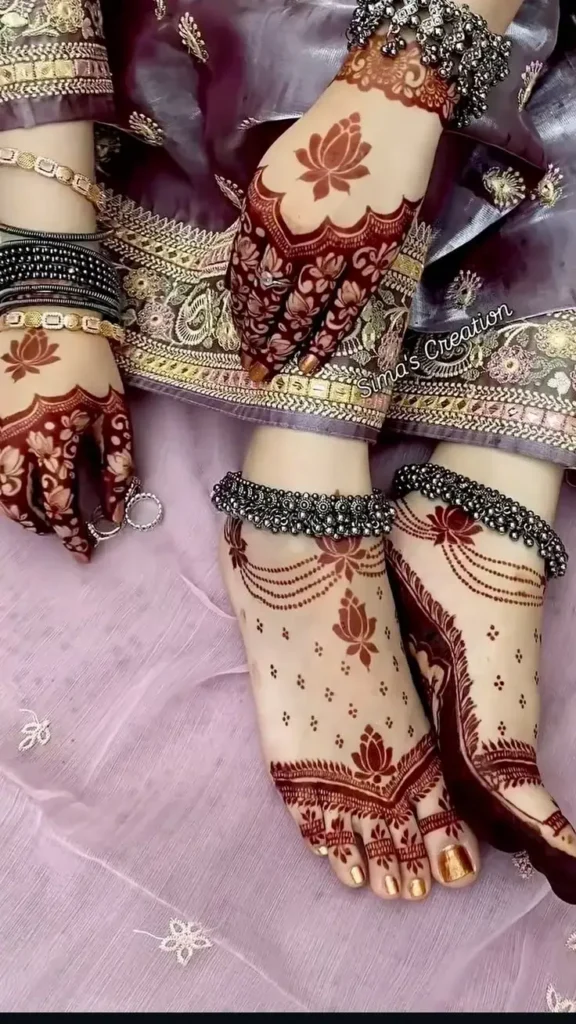
32. Wide Cuff With Fine Lace
A wide cuff of net-like lines wraps the ankle, finished with a scalloped edge. The thin, lace-like style comes from Khafif work, a delicate approach that developed in the Gulf. It looks rich but stays light, so it pairs well with a simple design on the foot.
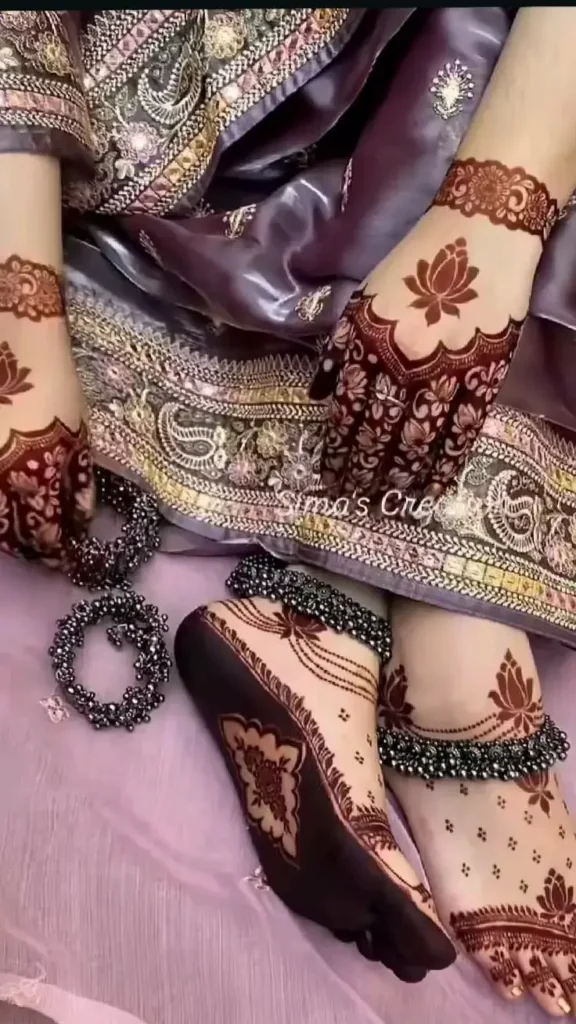
Mandala and Gol Tikki Mehndi Designs for Legs and Foot
A gol tikki is a round disc, either solid or filled with fine pattern, placed at the centre of the top of the foot. A mandala is built from rings that spread outward from a centre point, using petals, dots, and small scallops. Both put one strong circle at the focus of the foot, so the rest of the design can stay light.
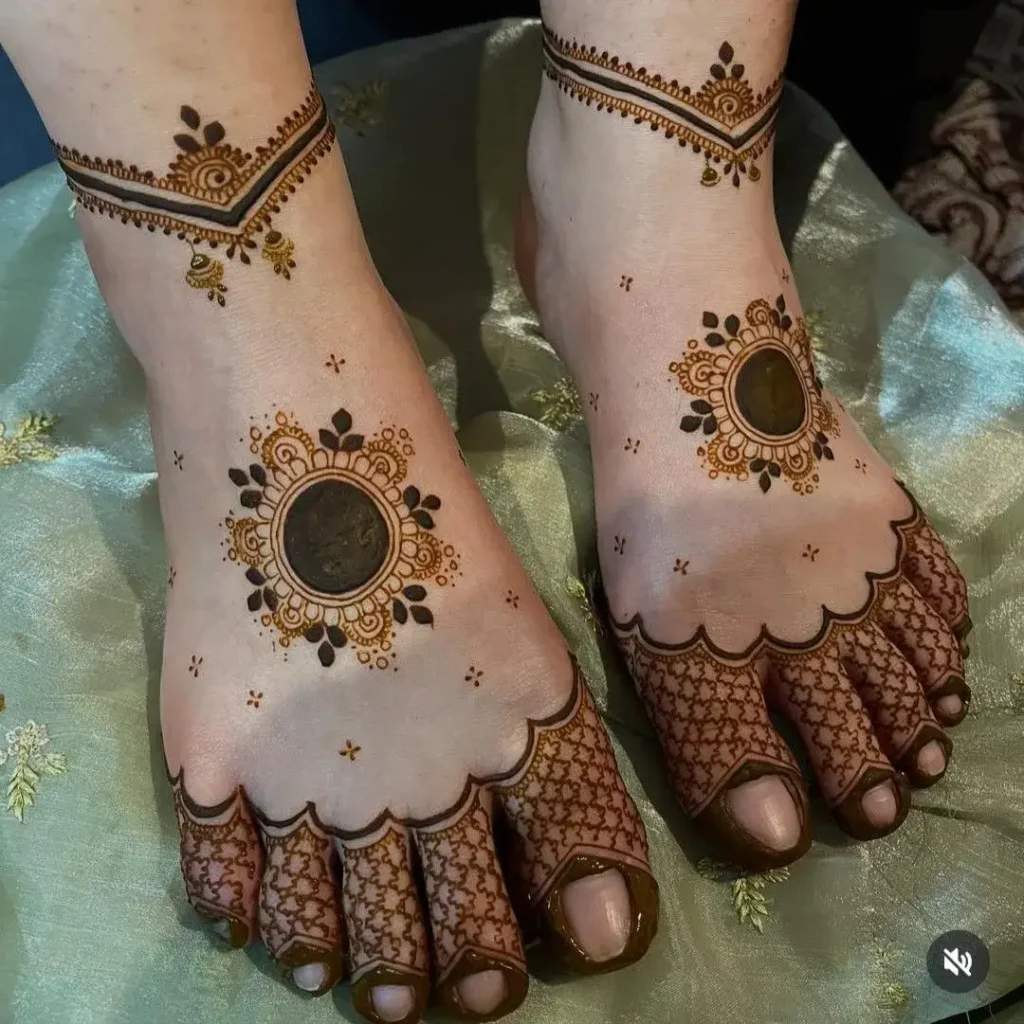
33. Classic Gol Tikki on the Instep
A round disc sits at the centre of the top of the foot, either filled solid or patterned with fine lines. Clean, even edges matter most, because the shape is simple and any wobble shows. The toes can stay bare for a plain look, or carry a small detail.
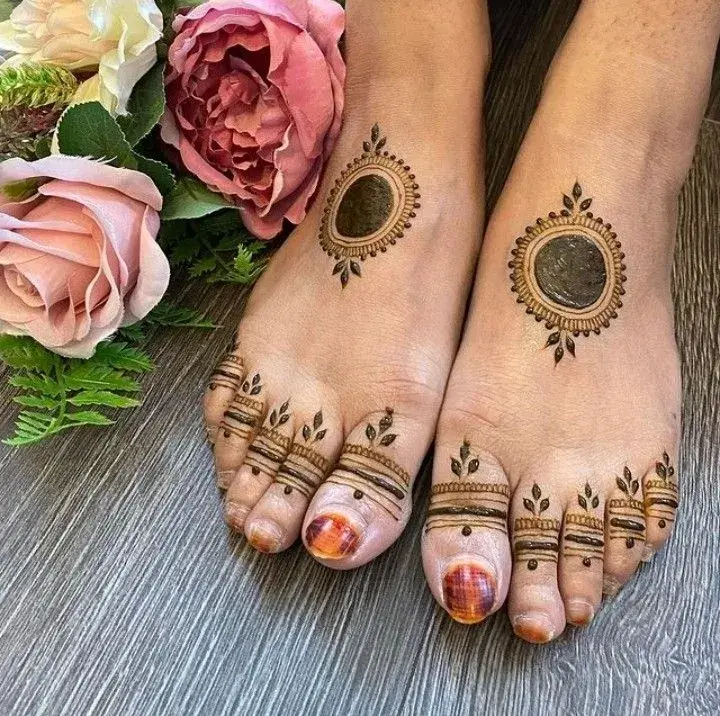
34. Mandala With Toe Caps
Concentric rings of petals, dots, and scallops form a mandala at the centre of the foot. Solid toe caps balance the medallion, so the foot has a focus at both ends. The toe caps repeat the mandala’s dark tones and keep the design looking whole.
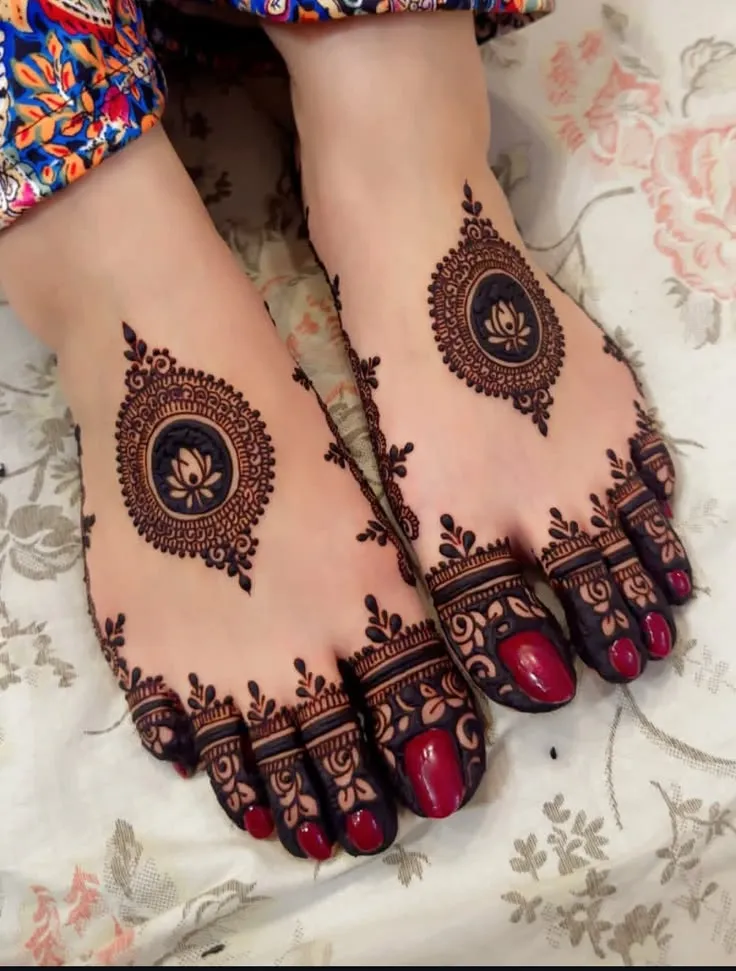
35. Mandala With Ankle Band
A band at the ankle repeats the petals and dots from the mandala, which ties the design together. Share one or two motifs between the two parts, not all of them. The result looks planned from toe to ankle without needing more pattern in between.
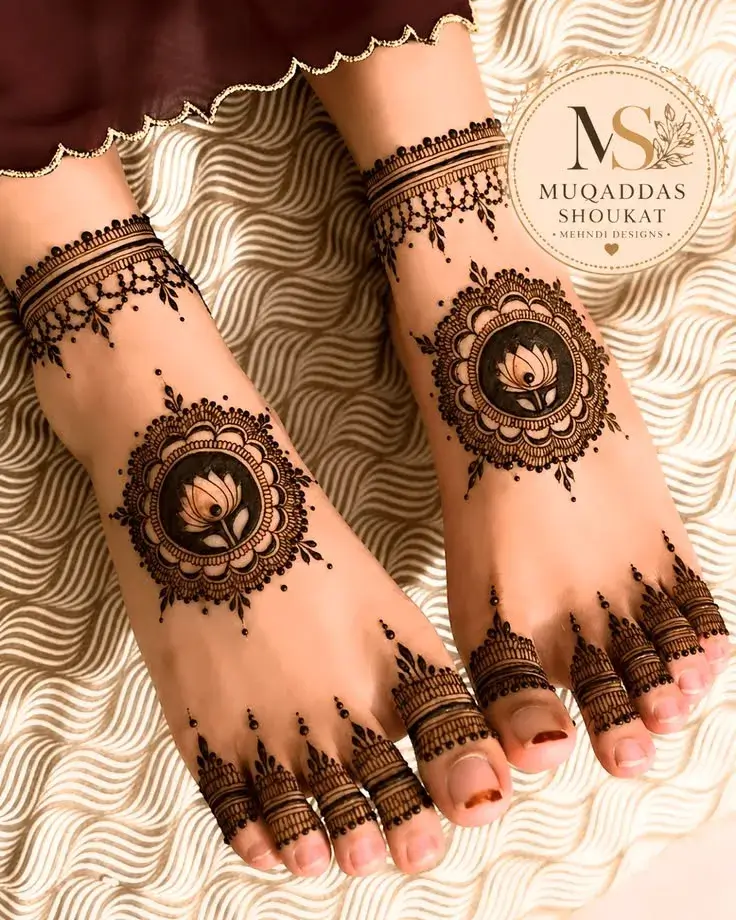
36. Gol Tikki With Floral Halo
The disc sits inside a ring of petals or small flowers that softens its solid centre. The halo adds detail around the edge while the centre stays bold. Leave the area around the halo open, so the circle keeps its shape.
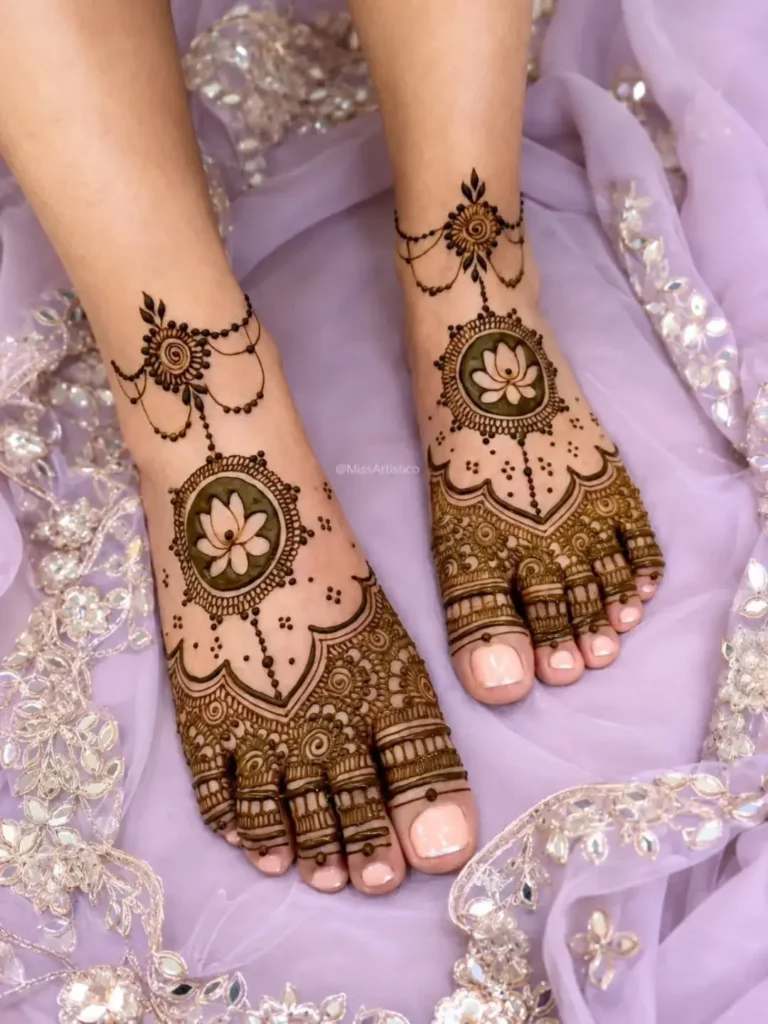
Bridal Foot and Leg Mehndi Designs
Bridal designs use denser work and traditional symbols. Most are built around one centrepiece, such as a jaal, a peacock, or a lotus, with detail that fills the space around it. Plan the design with your outfit and footwear in mind, and book your artist early, because heavy work takes a long session.
Brides who want matching hands can pair these with a royal front hand mehndi design.
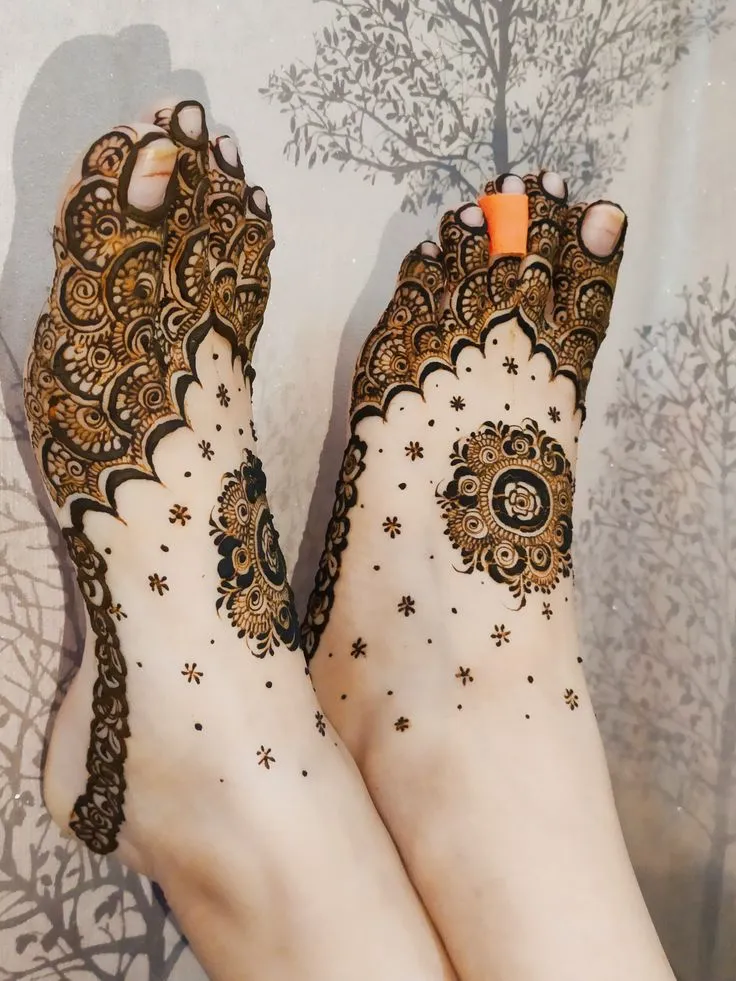
37. Jaal With Floral Centre
A lattice of fine lines covers the foot, with a large flower at the centre. A small dot or leaf sits at each point where the lines cross. The grid must stay even as it passes over the ankle bone and arch, which is why this design calls for an experienced artist.
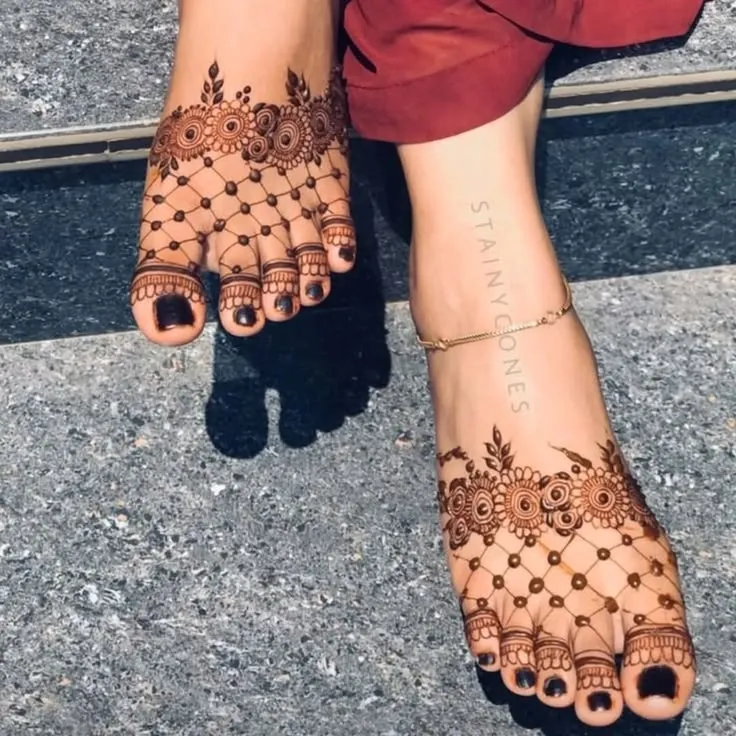
38. Peacock Centrepiece
One large peacock stands at the centre of the foot, with its tail fanning toward the ankle. The peacock is often seen as a symbol of beauty and grace in Indian art. Fill the space around the bird with fine vines and dots, so the figure stays clear.
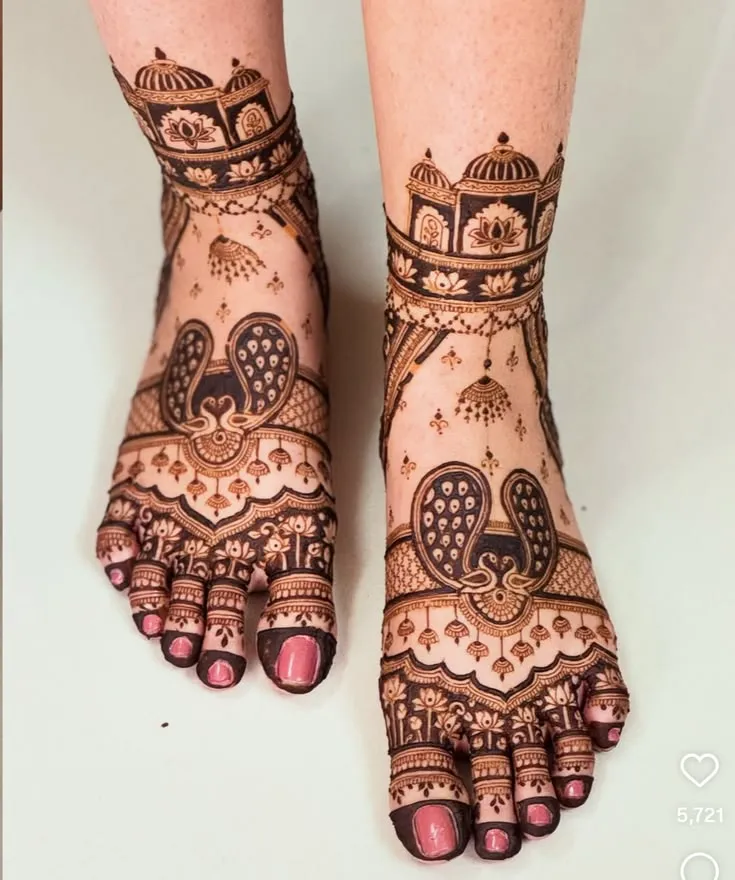
39. Rajasthani Elephant and Peacock
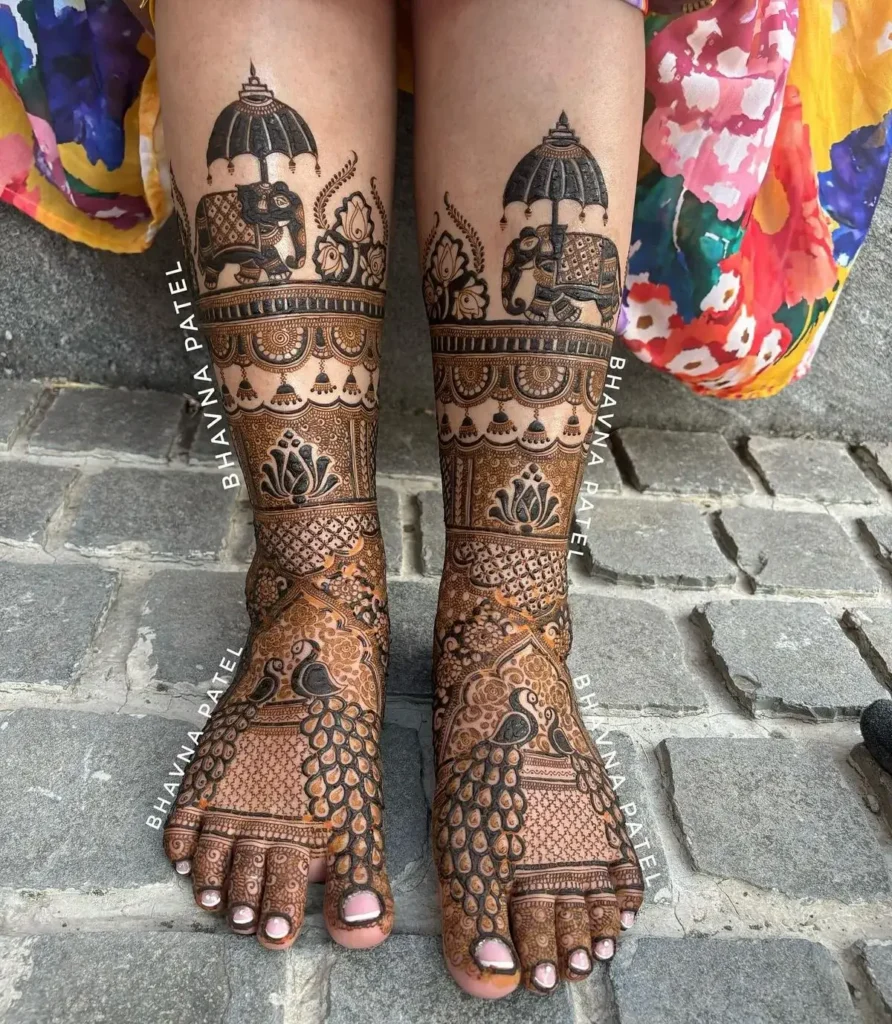
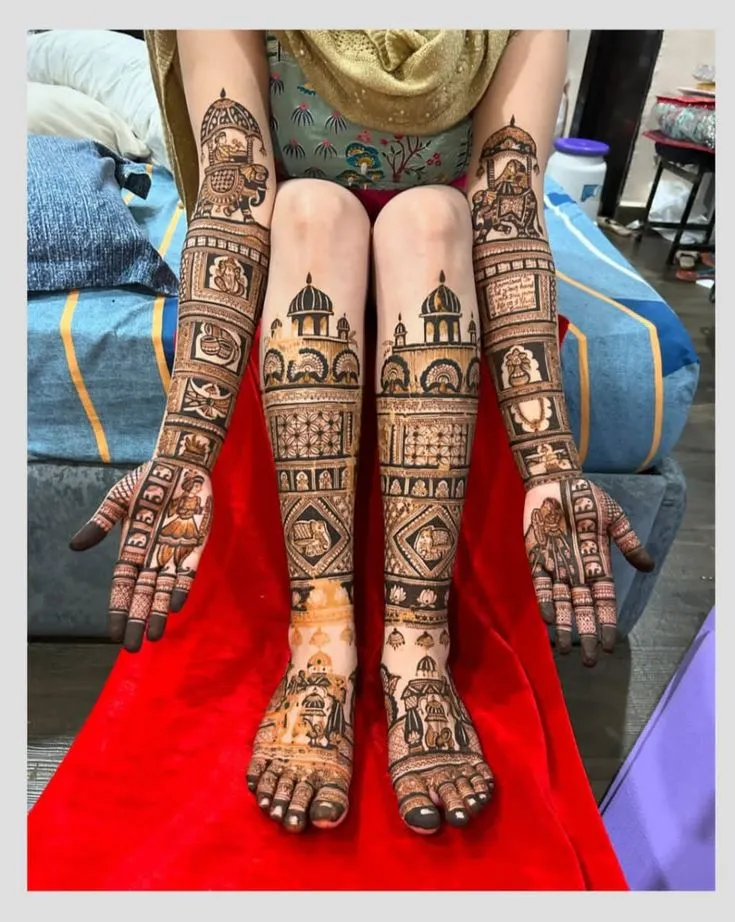
This traditional Rajasthani and Marwari style packs the leg with elephants, peacocks, and dense background work. Little bare skin remains, and each figure sits in its own band or panel. The look suits a bride in a traditional outfit who wants classic, full coverage.
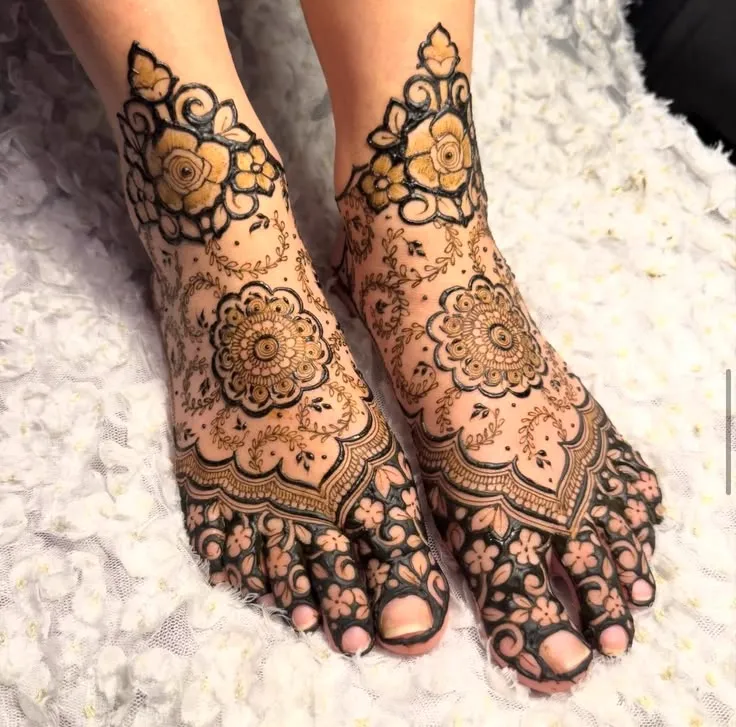
40. Lotus and Rose Bridal Design
Shaded lotus petals and layered roses form the centre, with vines and leaves running toward the ankle. The shading gives the flowers depth, which shows well in wedding photos. It is a softer alternative to figure-heavy designs.
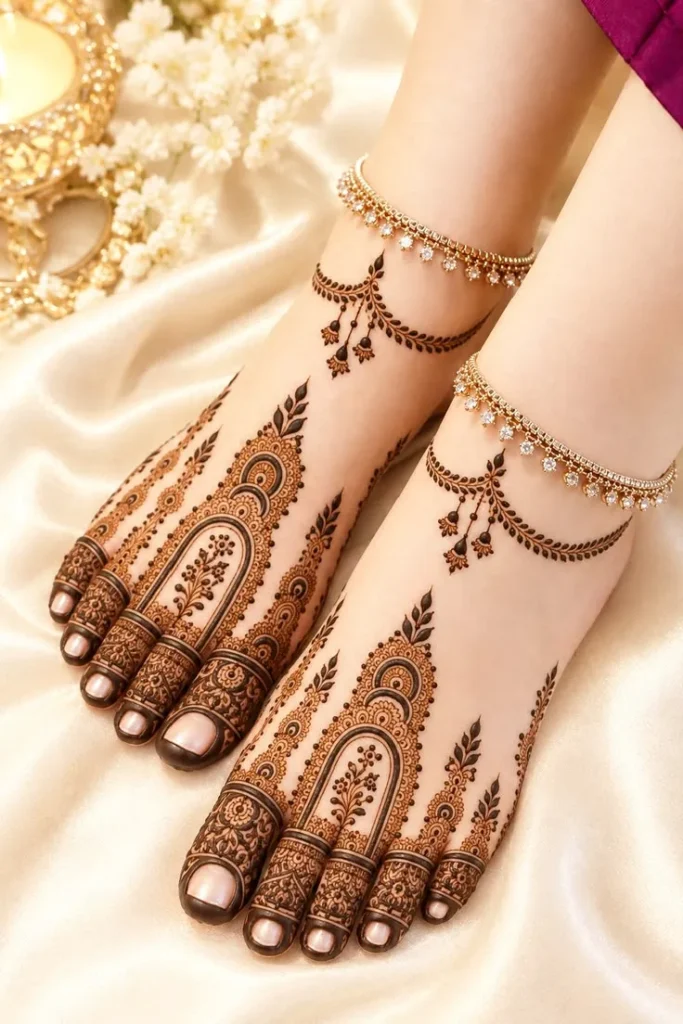
41. Oppana Bridal Design
Oppana is a wedding tradition from Kerala, and the mehndi named after it uses bold, flowing Arabic-style patterns. Leaves and flowers run along thick vines, with open space between them. It gives a bridal look with less density than full bharwa.
Full Leg and Half Leg Mehendi Designs
How far the design climbs changes everything: the outfit it suits, the planning it needs, and how it looks from a distance. Half leg stops at mid-calf. Full leg continues to the knee. Choose based on your hemline, since long skirts cover most of the leg while shorter lehengas show it.
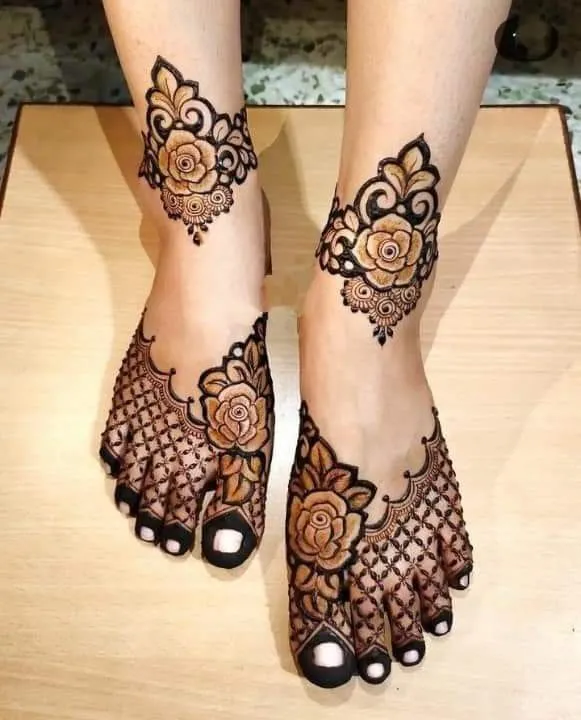
42. Half Leg With Floral Band
The design runs from the toes to mid-calf and ends in a band of flowers and leaves. The band gives the pattern a clear stop, so it looks complete without going higher. It suits modern lehengas and ankle-length outfits that show part of the calf.
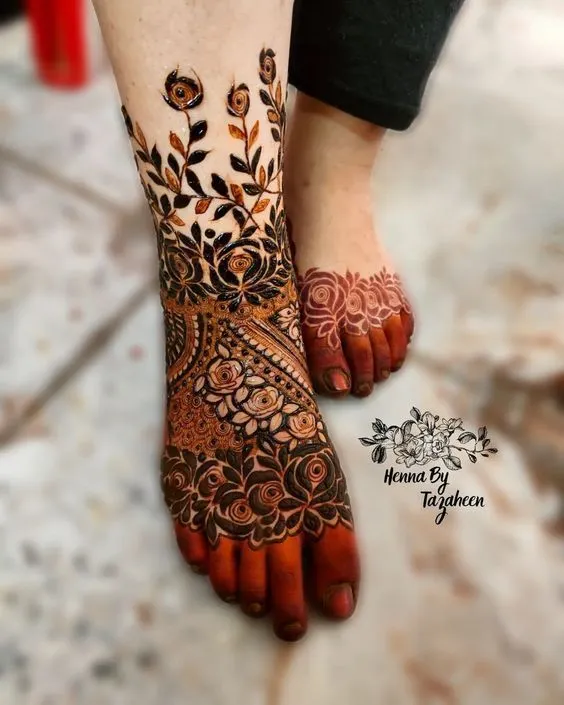
43. Full Leg in Stacked Bands
Horizontal bands stack from the foot up to below the knee, each with its own motif, such as lotus pods, chevrons, or vines. Plain lines or borders separate the bands. The structure makes the leg easy to read from every angle, and it lets you mix traditional and modern ideas.
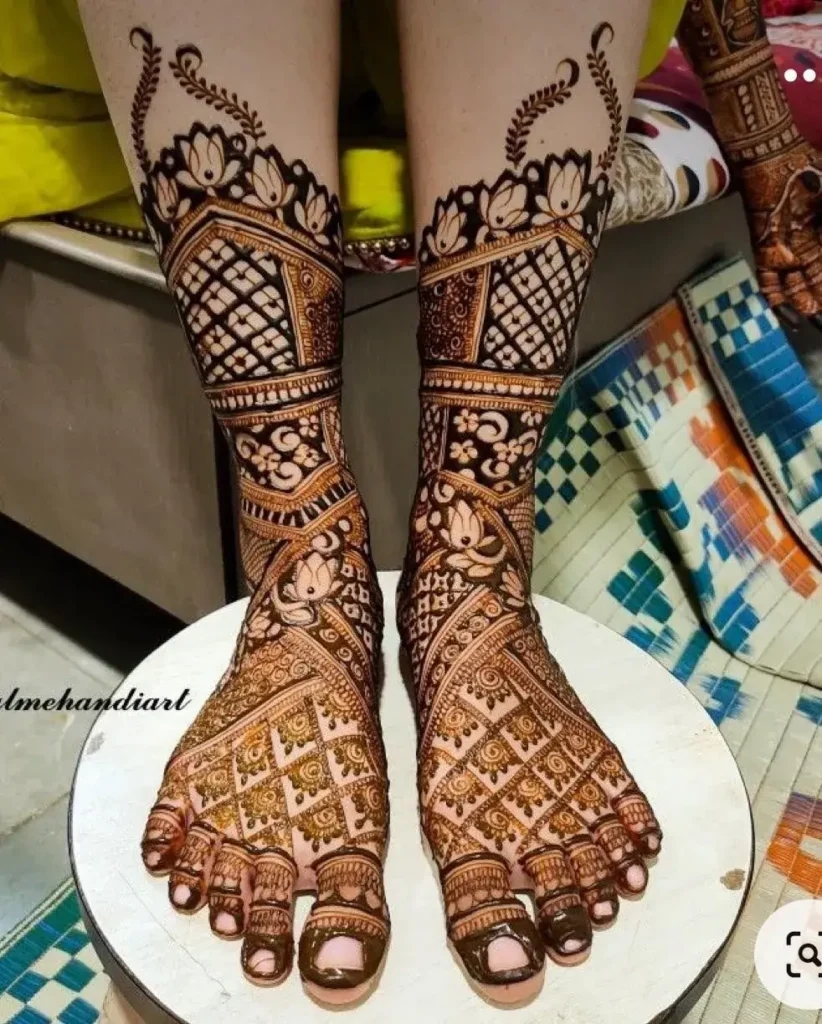
44. Knee-Length Bridal Bharwa
Dense, filled work runs from the toes to just below the knee. Large panels hold figures like paired peacocks, lotus basins, and jaal, topped with a decorative border. It is the most traditional and the most detailed coverage. The stain on the shin and calf often comes out lighter than on the foot, so ask your artist how to keep the paste on for its full time.
How to Apply Foot Mehndi and Care for It
Good aftercare matters as much as the design. The same paste can give a pale orange stain or a deep brown one, depending on how long it stays on and how you treat it afterwards.
- Prepare the skin. Exfoliate gently beforehand, and skip oils and lotions on the day. Oils and creams form a barrier that slows dye absorption. Scrubbing too hard can damage the skin and give a lighter stain.
- Apply the design. Draw it with fresh henna paste in a cone. Let it dry for about half an hour before you move around, so it does not smudge.
- Seal the paste. Dab a light layer of lemon and sugar mix over the dry paste, or use a henna sealant spray. Keep it only slightly damp, because too much liquid makes the dye run. Medical tape also works to protect the dried paste.
- Leave the paste on. Keep it on for at least 4 to 6 hours, and overnight if you can. The longer it stays, the darker and longer-lasting the stain.
- Remove it dry. Flake or scrape the paste off with your fingers or a tissue. Do not use water. Cooking oil can loosen stubborn bits.
- Keep the skin dry. Stay away from water for at least 12 to 24 hours. Some artists advise up to three days. Water slows the colour from developing.
- Keep your feet warm. Warmth helps the colour deepen, and cold slows it, especially in the first 24 hours.
- Protect the stain. Rub a natural oil or henna balm on the design before bathing or washing dishes. Chlorine, harsh soaps and scrubbing make the stain fade faster.
How the colour develops
| Time | What you will see |
|---|---|
| Day 1 (paste just removed) | Bright orange |
| Day 2 | Darker, reddish-brown |
| Day 3 | Deepest shade, usually rich brown |
Colour varies with the henna and your skin. The stain usually fades within one to three weeks. Feet and soles take colour especially well because the skin there is thick, while areas higher up the leg often come out lighter.
Sources: Wikipedia: Henna, Henna by Heather, Roze Henna, Henna Iom
Conclusion
The right foot or leg mehndi design is the one that fits your skill, your outfit, and your schedule. Beginners do best with a vine, a border, or a few dots. For a festival, an Arabic trail or a mandala gives a strong look without heavy coverage. For a wedding, choose your centrepiece first, then plan the coverage and book your artist early.
Whatever you pick, use natural henna, leave the paste on for its full time, and keep the stain dry afterwards. Save the designs you like, and show your artist the exact photo.
FAQs
Which foot mehndi design is easiest for beginners?
Start with a line-and-dot border, a single vine or a toe cap. These use straight lines, dots, and simple curves, so small slips stay small. A simple circle on the foot is a good next step. Practise the strokes on paper first, then move to the skin.
How long does foot mehndi take to apply?
It depends on the design. A simple vine or dot pattern takes far less time than detailed bridal work, which can take several hours. Ask your artist for an estimate before you book. Plan extra time afterwards, because the paste needs to stay on for at least 4 to 6 hours.
How can I get a darker stain on my feet?
Leave the paste on for at least 4 to 6 hours, or overnight if you can. Skip oils and lotions before the session, and exfoliate gently, not hard. Afterwards, keep your feet dry and warm for the first day or longer, then protect the stain with a natural oil or henna balm before bathing.
When should I apply mehndi before the wedding?
Apply it one to two days before the wedding. The stain starts orange and deepens over about one to three days, so this timing gives it time to darken. Plan for several hours in the chair, and keep time free afterwards for the paste to stay on.
Pairon ki mehndi kitni der tak rakhni chahiye?
Mehndi ko pairon par kam az kam 4 se 6 ghante lagne den, aur ho sake to raat bhar. Jitni der rahegi, rang utna gehra aayega. Sookhi mehndi ko ungliyon ya tissue se jhaad den, pani istemal na karen. Kam az kam 12 se 24 ghante pani se bachen.
Check out related mehndi designs:
